|
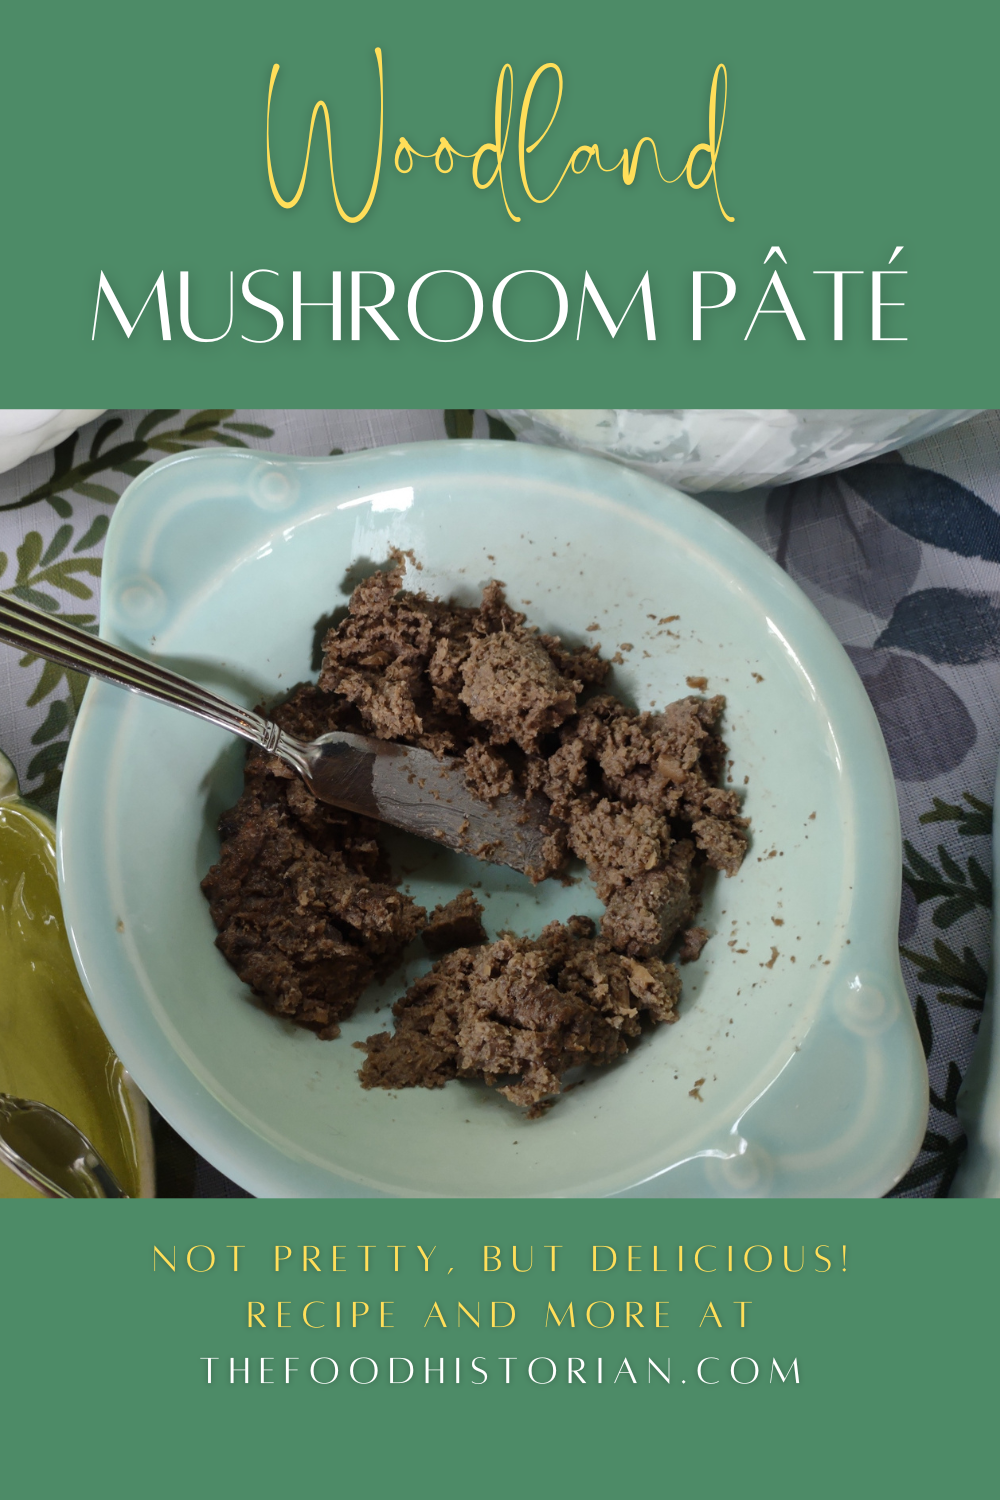
In our continuing Scandinavian Midsummer Porch Party menu exploration, this mushroom pâté is relatively simple to make and a favorite of vegetarian guests. Although they're not often the first thing people consider when thinking of Scandinavian food, wild mushrooms are extremely popular in all the Nordic countries. Foraging is something of a national pastime, and while berries are easier to identify, mushrooms rank high on the list as well. Although in Scandinavia they are normally served in gratins, soups, and as an accompaniment to game meats, mushrooms in summer called for something a little different. Traditionally pâté is made of finely ground meat and fat - goose liver (a.k.a. fois gras) is the most famous of the pâtés, which of course originate in France (hence the French word), but are common throughout northern Europe. Substituting mushrooms for meat is a common swap, but the same smooth texture is replicated, albeit in a lighter format. There are lots of mushroom pâté recipes out there, but this is one of the simpler ones. It's based on a skillet dish I invented for a vegetarian friend. The lemon flavor doesn't fade as it often does in dishes, but adds an indefineable tang to the creamy richness. I recommend a food processor or chopper for this to work well, but with some time and knife skills, you can make due without one. Mushroom Pâté RecipeFor a more complex flavor, feel free to substitute your favorite wild mushrooms, or a combination of mushrooms. This recipe would also scale up easily if you're feeding a crowd. 1 pint white button mushrooms 1 tablespoon butter 1-2 tablespoons lemon juice 1/4 teaspoon wild garlic salt (or regular sea salt) 1/4 cup heavy cream Clean and coarsely chop the mushrooms, then add to a food processor or chopper. Pulse until the raw mushrooms start to form a paste. Be sure to ensure any large chunks are also finely chopped. If using a knife, just keep chopping until you can get them as fine as possible. In a saucepan over medium heat, melt the butter and add the mushroom paste all at once. Stir well to combine and let cook until the liquid of the mushrooms cooks out and evaporates. Add the lemon juice and salt and cook until the juice is absorbed by the mushroom paste. Add the heavy cream and cook until absorbed. Serve warm, room temperature, or cold with rye crisps, crackers, or toast. The Food Historian blog is supported by patrons on Patreon! Patrons help keep blog posts like this one free and available to the public. Join us for awesome members-only content like free digitized cookbooks from my personal collection, e-newsletter, and even snail mail from time to time! Don't like Patreon? Leave a tip!
1 Comment
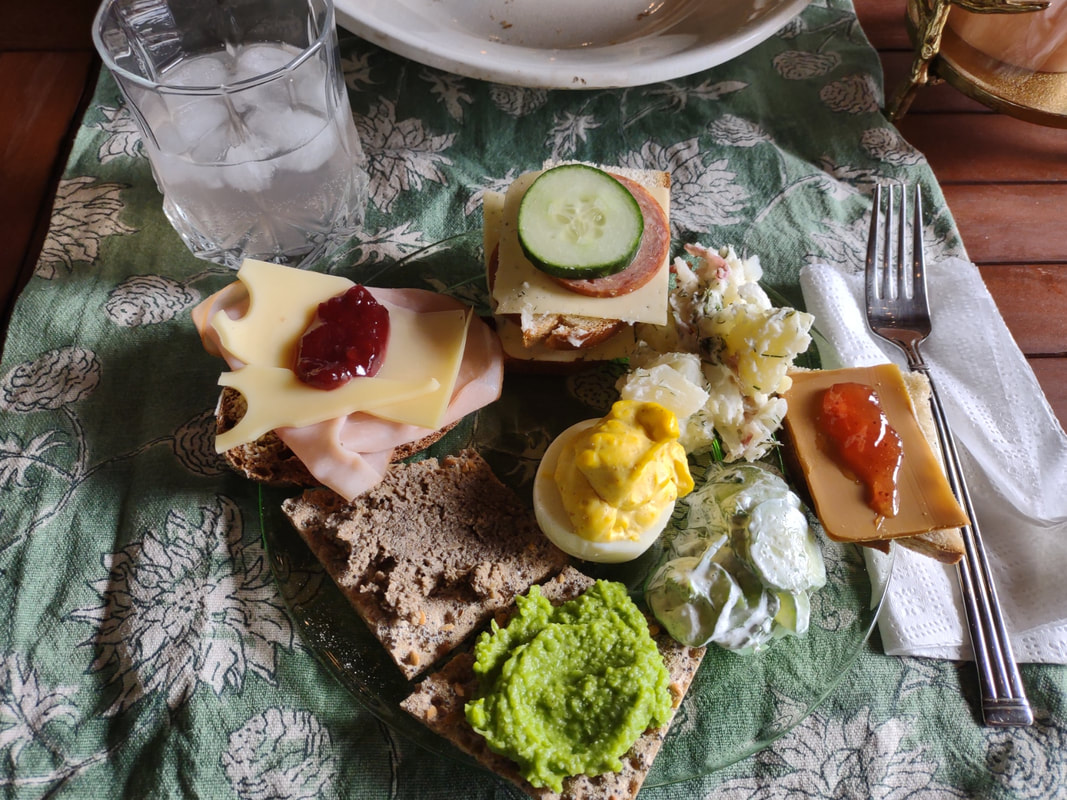
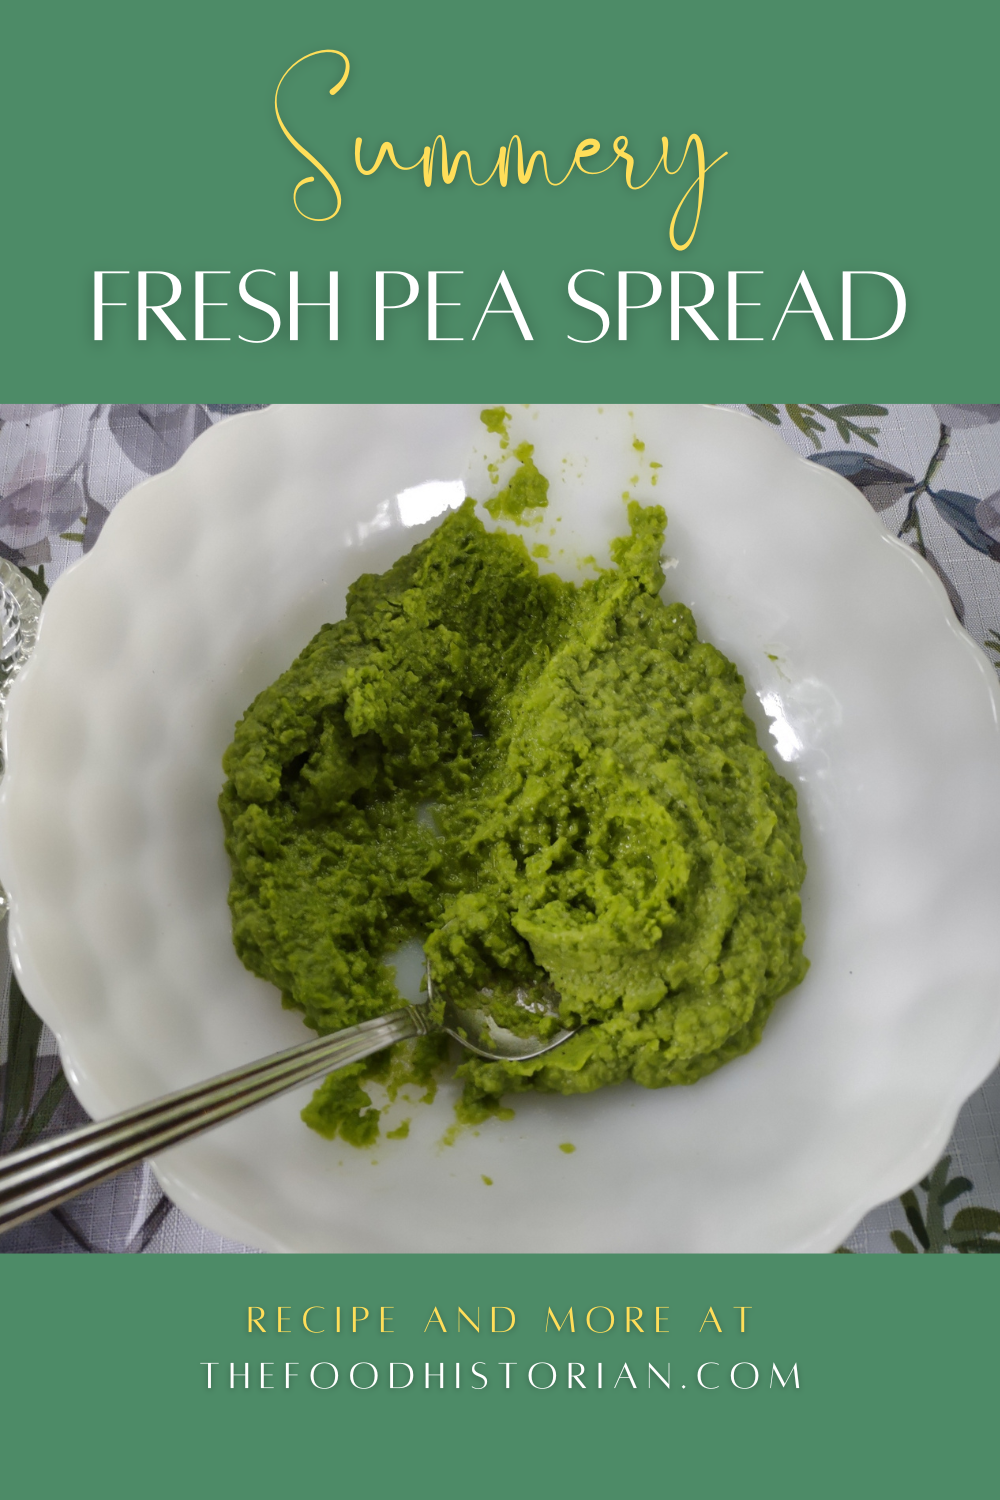
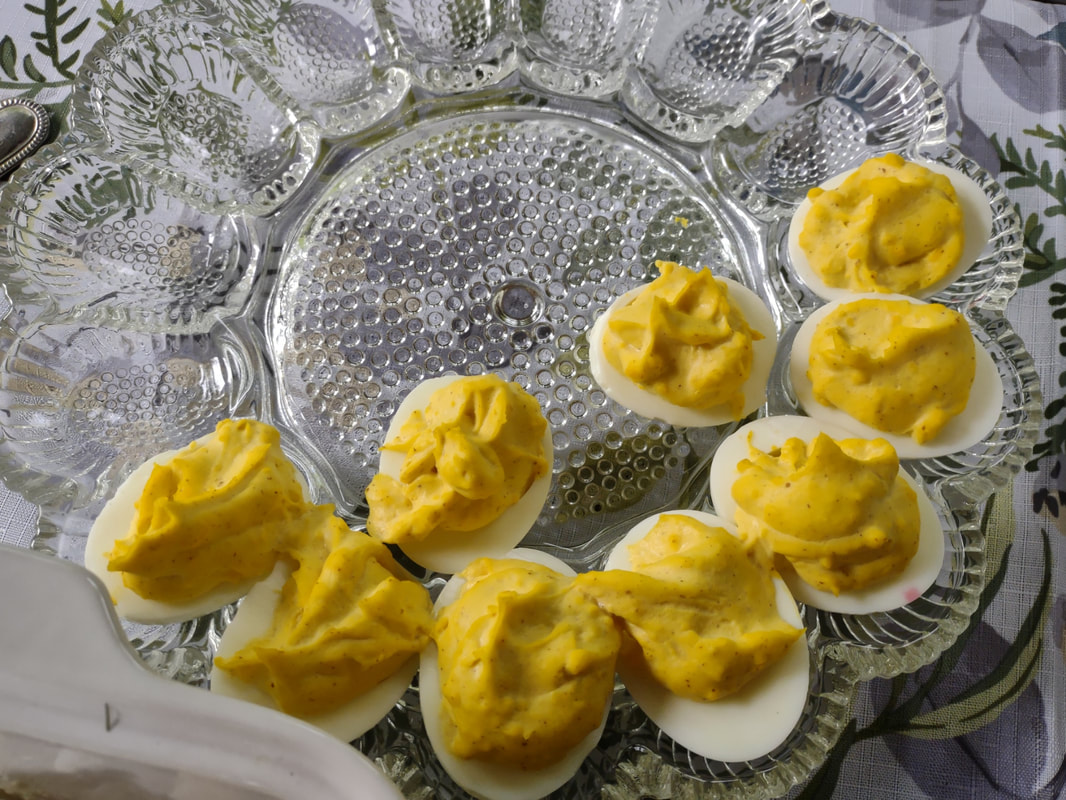
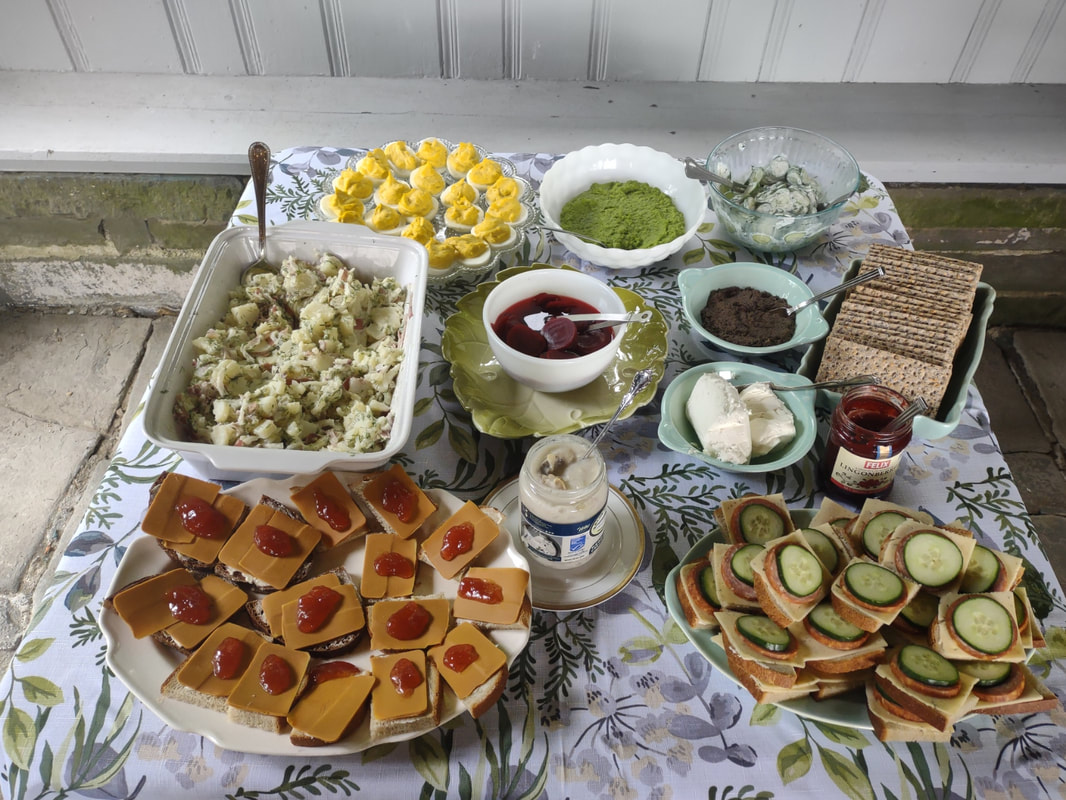
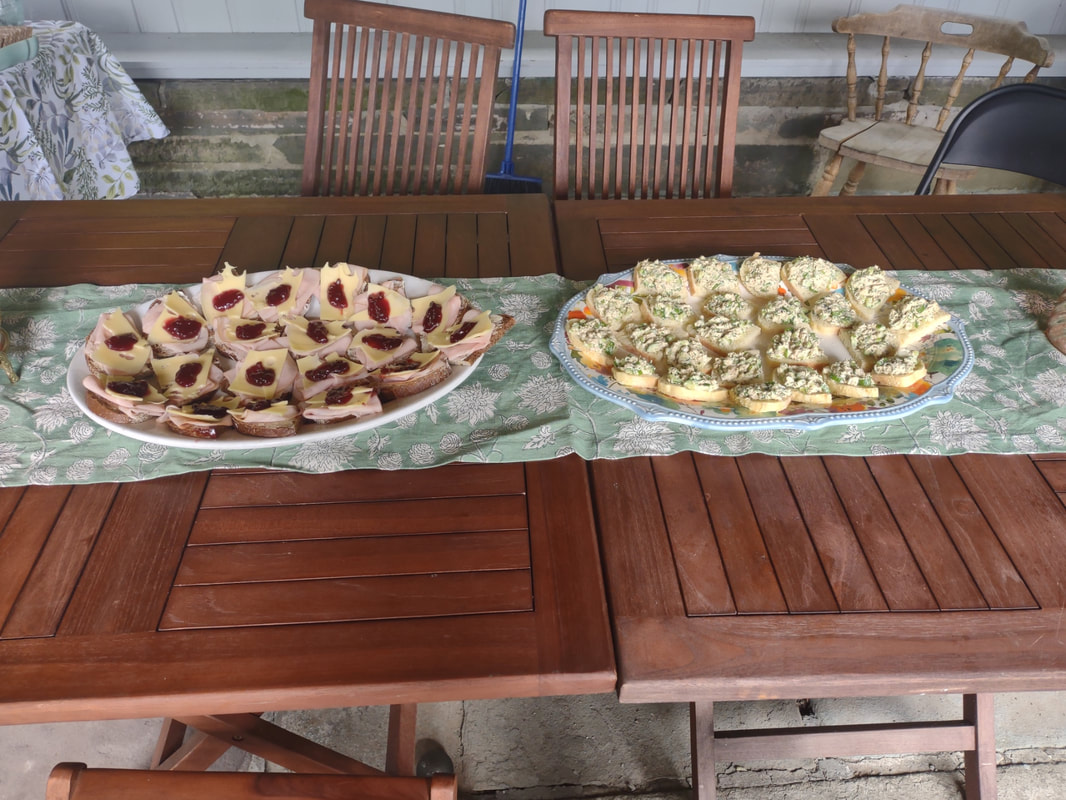
When it comes to freshness, there's nothing like a freshly picked garden pea. But most of us aren't growing them ourselves, and "fresh" peas in grocery stores are generally old enough that the sugars that make peas so delicious are converted to tasteless starch. Canned peas are generally overcooked and mushy. Fine for eating alongside mashed potatoes and meatloaf, but not so fresh-tasting. What's the solution? Frozen peas. Ironic, I know, but frozen peas are often so much better than "fresh" unless you've picked them yourself or get them the same day. To me, peas signal not only spring but also early summer - when mornings and evenings are still cool, even when midday is hot. In the Northeastern U.S., peas were historically on the menu as late as July 4th! They're popular in Scandinavia, too. I wanted some nice, bright color for my Scandinavian Midsummer Porch Party, and this fresh pea spread hit the spot. I've made Spring Pea Hummus before - and that's equally delicious. But I wanted something vegan this time. Fresh Pea Spread RecipeThis recipe definitely needs a food chopper or processor! You could use a food mill in a pinch, but you'll need to finely mince the onion, first. 1 bag frozen organic peas 1/4 sweet onion (I used Vidalia) 1 tablespoon lemon juice 1 tablespoon olive oil salt pepper Cook the peas in a little water on the stove or in the microwave until no longer frozen and just barely cooked. They'll be soft after thawing anyway. Add the peas and onions to the food chopper and pulse until well-mixed. Add a tablespoon of lemon juice and a tablespoon or two of olive oil and pulse again until as smooth as possible. If you're using a food mill, mince the onion as fine as you can before sending through the food mill with the peas, then mix in the lemon juice and olive oil by hand. Sample and add salt and pepper to taste. Serve on rye crisps or other crackers, or use as a sandwich spread. The Food Historian blog is supported by patrons on Patreon! Patrons help keep blog posts like this one free and available to the public. Join us for awesome members-only content like free digitized cookbooks from my personal collection, e-newsletter, and even snail mail from time to time! Don't like Patreon? Leave a tip! I'm not sure why deviled eggs are so popular. At least, mine are! They're always the first thing to go at every party, and no matter how many I make, even leftovers get devoured quickly. Historically, deviled eggs were "deviled" by mixing the yolks with soft butter and mustard. Later, the deviling became associated with cayenne pepper or paprika. The popularity of prepared mayonnaise meant that condiment soon supplanted butter as the primary ingredient. Deviled eggs are perfect for just about any party, but they seem especially lovely tea party, picnic, and summertime fare, so I just had to make them for my Scandinavian Midsummer Porch Party. As you can see in the photo, they were half-gone almost instantly, and totally gone by the end of the night. Despite their relative simplicity, they always seem so festive! They're not difficult or expensive to make, but a few tips will make things a bit easier than you might expect. Deviled Eggs RecipeI like to use free range local eggs for my deviled eggs, which makes for super delicious and bright yellow yolks. Slightly older eggs are better for peeling as the albumen of the egg starts to pull away from the shell. So if you've got a dozen eggs that need eating, there's no better way to use them up than deviled eggs. Deviled eggs are best when you boil the eggs the same day you devil them. 1 dozen eggs mayonnaise Dijon or spicy brown mustard sour cream (optional) In a stock pot large enough to accommodate all the eggs in a single layer without touching, cover the eggs with cold water. Cover the pot and place over high heat, bringing it to a full rolling boil. Turn off the heat and leave the eggs, covered, for 15 minutes. Then fish them out (a slotted spoon works nicely) and deposit them in a large bowl of ice water to stop the cooking process and cool them down. Let them rest at least 10 minutes. Now for the hard part - peeling them. I find the water method easiest. One at a time, place each egg in a glass, fill a third of the way with water, cover the top with your hand, and shake vigorously. Alternatively, crack the egg all over, peel up a small part, and then place under running water. In both instances, the water gets between the shell and the cooked egg, making peeling easier. Although a perfectly peeled egg is a joy, no one ever complains about a slightly battered one - they all taste the same! Slice the peeled eggs in half lengthwise and pop the yolks out into a small bowl. Mash the yolks thoroughly with a fork, until no large chunks remain. Then add about a half cup of mayonnaise and 1-2 tablespoons of prepared mustard. Add some sour cream if you like. The yolk mixture should be extra-creamy, but bright yellow from the yolks. Taste and add more mustard or salt as you like. Remember, the whites are bland. Using a spoon, plop the yolk mixture evenly into the egg halves (use a plastic bag with the tip cut off if you want cleaner piping - also good for transporting the eggs and filling on site for picnics and such), making sure to cover most of the white, not just the hollow left by the yolk. A good deviled egg should be just a bit messy to eat. Deviled eggs contain egg and mayonnaise, so they should not be left at room temperature for too long. Luckily they're not likely to last long, anyway! The Food Historian blog is supported by patrons on Patreon! Patrons help keep blog posts like this one free and available to the public. Join us for awesome members-only content like free digitized cookbooks from my personal collection, e-newsletter, and even snail mail from time to time! Don't like Patreon? Leave a tip! Today is Midsummer! The summer solstice is a big deal in Scandinavian countries, and I grew up celebrating it with my local Swedish Society. We'd have a big potluck, replete with Scandinavian goodies, in a local park, raise a giant maypole, and then sing and dance Swedish songs around it. My florist parents and I would do all the decorations for the maypole - a local guy would bring a huge harvest of poplar and cottonwood branches to serve as the greenery, and my dad would wire it all onto feet and feet of garland. The morning of, we'd wire leftover fresh flowers onto the garland and then deck the maypole, which had to have been at least 20 feet tall. Then it would get raised up at the park and everything felt festive! The picnic would be held in a big covered park pavilion, and we'd often have live music or visiting Scandinavian bands, but the food was the main attraction. Midsummer has long roots in Scandinavia. Celebrated since pagan Viking times, the festival emphasized the importance of the sun and fire. Sankthansaften - or St. John's Eve - is the night before midsummer, and in Norway is often celebrated with huge bonfires, including the one in Ålesund, Norway, which features the largest bonfire in the world! In Sweden, where midsommar is the biggest deal in all of the Nordic countries, the maypole is generally the center of midsummer celebrations. Salmon, shrimp, herring, sour cream, dill, cucumbers, strawberries, almond-flavored desserts, and whipped cream feature prominently in most Midsummer menus, along with copious amounts of aquavit (which, sadly, I could not find in my local liquor stores). Spring fish runs, woodland strawberries, and early vegetables like new potatoes all reflect the arrival of the summer season in Scandinavia, which is later than in most of Europe. Midsummer also heralds the season of midnight sun. As the longest day of the year for the Northern hemisphere, the summer solstice near the Arctic circle means just a few hours of twilight, and no actual nighttime, for weeks. Here in the northern United States, it just means the sun sets a little later than normal. Ever since my mom died, I've been feeling the need to reconnect with my Scandinavian roots. There are far fewer of us out East than back home, so I decided to introduce my friends to a real Scandinavian party. The midsummer porch picnic was born and now I want to do one every year! Scandinavian Midsummer MenuI wanted the menu to be relatively straightforward and easy to prepare. I had a few extras on my list, but didn't quite get there due to time constraints (as per usual). I did the desserts ahead of time, but everything else was prepared the morning of. I was running behind, so the sandwiches were assembled with help from the guests! Here's the full menu: Appetizers: Deviled eggs Fresh Pea Spread Mushroom Pâté Goat cheese* Creamed Pickled Herring* Wasa Rye Crackers* Sides: Dilled Potato Salad Scandinavian Cucumber Salad Pickled Beets* Open Faced Sandwiches: Salmon Cucumber Salad on White Dill Havarti and Summer Sausage with Cucumber on Rye Ham and Jarlsberg on Pumpernickel with Lingonberry Jam Ski Queen Brunost on Rye with Strawberry Jam Dessert: Sandbakkels Small and Large with Jam and Whipped Cream Midsummer Rice Pudding with Raspberry Sauce Rommegrot Ice Cream Drinks: Rhubarb Gin & Tonics Elderflower Punch *you can buy these things - no need to make yourself! I'll be posting one recipe a day for the next several days, so keep your eyes peeled. No need to bookmark your favorites, I'll link them all back to this menu. We are lucky enough that our little house has a very large screen porch, and one larger than our living room! This is always the perfect place for summer parties, although the fireplace is no longer useable. The uneven stone floor makes for some interesting seating and table arrangements sometimes, but it's worth it for the space to spread out all at tables together. I got to use some of my vintage dishes, including newly acquired Block Optic green Depression glass, some little pink depression glass dessert plates, and my favorite lace-edged milk glass plates for those who were too nervous to eat off of the green uranium glass. 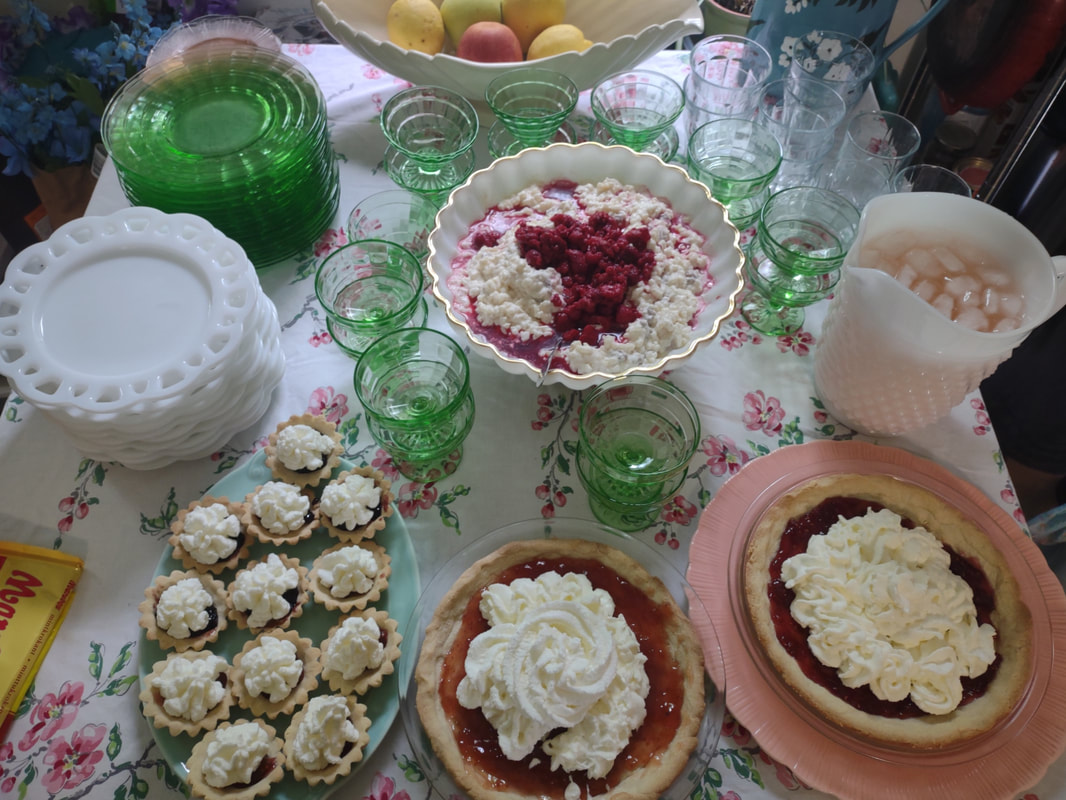 Rice pudding with raspberry sauce, a pitcher of rhubarb gin and tonic, and sandbakkels large and small with strawberry, blackberry, and homemade (not by me) raspberry-rose wine jam and topped with homemade whipped cream. The blue pitcher just out of sight in the upper right hand corner contained the elderflower punch. Although the party was a smash success (the first guest arrived at 2 pm - the last left at 10:30 pm), and we did get our bonfire outdoors, we were having too much fun to make the flower crowns I had planned! And the unseasonably chilly weather (a high of just 63 F after the previous day's high of 90 F was a bit of a shock) did put the kibosh on some of our plans. But we still had a great time. I tried pickled herring for the first time. It was my Swedish grandpa's favorite, but although it was nowhere near as bad as I feared as a child, the creamy sweet-and-sour flavor was not my favorite. I sent the jar home with a friend who fell in love. The pickled beets went home with another friend who loves them, and the last bits of the extremely good creamy cucumber salad went home with another friend's kids, who couldn't stop eating it. The rhubarb gin turned out divine, and everyone was curiously addicted to the elderflower punch. The extra creamy rice pudding with raspberries was my take on the Swedish rice pudding the society made by the gallons for the big Scandinavian festival I grew up attending every year. The raspberry sauce topping is a must. But the runaway surprise hit of the afternoon was the brunost with strawberry jam. To a person the 15+ people who attended loved it. That was the only platter of sandwiches to be totally gone by the end of the evening. In all, a delightful party, despite the weather, and one I'm definitely going to repeat. Next year I'll make sure to have the flower crown activity ready to go, I'll decorate more with some Scandinavian flags and a mini maypole or two (I don't think I could swing a giant one), and aquavit is definitely going on the menu for next year. And I will try to take more photos! If you'd like to try your hand at your own midsummer party, feel free to steal liberally from the menu above. Just don't forget to make things festive with flowers, candles, pretty table linens and dishes, and, if you can swing it, a real fire! Glad midsommar, alle! Learn more about Scandinavian midsummer traditions. The Food Historian blog is supported by patrons on Patreon! Patrons help keep blog posts like this one free and available to the public. Join us for awesome members-only content like free digitized cookbooks from my personal collection, e-newsletter, and even snail mail from time to time! Don't like Patreon? Leave a tip! |
AuthorSarah Wassberg Johnson has an MA in Public History from the University at Albany and studies early 20th century food history. Archives
September 2023
Categories
All
|


 RSS Feed