|
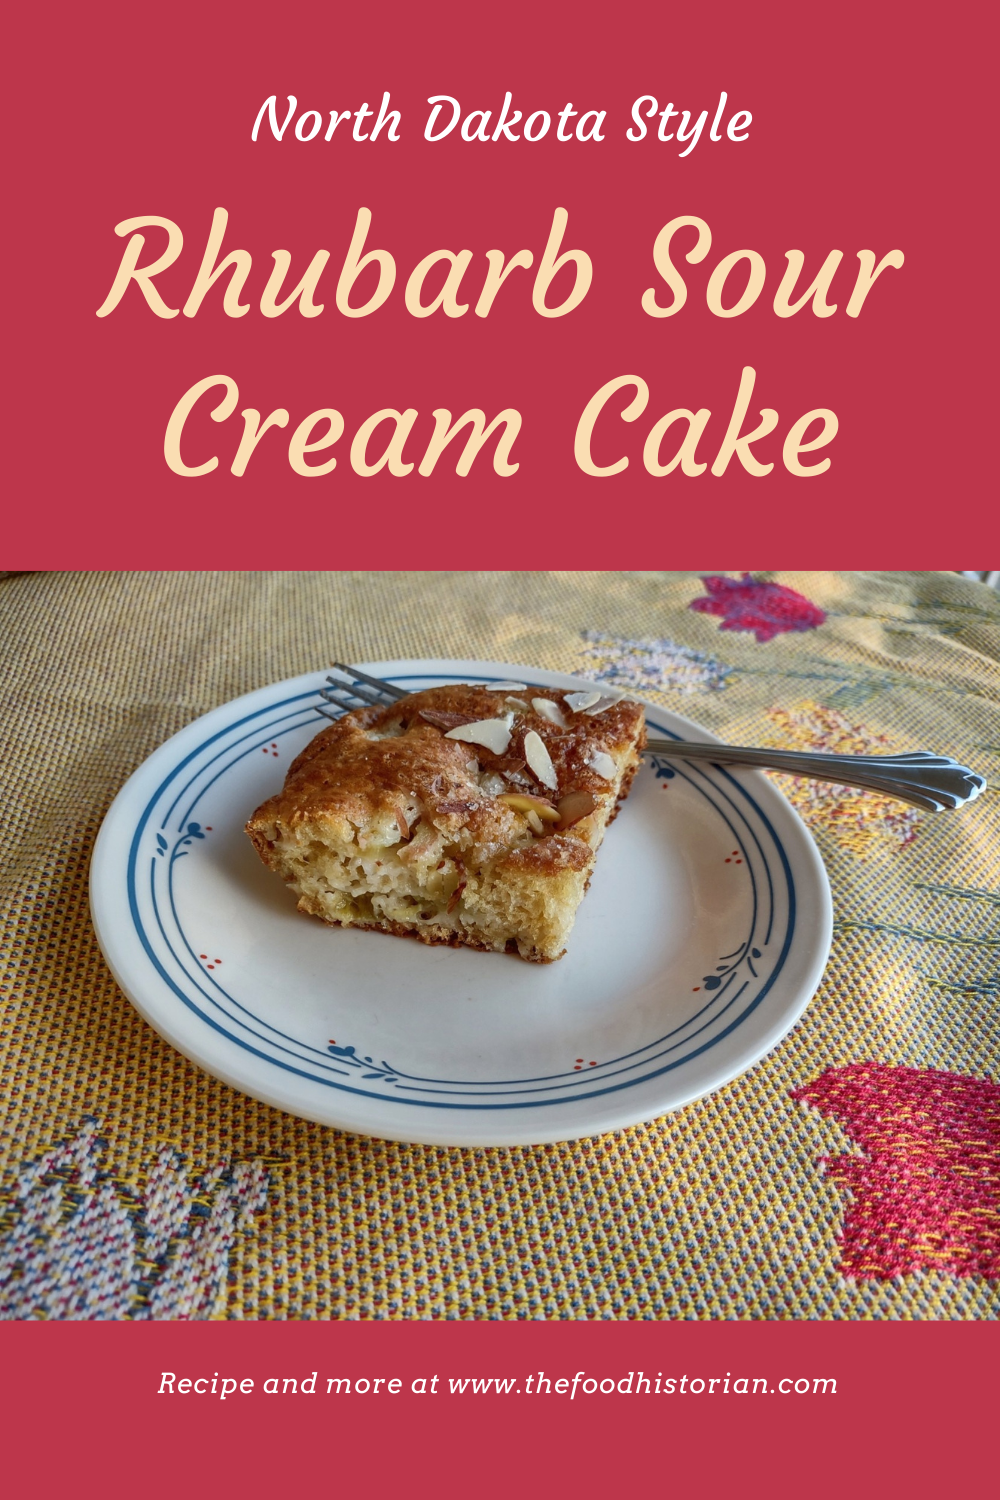
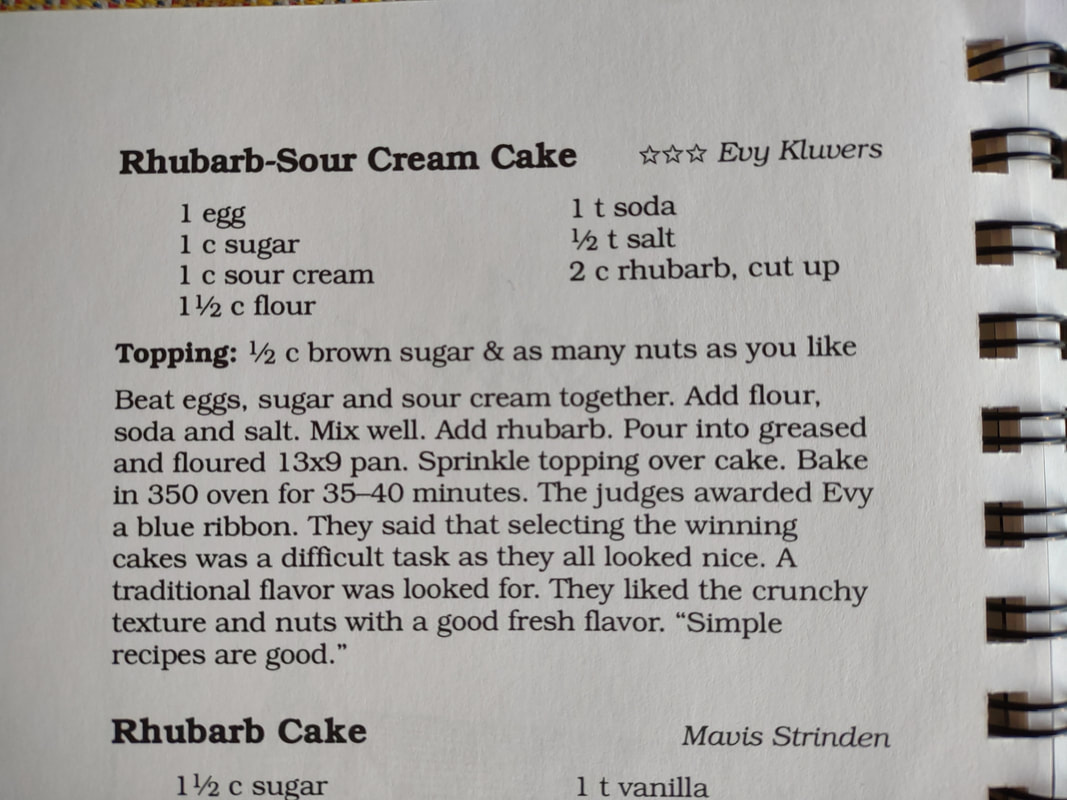
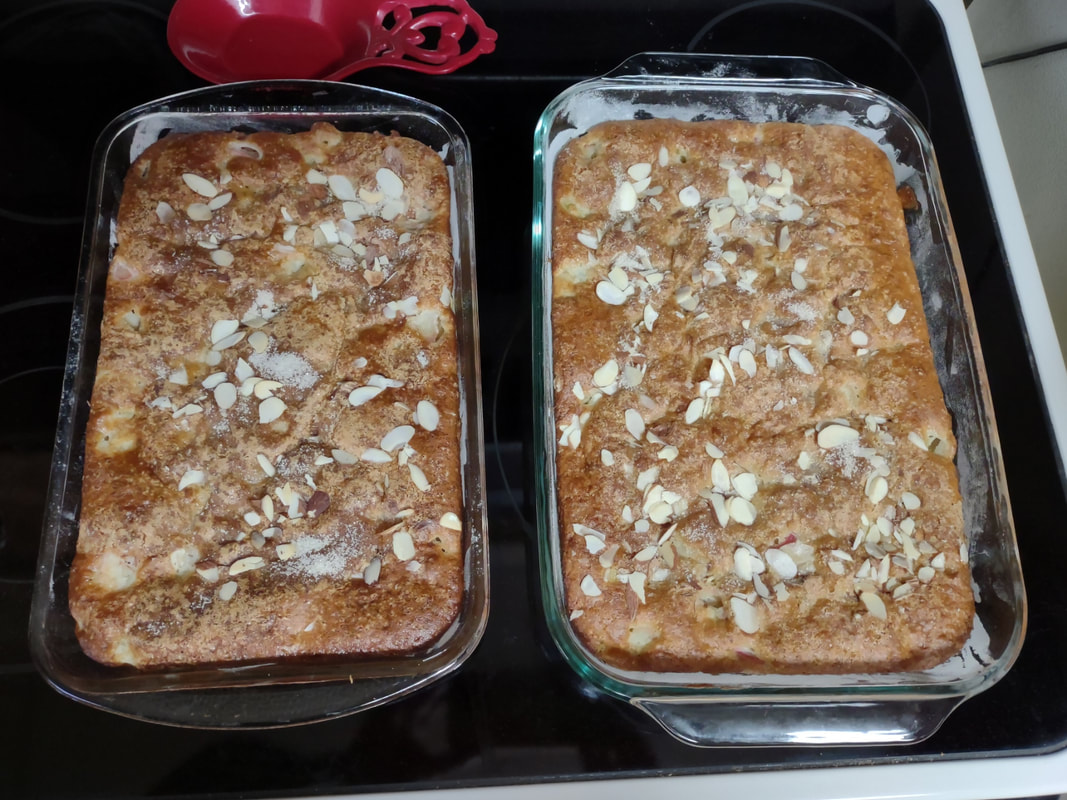
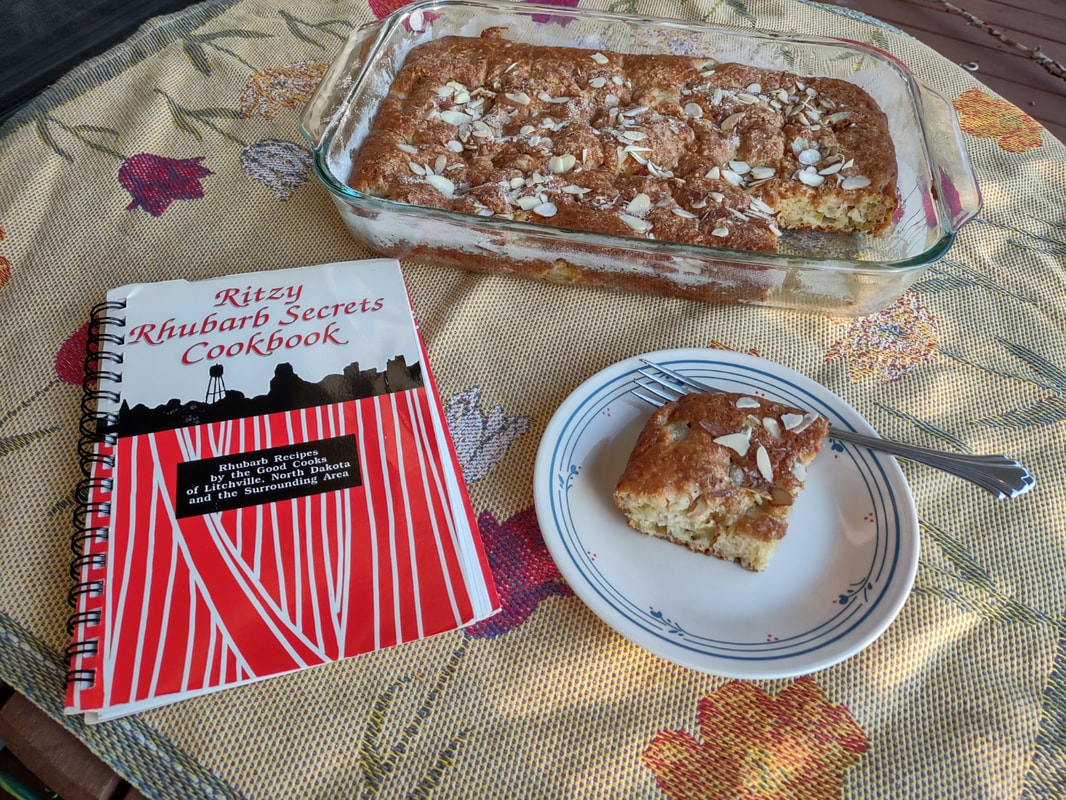
Last week I went home to North Dakota for Mom's funeral. The service ended up being lovely, with a huge turnout, and so nice to see extended family and old friends. Reminders of her were everywhere, of course, but while her garden was starting to come up, including the special fern peonies she rescued from her grandmother's garden, nothing was really blooming yet. But the rhubarb on the south side of the house was already going gangbusters. About a month ago, right after Mom died, my sister and I were going through some of the books she had out, including cookbooks. Sister found a copy of the Ritzy Rhubarb Secrets Cookbook: Rhubarb Recipes by the Good Cooks of Litchville, North Dakota and the Surrounding Area, which is much in-demand on the North Dakotan corners of the internet. Edited by Jane Winge and originally published in 1991 and reprinted in 1992, 1993, 2000, and 2002, it's probably the most popular rhubarb cookbook in the Upper Midwest. We both wanted it, but given my already extensive cookbook collection, I said she could have it. Except then we found another copy! Thanks to Mom's thrifting skills, we both got to have one. Which was just a perfect present from her. All of the guests for the funeral were gone by Sunday, leaving just me and Dad. I decided I wanted to make a rhubarb cake for the two of us. We had the most delicious rhubarb bars at the after-service dinner, but they ran out before I could get one! Thankfully a friend had gotten dessert WITH her dinner, and shared. We found out later the young (and very talented) baker thought that people might not like rhubarb, so she didn't make as much of those as the other bars (rommegrot bars - a take on a favorite Norwegian cream porridge). I was like, "Not this crowd!" Rhubarb is very popular around here and those who moved away remember it from childhood. Everyone raved that they were the best rhubarb bars they'd ever had. And while I sadly do not have that recipe (yet, lol), I was feeling cake-ish (as I often do), so searched the Ritzy Rhubarb Secrets Cookbook for a likely candidate. This one immediately struck my fancy. Not only was it the first one listed in the cake section, it also looked easy as pie. "The judges awarded Evy a blue ribbon. They said that selecting the winning cakes was a difficult task as they all looked nice. A traditional flavor was looked for. They liked the crunchy texture and nuts with a good fresh flavor. 'Simple recipes are good.'" How's that for the most North Dakotan review ever? But they're not wrong. This is a simple recipe with good, fresh flavor. No butter to soften and mixes up in a flash. The sour cream provides the fat and moisture in the recipe, and the baking soda reacts with the acidity in the sour cream to create lift, with help from the egg. Rhubarb-Sour Cream Cake RecipeHere's how Evy's original recipe reads: 1 egg 1 cup sugar 1 cup sour cream 1 1/2 cups flour 1 teaspoon baking soda 1/2 teaspoon salt 2 cups rhubarb, cut up Topping: 1/2 brown sugar and as many nuts as you like Beat eggs, sugar, and sour cream together. Add flour, soda, and salt. Mix well. Add rhubarb. Pour into greased and floured 13x9 pan. Sprinkle topping over cake. Bake at 350 for 35-40 minutes. Here's my adaptation, because since Dad doesn't bake, some of the ingredients were a bit lacking. The main one being I substituted nonfat plain Greek yogurt for the full fat dairy sour cream. Still turned out wonderfully, though! 1 egg 1 cup sugar (Mom only had raw sugar) 1 cup nonfat Greek yogurt 1 teaspoon vanilla extract 1 tablespoon vegetable oil (skip if using full fat yogurt or sour cream) 1 1/2 cups flour 1 teaspoon baking soda 1/2 teaspoon salt at least 2 cups chopped rhubarb 1 tablespoon raw sugar 1/4 cup sliced almonds Grease and flour a 9"x13" glass baking dish and preheat the oven to 350 F. Chop fresh rhubarb in advance. If using frozen, thaw and drain. Whisk the egg, sugar, yogurt, vegetable oil, and vanilla together. Add the flour, baking soda, and salt and stir quickly with wooden spoon. Add rhubarb and stir to combine, then pour into greased and floured baking dish and spread evenly. Work quickly as the baking soda will instantly start to react with the acid in the yogurt (probably a big slower with dairy sour cream). Sprinkle with sliced almonds, and then sprinkle sugar on top. Bake at 350 F for 30-40 minutes, or until top is golden brown. This makes a springy, delicious cake that would be good with any type of berry as well. Serve plain or with whipped cream, warm or cold. The rhubarb is not sweetened, so the sugar on top is necessary, along with the full cup of sugar in the batter. If you like your desserts very sweet, toss the rhubarb in sugar to coat before baking. But for me this was just perfect. This cake was so easy it is definitely going in regular rotation. It will probably be a little more tender and moist with real sour cream, or full-fat yogurt, than the nonfat kind, however. But I could see it easily adapting to each fruit harvest as it comes in - rhubarb, strawberries, sour cherries, raspberries, blueberries, peaches, plums, blackberries, etc. And of course, you can always slice and freeze raw rhubarb for wintertime baking. Litchville is a very small town in Barnes County in the Eastern half of the state, and clearly there are lots of rhubarb experts there! The cookbook has approximately 150 pages of recipes, everything from the more traditional like cakes, pies, and preserves, to beverages, breads, and salads. Rhubarb culture is strong in the Upper Midwest, especially North Dakota, because the cold climate makes it difficult to grow most fruits. Rhubarb thrives in cold and neglect. North Dakota's long, cold winters, and cool, wet springs are perfect for rhubarb, which needs a certain number of below-freezing days in the winter to produce. Certainly the rhubarb I planted in New York is doing much less well. According to Ritzy Rhubarb, "Rhubarb is an enigma. Botanically it is a vegetable, but legally it is a fruit. A court ruling in Buffalo, New York, on July 17, 1947, declared it a fruit because its use in the home is similar to that of other fruits." Rhubarb is related to buckwheat, and only the stalk is edible. The leaves contain a toxic amount of oxalic acid (what makes rhubarb sour) and should not be eaten. The stalks, which range in color from pale green to ruby red, are a sour treat after a long winter. Mom and others of her generation remember going out to the garden with a cup of sugar and a paring knife and dipping the raw rhubarb stalks in the sugar to eat. That's a little too sour for me, but a fun childhood memory. I like rhubarb in everything from pie, bars, cakes, breads and jams to more savory applications like mixing rhubarb sauce with garlic and eating it with chicken or pork. Yum. Do you have a favorite way to eat rhubarb? The Food Historian blog is supported by patrons on Patreon! Patrons help keep blog posts like this one free and available to the public. Join us for awesome members-only content like free digitized cookbooks from my personal collection, e-newsletter, and even snail mail from time to time! Don't like Patreon? Leave a tip!
1 Comment
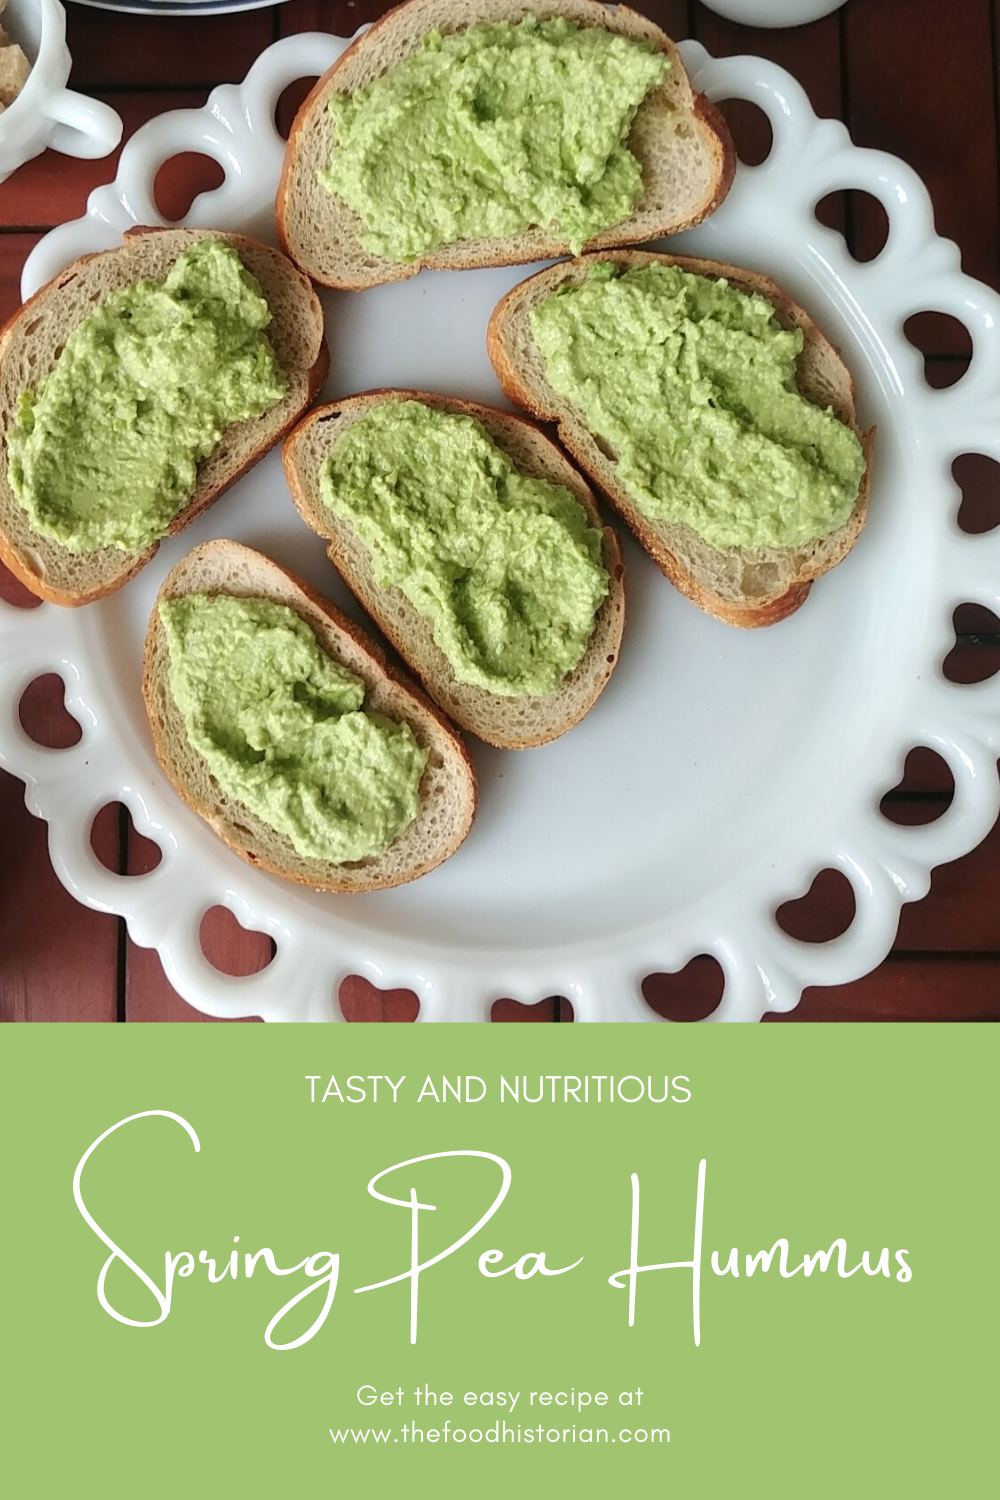
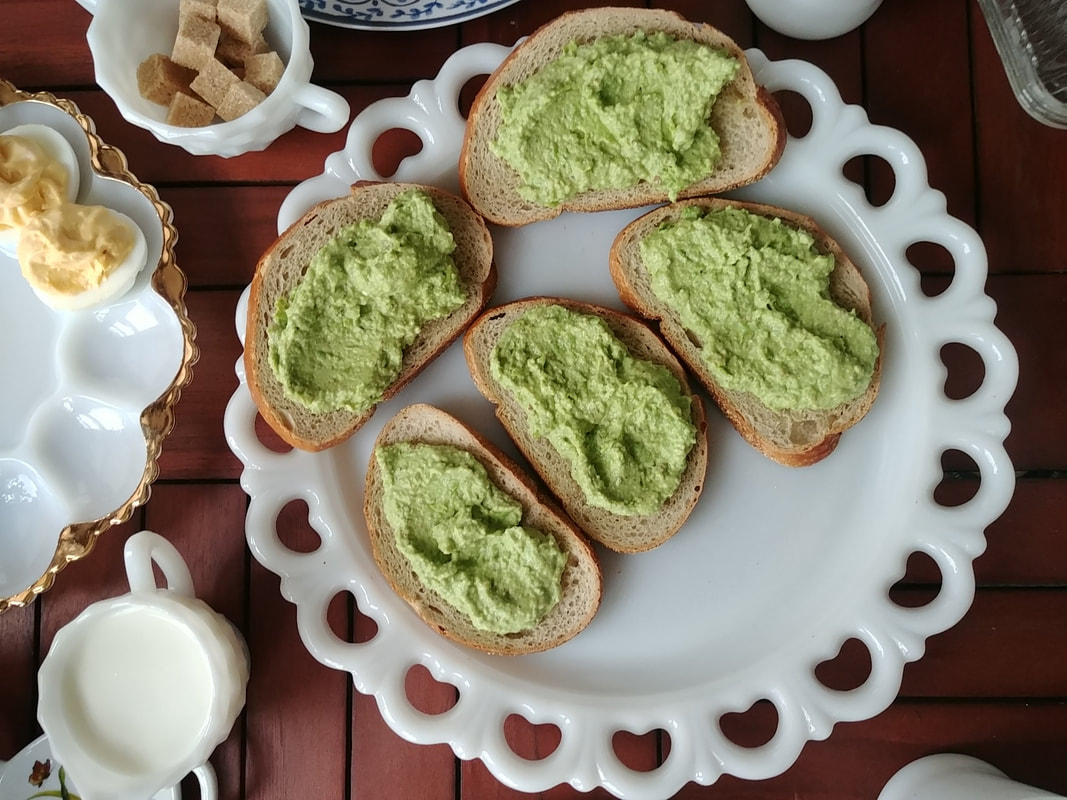
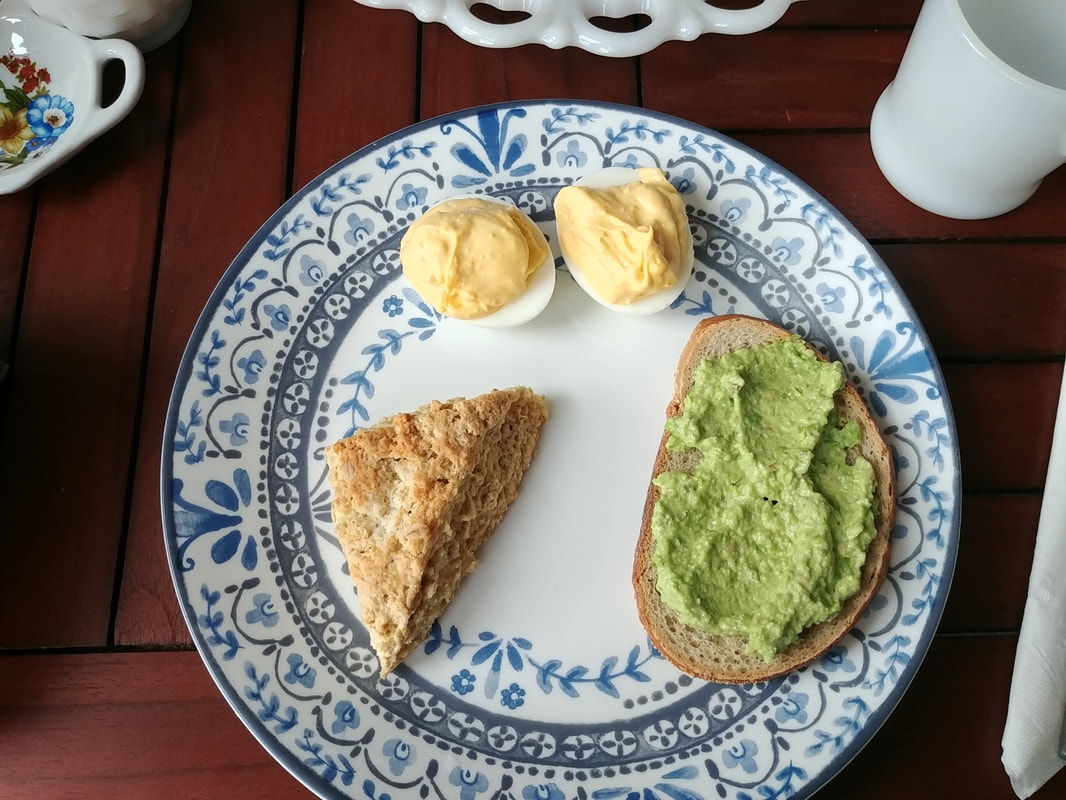
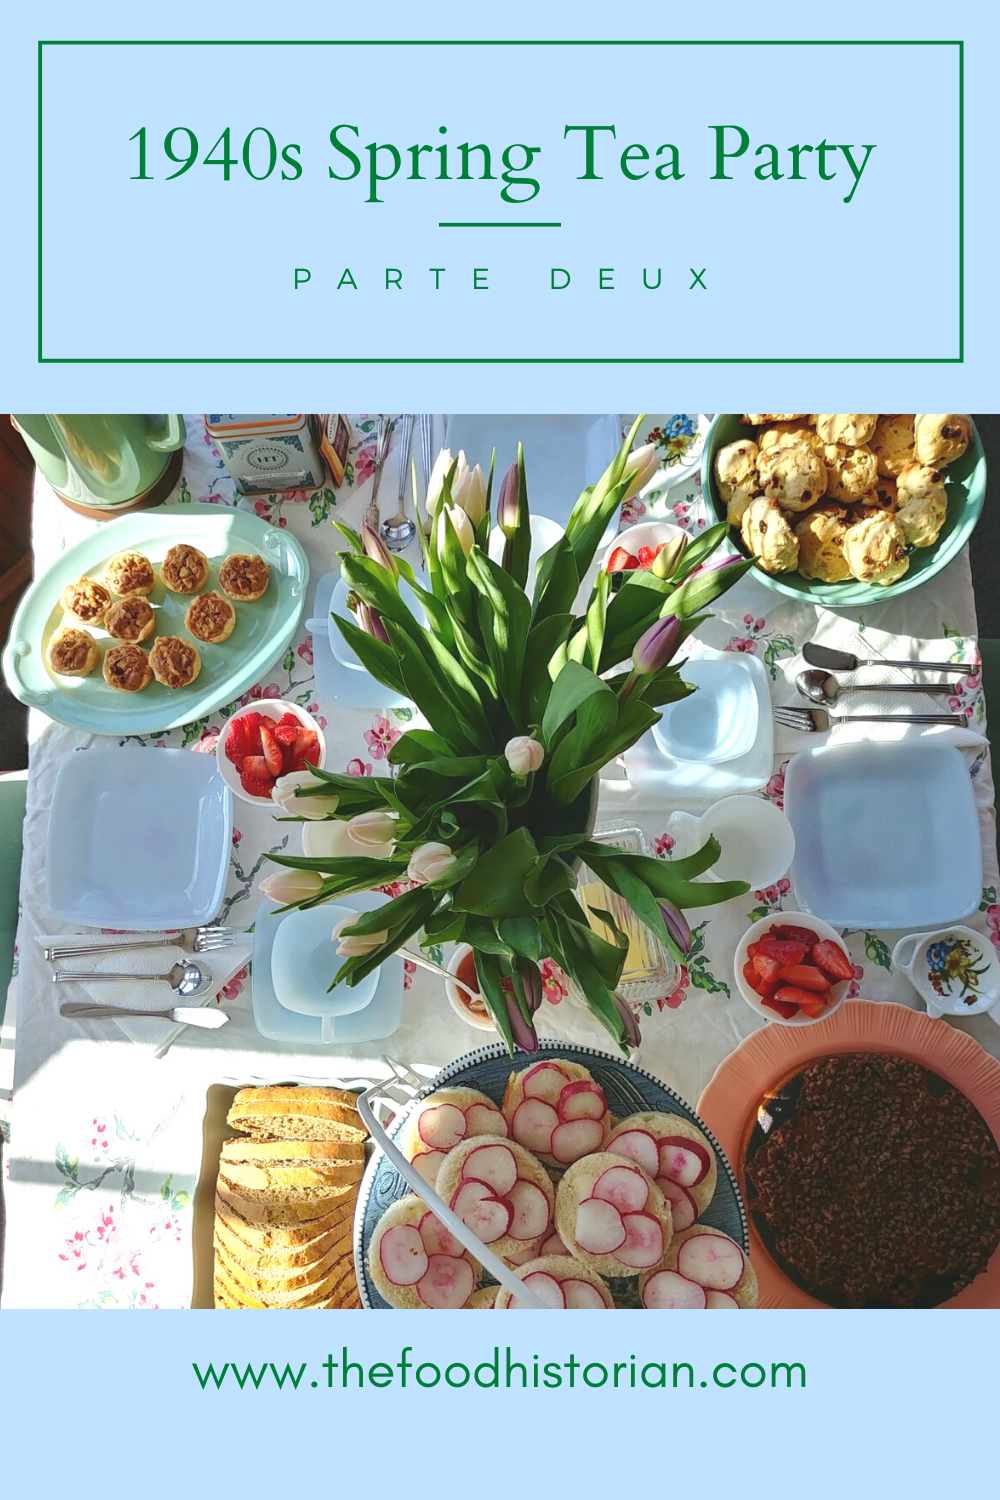
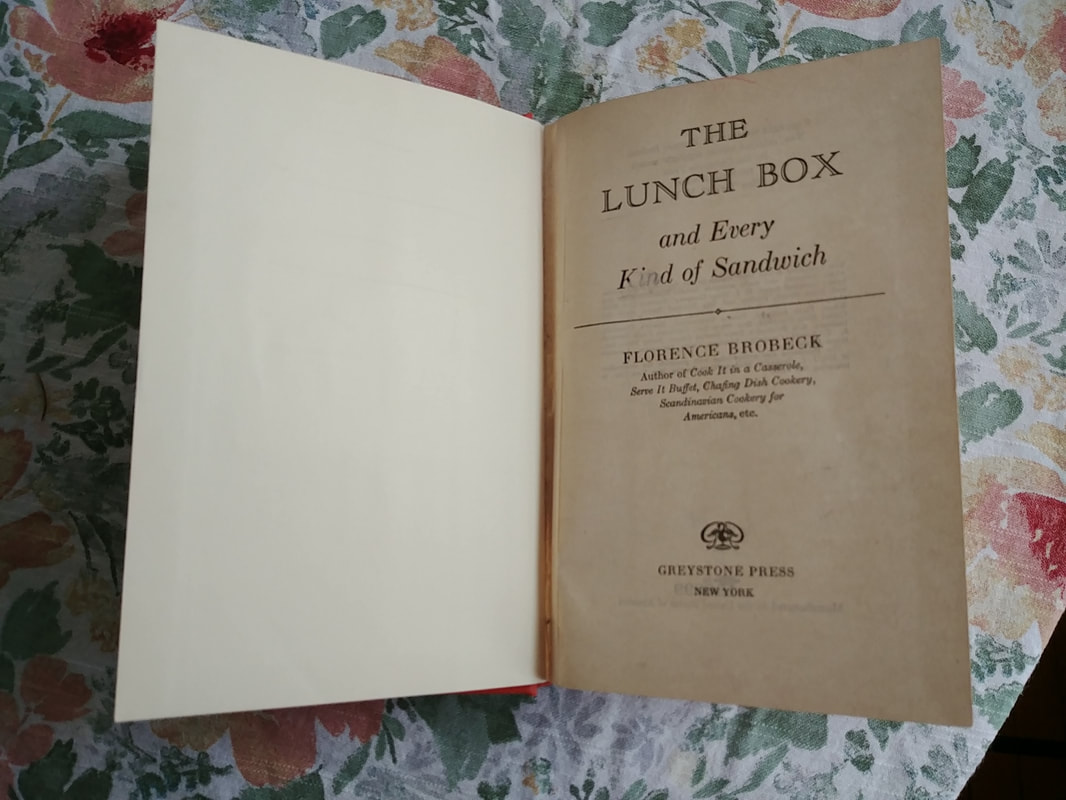
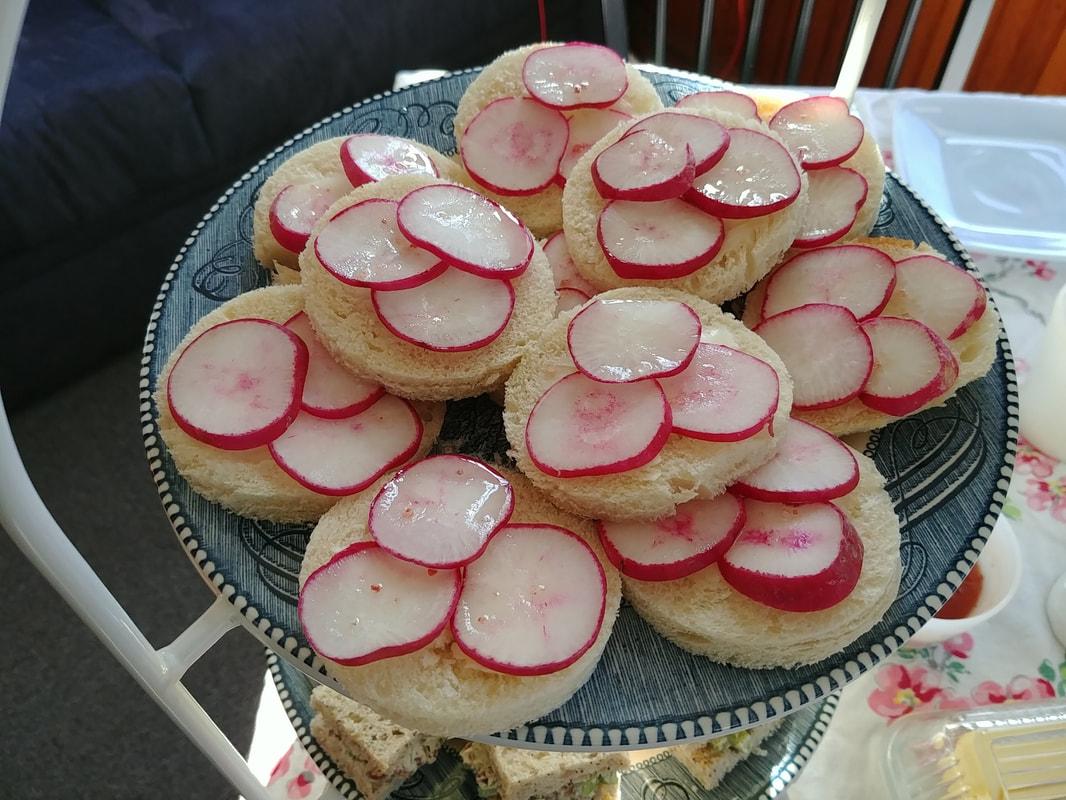
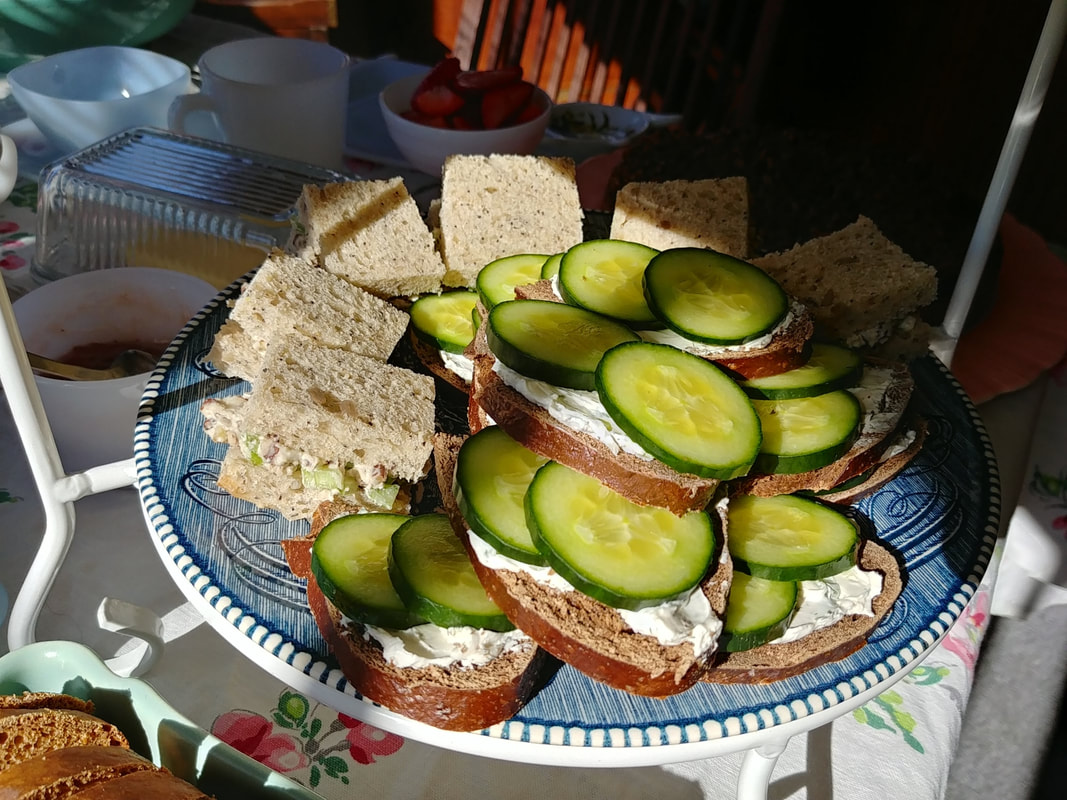
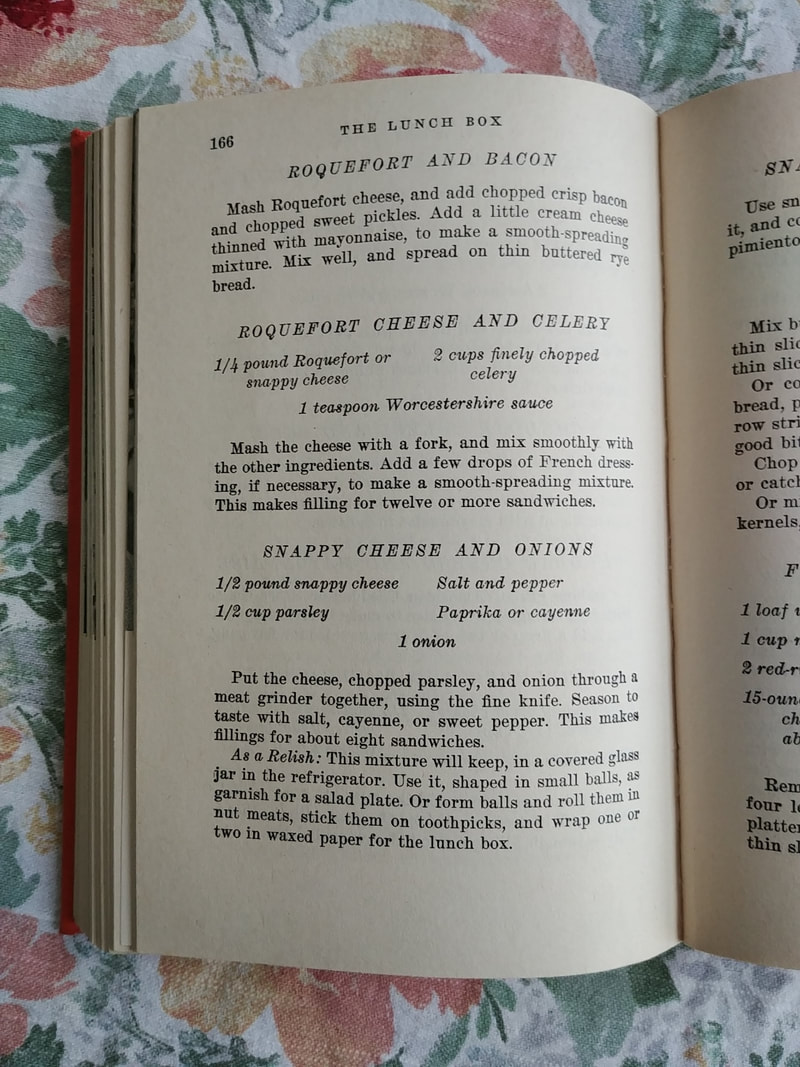
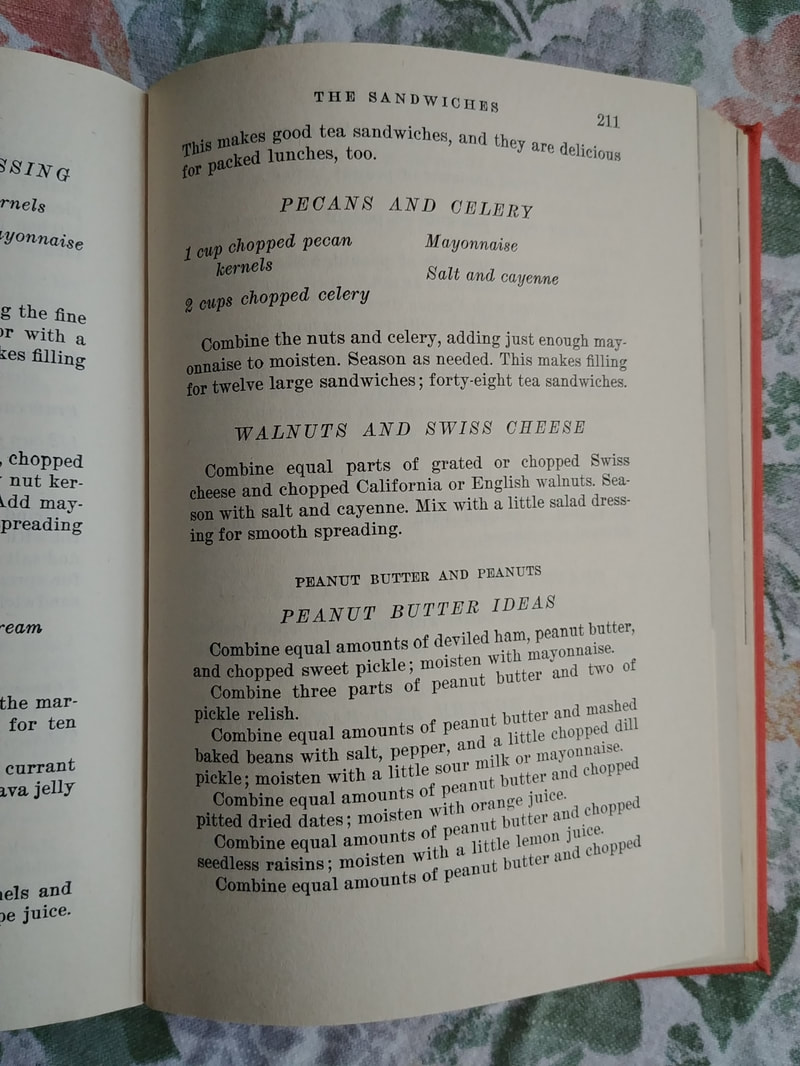
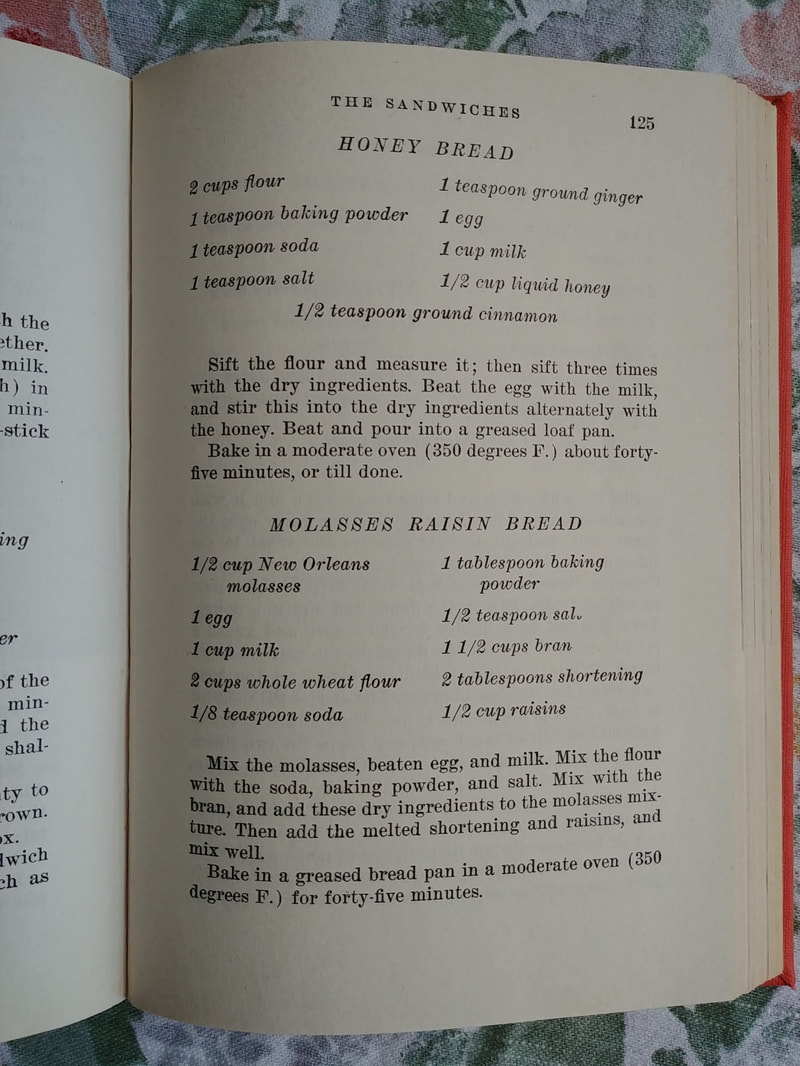
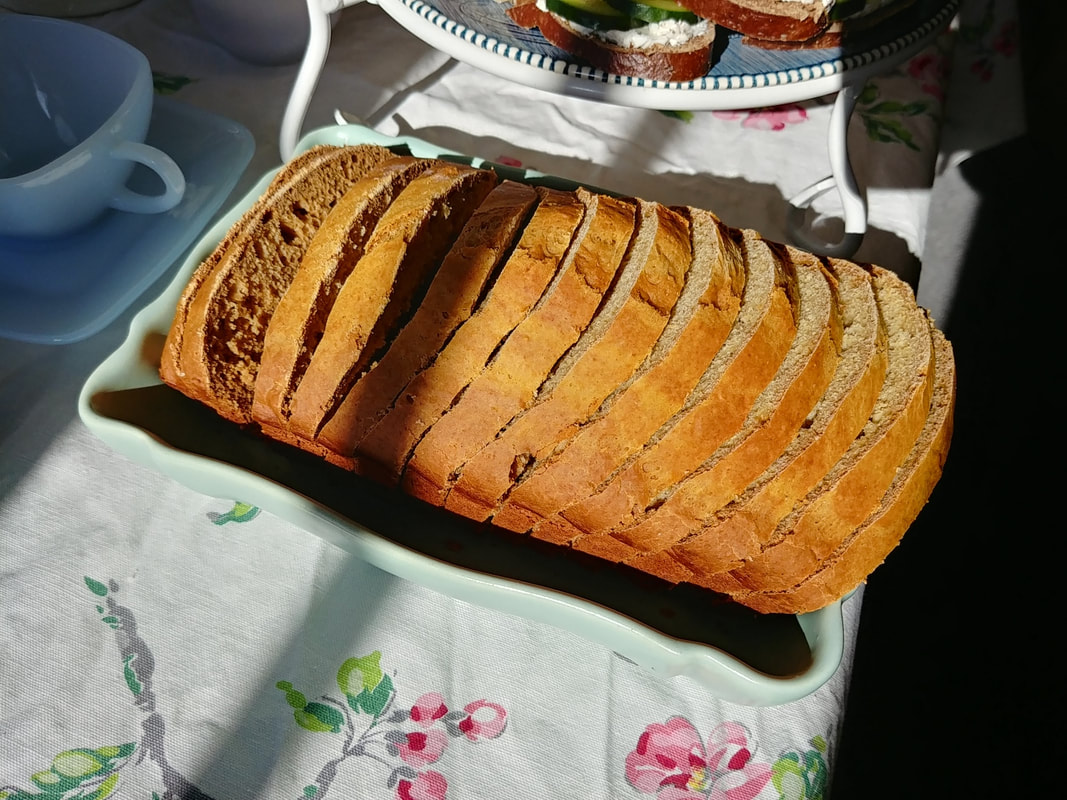
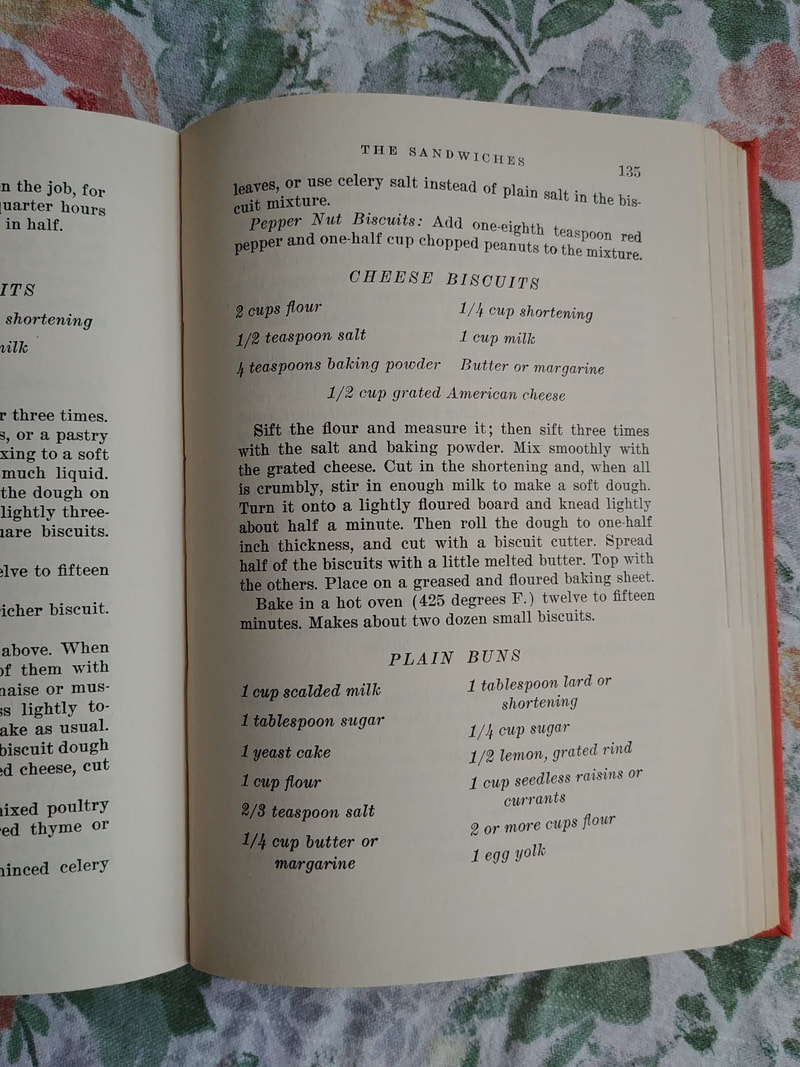
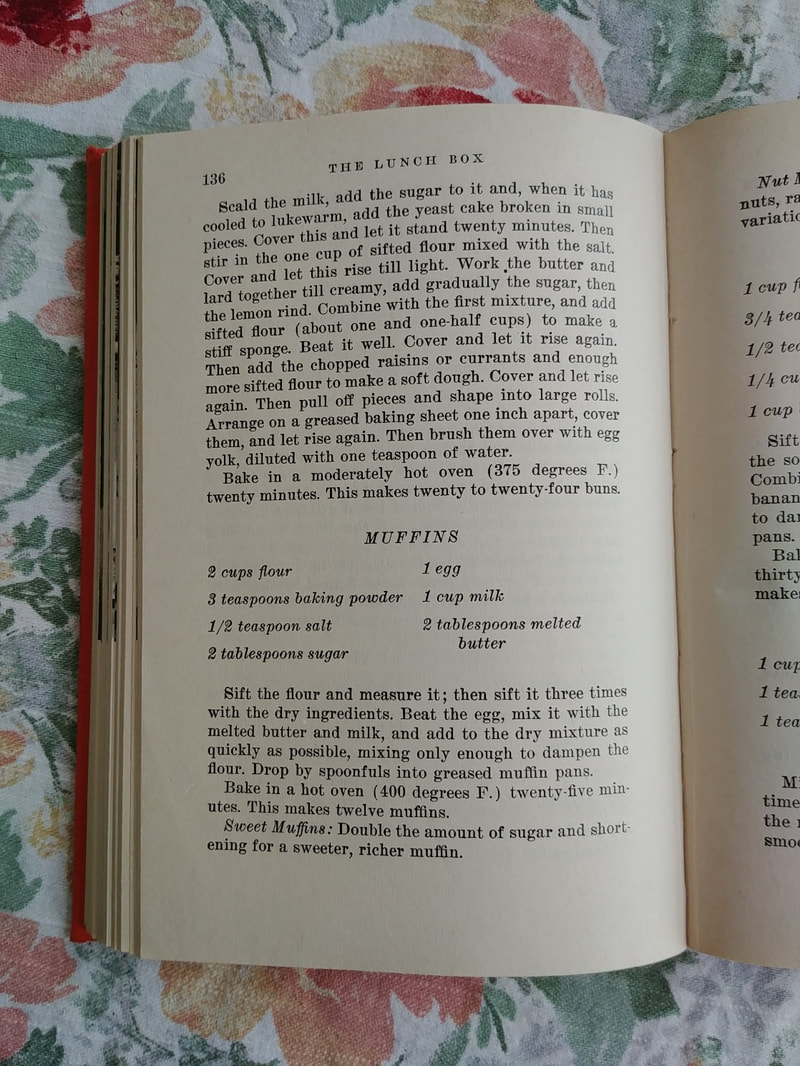
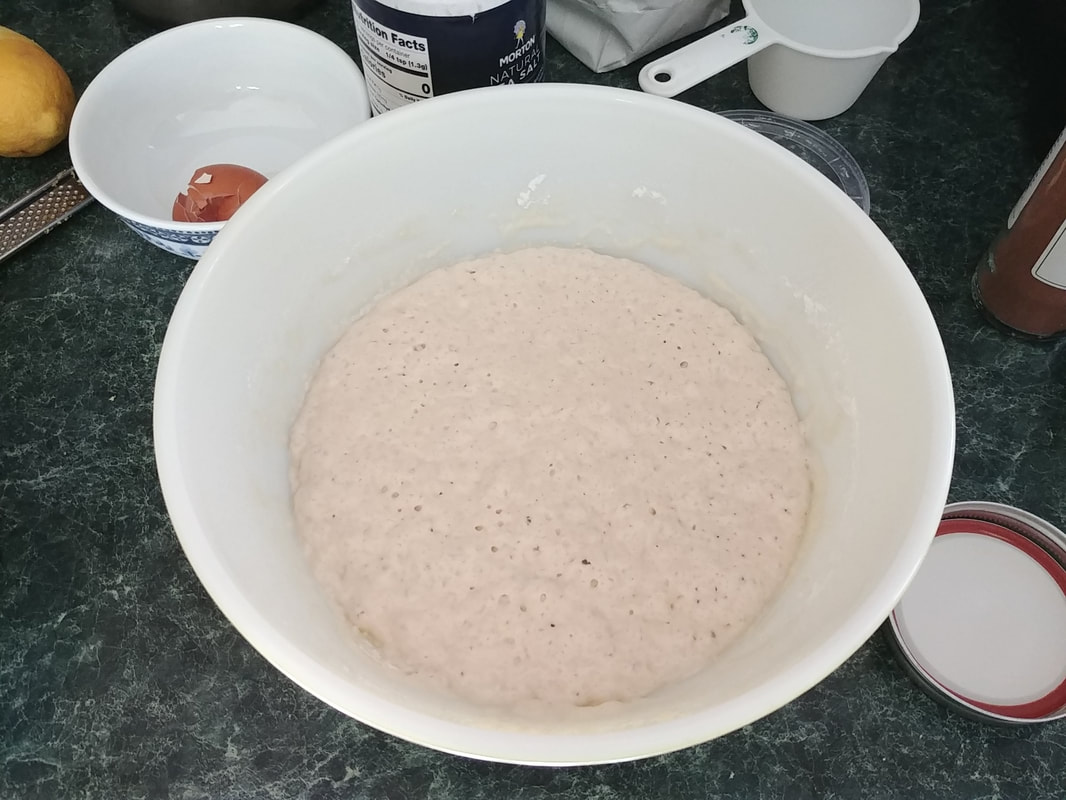
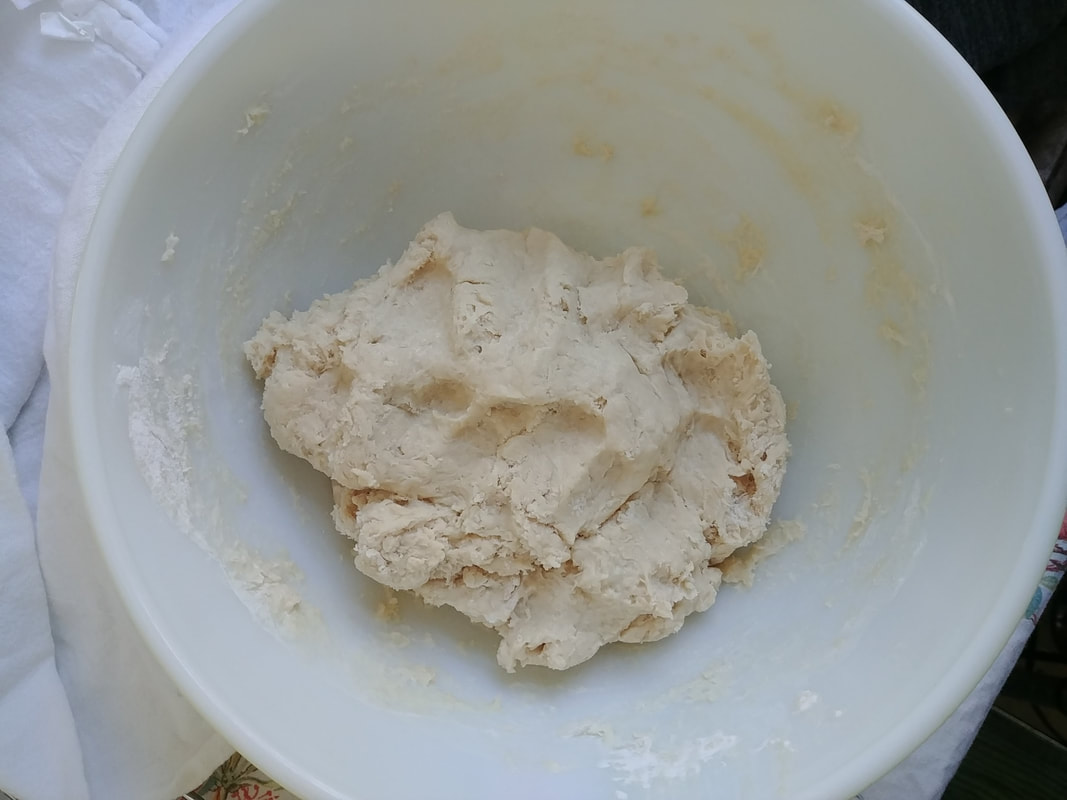
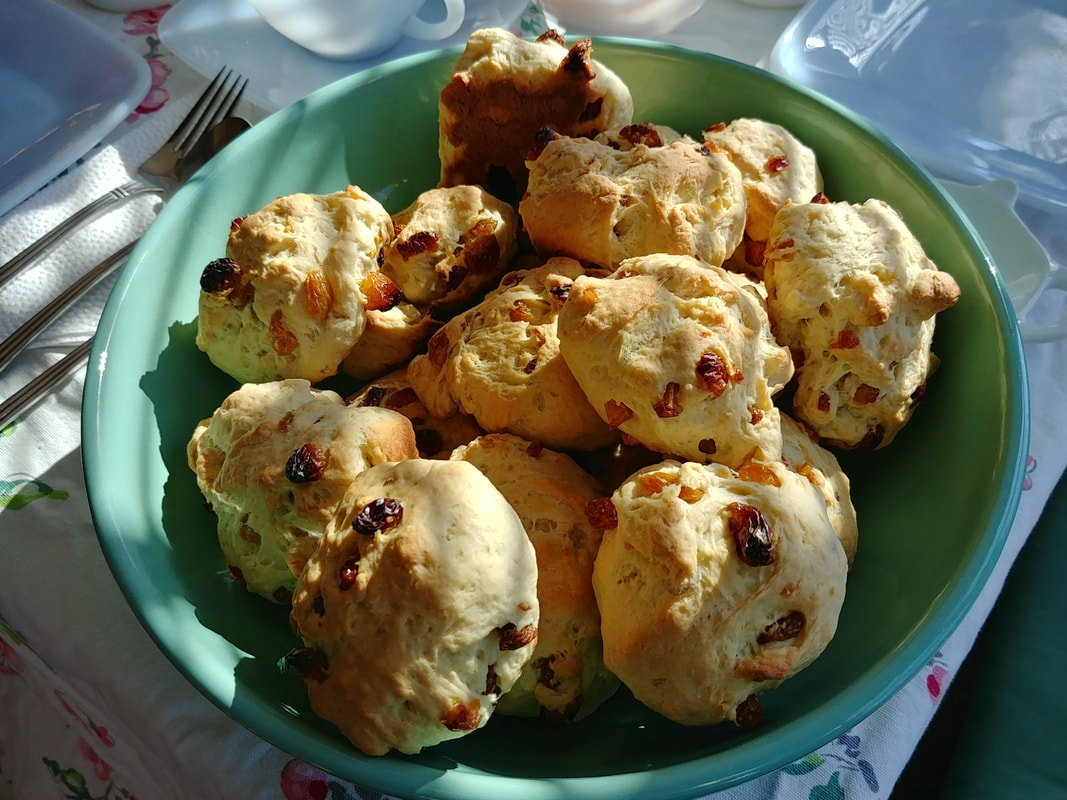
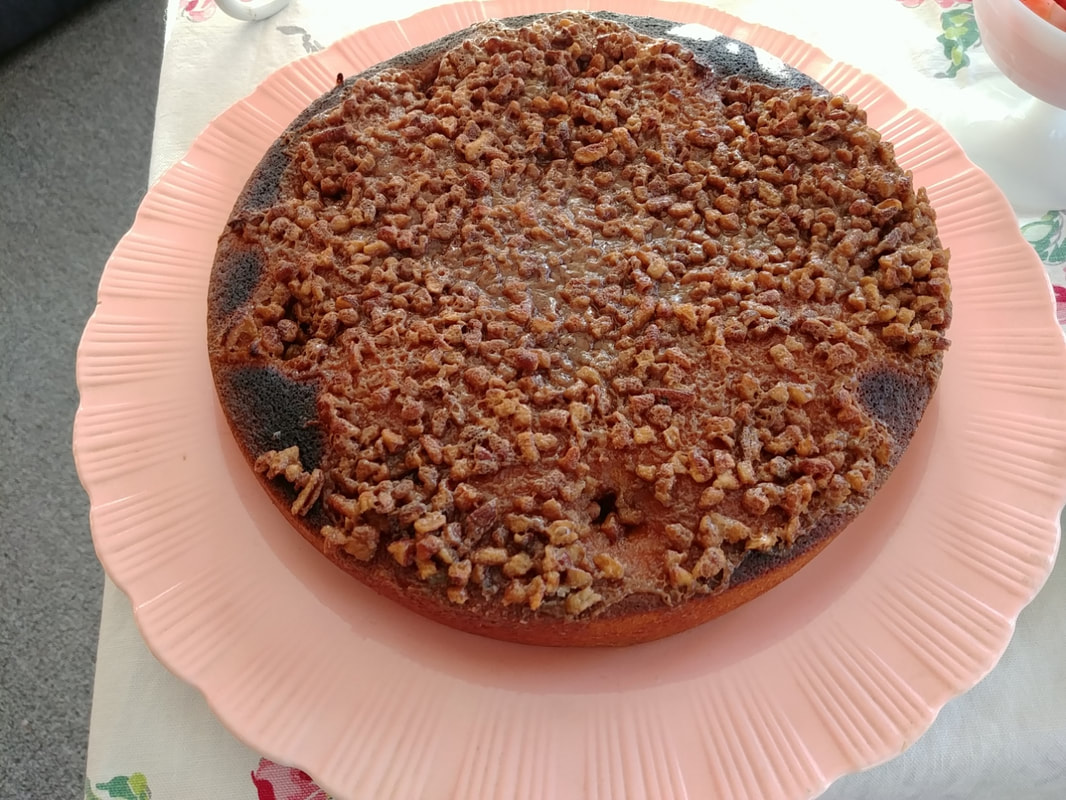
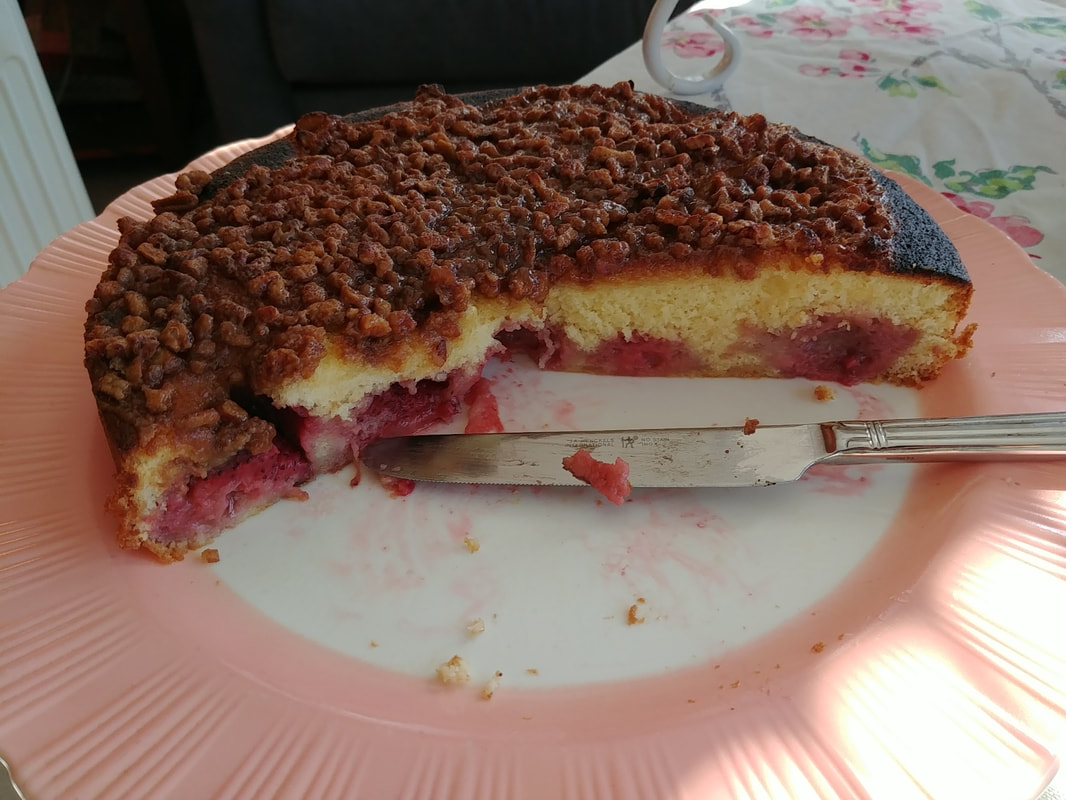
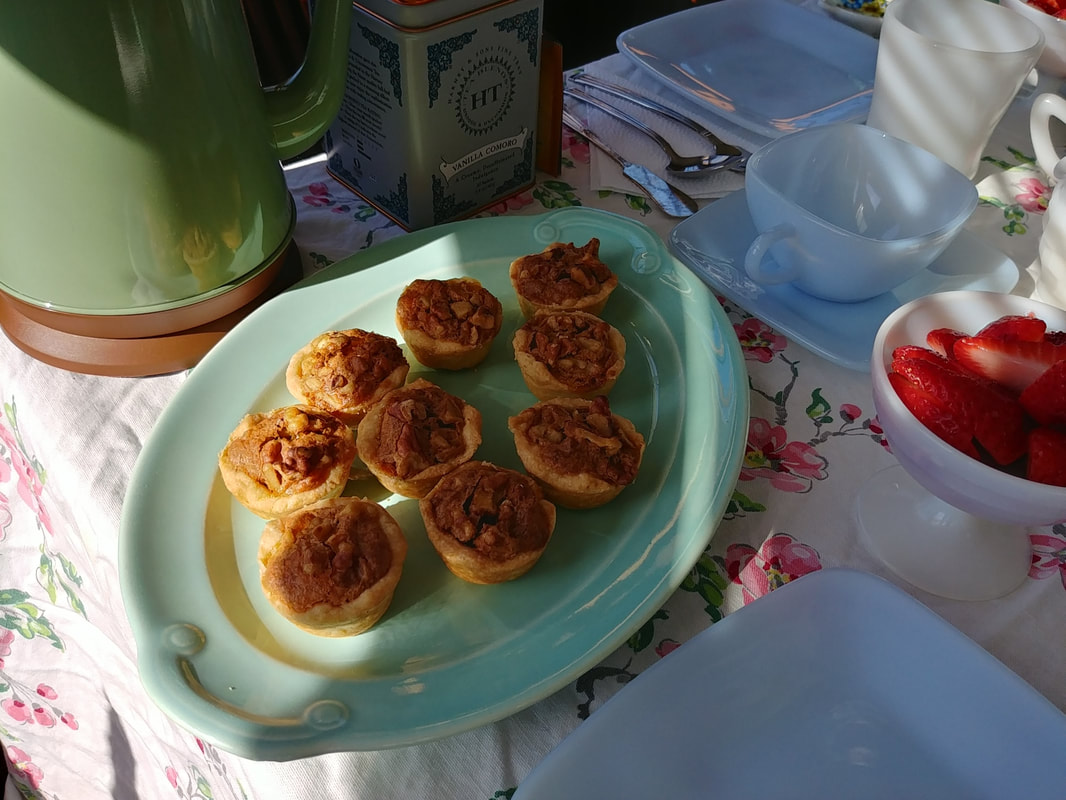
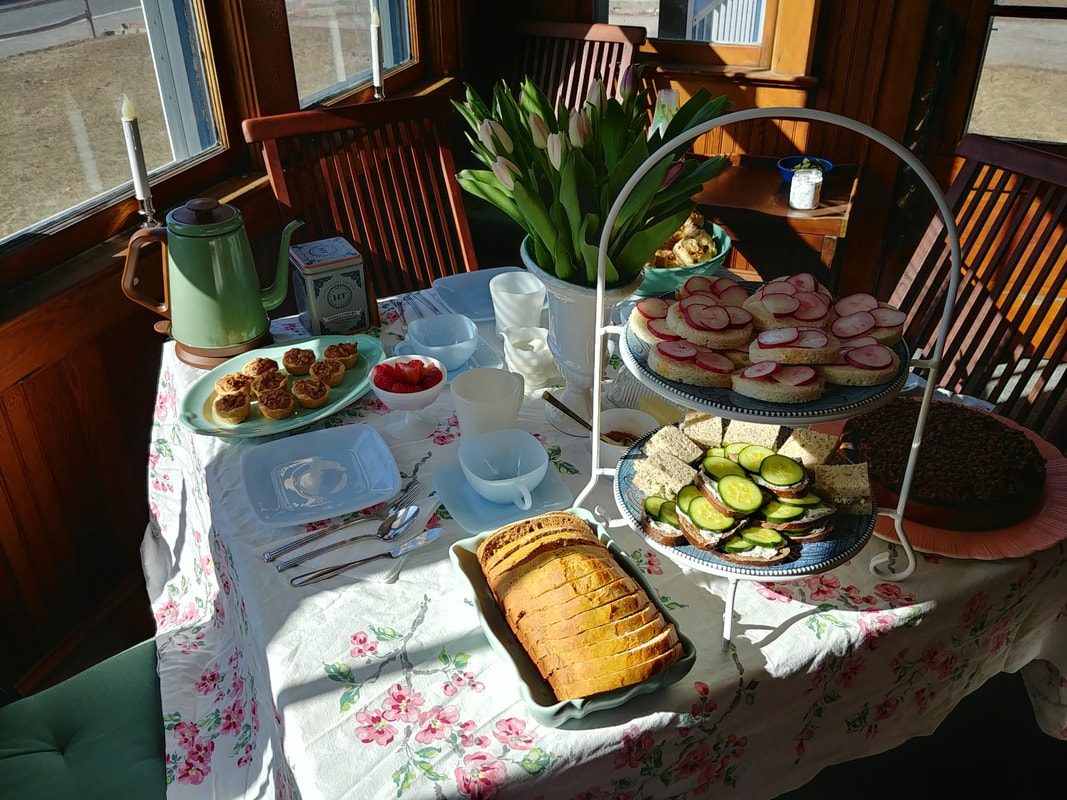
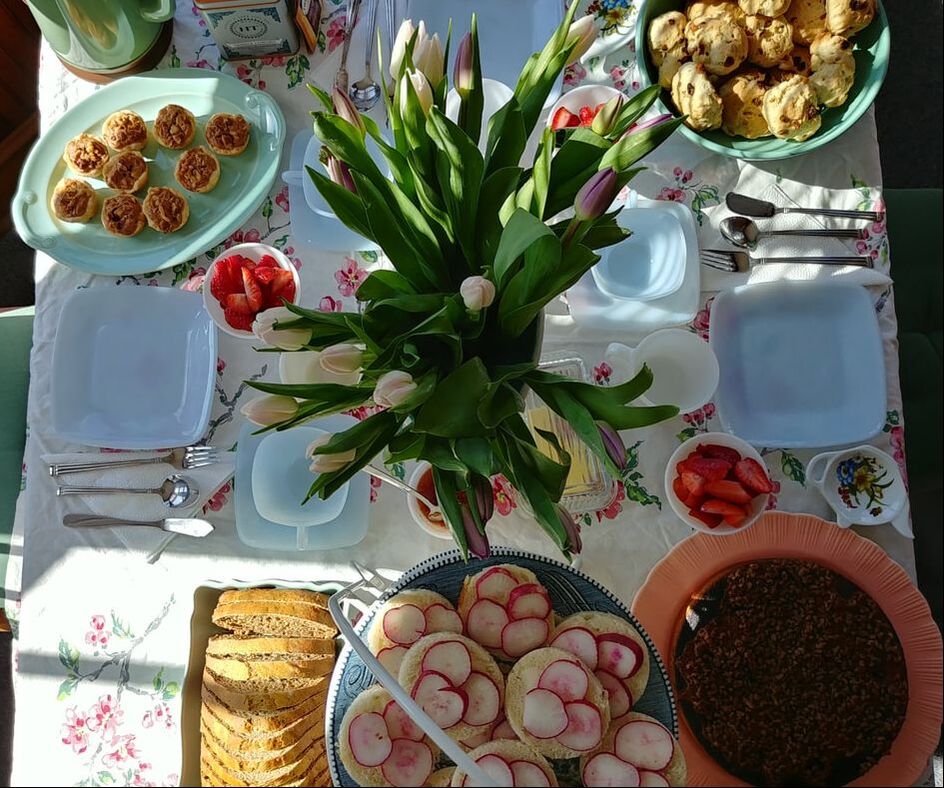
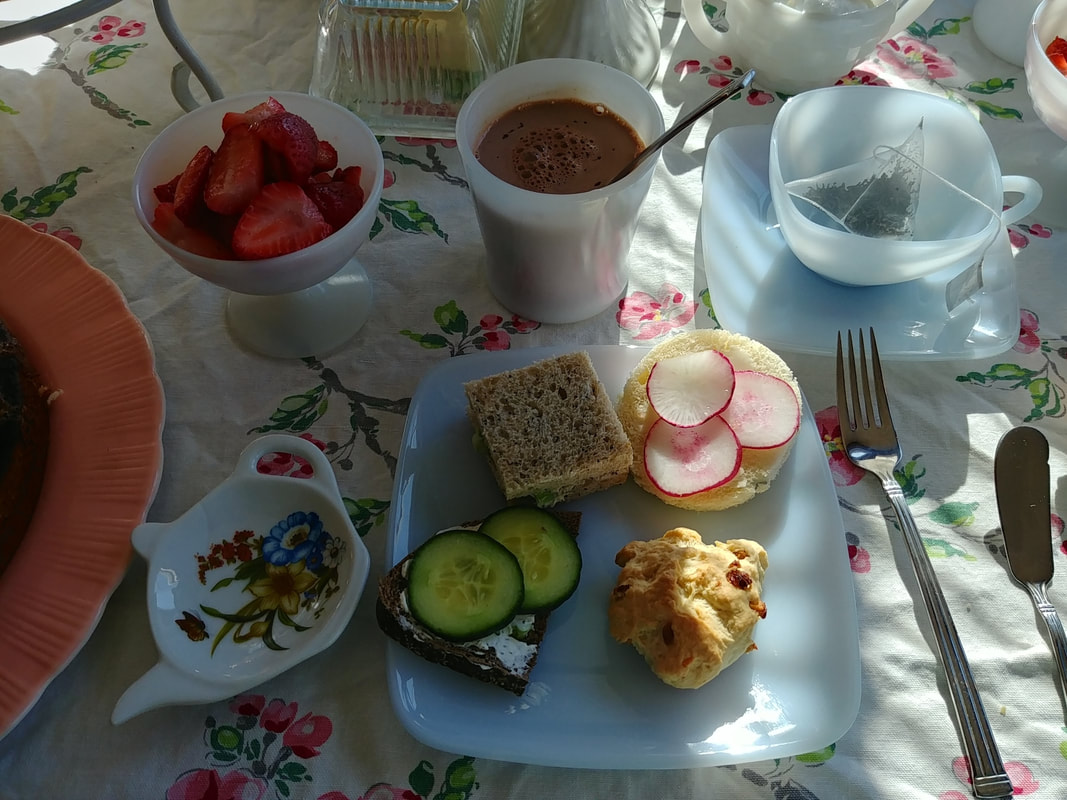
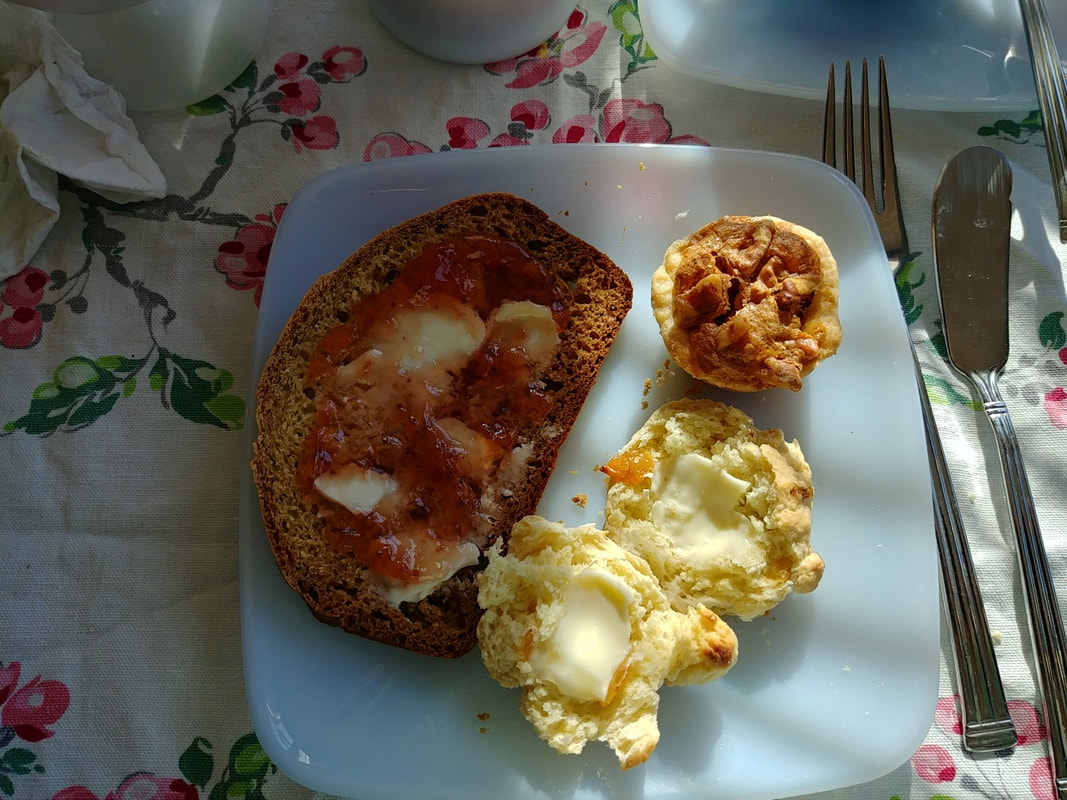
I've spent the last several weeks packing up one room after another in my house, having it painted, and then unpacking. It's been quite a tedious chore, and I must admit, I left the worst for last - my office/guest bedroom which houses my cookbook library! So a friend came over to help me pack up my fragile historic cookbooks and move bookshelves (among other things), so we started our day with a little tea party lunch. We had deviled eggs, spring pea "hummus" sandwiches, oatmeal nutmeg scones with butter and strawberry jam, and plenty of tea with sugar and milk. You can find my favorite deviled egg recipe and oatmeal nutmeg scone recipe here, but the spring pea "hummus" is new, so I thought I would share it as a nice, springy, Meatless Monday recipe. It's not historic in the least - it's my own creation - although it does FEEL like someone in the 1940s would have thought of this as a sandwich spread. Spring Pea HummusIf you want to keep the green color, you need an acid to prevent the peas from turning olive green. Yogurt, buttermilk, lemon juice, or vinegar will all help keep that vibrant green. Fair warning - this makes a lot! Close to a quart. So cut the recipe in half if you live in a small household. 1 bag frozen peas 1/4 cup salted, roasted almonds 3 scallions 1/2 cup cottage cheese 1 tablespoon (or more) lemon juice salt & pepper to taste Bring about about an inch of water to boil in a 2 quart saucepan with a lid, then add the peas and steam, covered for 2 or 3 minutes, until they are tender and bright green. Drain and rinse in several changes of cold water to stop the cooking (and preserve the color). In a food processor or chopper, add all the ingredients, with the scallions and almonds in the bottom, so they blend first and best. Pulse until well-blended. Add a little water or more lemon juice to taste. This is a very forgiving recipe, and will take substitutions easily, provided the peas stay. Substitute walnuts or pumpkin seeds for the almonds, or leave the nuts out altogether (they do give some body). Substitute yogurt or sour cream or even a little buttermilk, or even avocado for the cottage cheese. Use vinegar instead of lemon juice, garlic or raw onion or chives instead of scallions. Add spinach or fresh parsley or dill for extra color and flavor. I served this spread on toasted rye bread, but you can serve it on any kind of bread, or crackers, or flatbread, or potato chips, or with vegetables, or roll it up inside thinly sliced salami, or a piece of cheese. Use it as an addition to a BLT (you can leave out the T, if you're so inclined), or a ham or turkey sandwich. Put pickled onions on top or dollop it on a baked potato, or both. Stir it into hot pasta with some chicken and roasted spring vegetables for a yummy pasta primavera. The possibilities are endless! Let's be honest, the scones and deviled eggs are just about gone, but the spring pea hummus will be making several showings this week for lunch. It's a nice way to get an extra, and yummy, serving of vegetables in. I hope you enjoy it! The Food Historian blog is supported by patrons on Patreon! Patrons help keep blog posts like this one free and available to the public. Join us for awesome members-only content like free digitized cookbooks from my personal collection, e-newsletter, and even snail mail from time to time! Spring has sprung, with daffodils nodding in the frosty air and trees starting to bud out. So it seemed apt to celebrate with another tea party! Once again, our tiny tea party with just one friend featured all-vegetarian recipes, since said friend is a vegetarian. And also because chicken salad, while delicious, seems lazy when you're looking for something new and interesting to try. This one featured recipes from a new cookbook acquisition, The Lunch Box and Every Kind of Sandwich by Florence Brobeck. My edition was published in 1949, although I believe the original was published sometime in the 1930s. It's also a bright orange library binding without the original dust jacket. So no pretty cover to show off this time! Unlike last time, my ambitious list didn't go QUITE as planned. Adapting historic recipes can be like that. 1940s Spring Tea Party MenuOpen-Faced Radish and Butter Sandwiches on White Open-Faced Cucumber and Cream Cheese Sandwiches on Rye Blue Cheese, Pecan, and Celery Sandwiches on Whole Grain 1940s Whole Wheat Honey Quick Loaf 1940s "Plain Buns" with Butter and Jam Fresh Sugared Strawberries Strawberry Lazy Daisy Cake Walnut Tassies Hot Cocoa Tea with Cream and Sugar The SandwichesRadish and butter sandwiches just scream spring to me, and they're very easy to put together. To make things extra fancy, cut sliced bakery bread (not the squishy kind from the bread aisle - hit the bakery and get peasant, sourdough, brioche, or in a pinch, French or Italian bread) with a cookie or biscuit cutter into rounds. Spread with soft butter, top with thinly sliced radishes, and a sprinkling of salt (I used pink Himalayan). The salt is what makes the radishes look wet, but adds a nice flavor. Open-faced cucumber sandwiches are equally easy. Make a cream cheese spread with softened cream cheese (15 seconds in the microwave does the trick), and thinly sliced scallions and dried dill. You can use jarred garlic or minced sweet onion instead of scallions. Spread it on any kind of rye bread. Top with English (a.k.a. seedless - even though they're not - or burpless) cucumbers. If you're hungry, top with another slice of bread spread with the cream cheese mixture, otherwise serve open-faced (which is prettier and more Scandinavian). If you're going really fancy, use fresh dill in the cream cheese and top each sandwich with a sprig of fresh dill. The little square sandwiches were a mashup of two recipes from the The Lunch Box - "Roquefort Cheese and Celery" and "Pecan and Celery" fillings. I decided to mash them up - literally - into one, slightly more interesting filling. I mixed a quarter pound of very soft blue cheese with about a cup each of diced pecans and finely minced celery, with a splash of Worcestershire sauce. It was a curious mixture. Next time I would probably add cream cheese to temper the blue cheese a little, and maybe add some scallions and/or smoked paprika. But otherwise it was quite nice on squares of thinly sliced whole grain bakery bread. Half the fun of tea sandwiches is the fun and dainty shapes you create. I always find it easier to slice the bread first, and then fill, but some people do it the other way around. Whole Wheat Honey Quick LoafWhen one encounters a recipe entitled "Honey Bread," one expects it to taste of, well, honey. Instead, the spicing of this little quick bread leaves the impression of gingerbread more than honey. Curiously, the recipe also contains no fat. I was skeptical, but aside from an accidental overbaking (which I think dried it out), it turned out fairly decently, if scarcely tasting of honey. I followed this recipe pretty much to the letter. It makes a tall loaf with a springy crumb - not at all the crumbly, moist, cake-like texture we come to associate with most quick breads today. Much more like true bread texture than cake. Here's the original recipe: 2 cups flour (I used white whole wheat) 1 teaspoon baking powder 1 teaspoon soda 1 teaspoon salt 1 teaspoon ground ginger 1/2 teaspoon ground cinnamon 1 egg 1 cup milk 1/2 cup liquid honey Sift the flour and measure it; then sift three times with the dry ingredients (or if you're lazy, just whisk everything together). Beat the egg with the milk, and stir this into the dry ingredients alternately with the honey. Beat and pour into a greased loaf pan. Bake in a moderate oven (350 degrees F.) about forty-five minutes or until done. Tip out of the pan and cool on a rack. Serve with salted butter, honey butter, and/or jam. 1940s "Plain Buns"This recipe is deceptive. The title, "Plain Buns" is not accurate - flavored with lemon zest and currants (I used golden raisins), the flavor was surprisingly strong and delicious. Designed to be used with cake yeast, all I had was rapid rise yeast, so I think they got a little overproofed. I'm going to try making them with active dry yeast again, so I won't comment too much on what I did, and just give you the original recipe: 1 cup scalded milk 1 tablespoon sugar 1 yeast cake 1 cup flour 2/3 teaspoon salt 1/4 cup butter or margarine 1 tablespoon lard or shortening 1/4 cup sugar 1/2 lemon, grated rind 1 cup seedless raisins or currants (I used golden raisins) 2 or more cups flour 1 egg yolk Scald the milk, add the sugar to it and, when it has cooled to lukewarm, add the yeast cake broken into small pieces. Cover this and let it stand twenty minutes. Then stir in one cup of sifted flour mixed with the salt. Cover and let this rise until light. Work the butter and lard together until creamy, add gradually the sugar, then the lemon rind. Combine with the first mixture, add the sifted flour (about one and one-half cups) to make a stiff sponge. Beat it well. Cover and let it rise again. Then add chopped raisins or currants and enough more sifted flour to make a soft dough. Cover and let rise again. Then pull off pieces and shape into large rolls. Arrange on a greased baking sheet one inch apart, cover them, and let rise again. Then brush them over with egg yolk, diluted with one teaspoon of water. Bake in a moderately hot oven (375 degrees F.) twenty minutes. This makes twenty to twenty-four buns. Obviously I didn't let rapid rise yeast go through fours separate rises! But I think it still overproofed a bit. I also forgot the egg wash! Which meant the buns looked a bit more like rocks. But they sure tasted good, and that's what mattered. If you enjoy the citrusy flavor of hot crossed buns, you'll love these. Strawberry Lazy Daisy Cake & Walnut TassiesI've made Strawberry Lazy Daisy Cake before, but this time I was somehow out of coconut, so I used chopped pecans for the topping as chopped nuts are the other traditional topping ingredient. Not QUITE as good as the coconut, but still yummy. Sadly for you, I did not make the walnut tassies (my friend did), and thus cannot share the recipe. However, she, like I did, had to make some substitutions! For Walnut Tassies are supposed to be Pecan Tassies, but my friend was out of pecans, so walnuts it was. The original recipe is supposed to be like tiny pecan pies, but tiny walnut pies were equally good. One of the primary joys of tea parties, of course, is in the dishes. I've got my vintage Fire King Azurite Charm teacups and saucers, with newly acquired luncheon plates, some milk glass compotes with sugared strawberries in them, milk glass D ring mugs for cocoa, and assortment of vintage servingware in springy shades, on a vintage floral tablecloth. With tulips in the middle, of course. If you missed the last spring tea party, you can check it out here, with a promise of more to come! Have you had a tea party recently? What favorite food did you feature? Tell us in the comments! The Food Historian blog is supported by patrons on Patreon! Patrons help keep blog posts like this one free and available to the public. Join us for awesome members-only content like free digitized cookbooks from my personal collection, e-newsletter, and even snail mail from time to time!
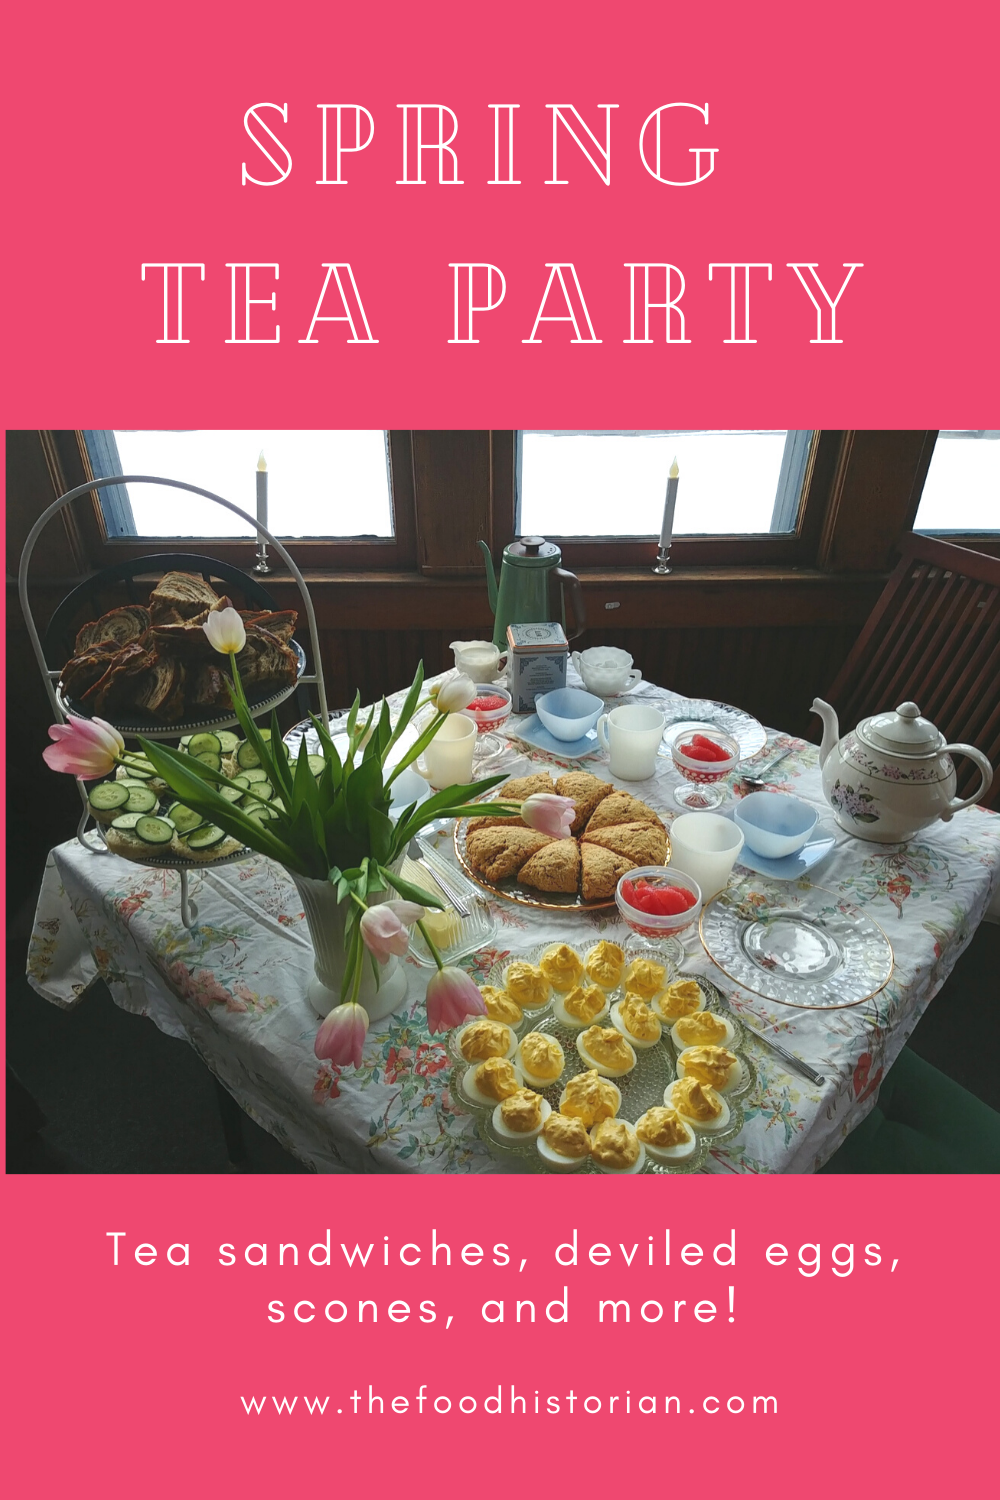
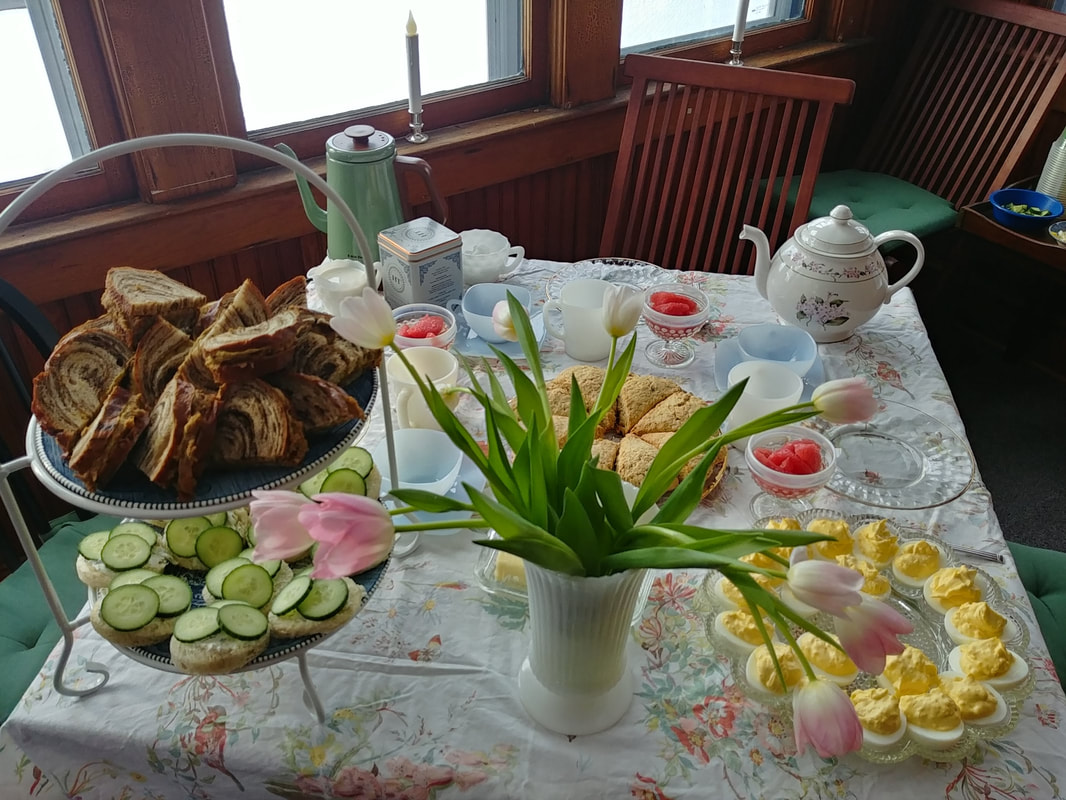
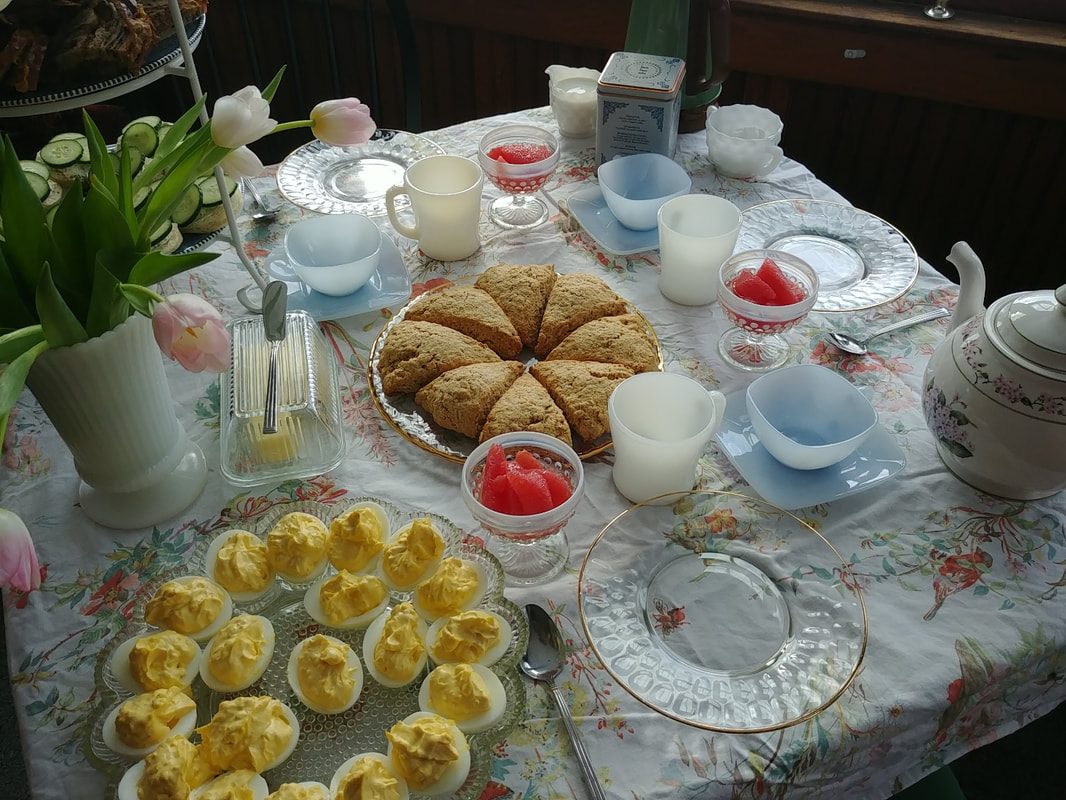
I love winter, don't get me wrong, and the frequent snowstorms and squalls we've been having here in New York have actually lifted my spirits more often than not. I vastly prefer fluffy white snow and prettily iced trees to muddy brown landscape and grey days. That being said, sometimes you just need to brighten your day, and this was exactly the little escape I needed. I spent the morning cooking and baking, a friend brought cookies and tulips, and we sat down to a delightful tea party, complete with my new favorite electric tea kettle. It was an excuse also to use some of my extensive collection of vintage glassware. I didn't match, but that was okay. Who can say no to hobnail compote dishes and Charm teacups?
Vegetarian Spring Tea Party Menu
Deviled Eggs
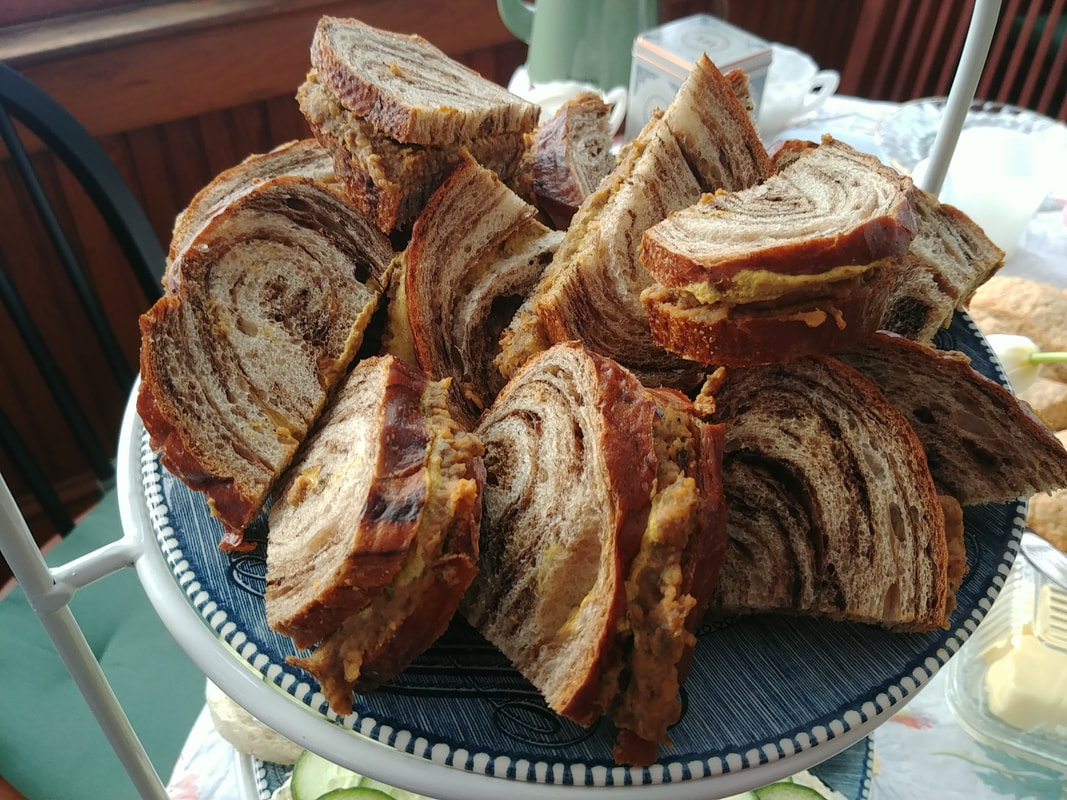
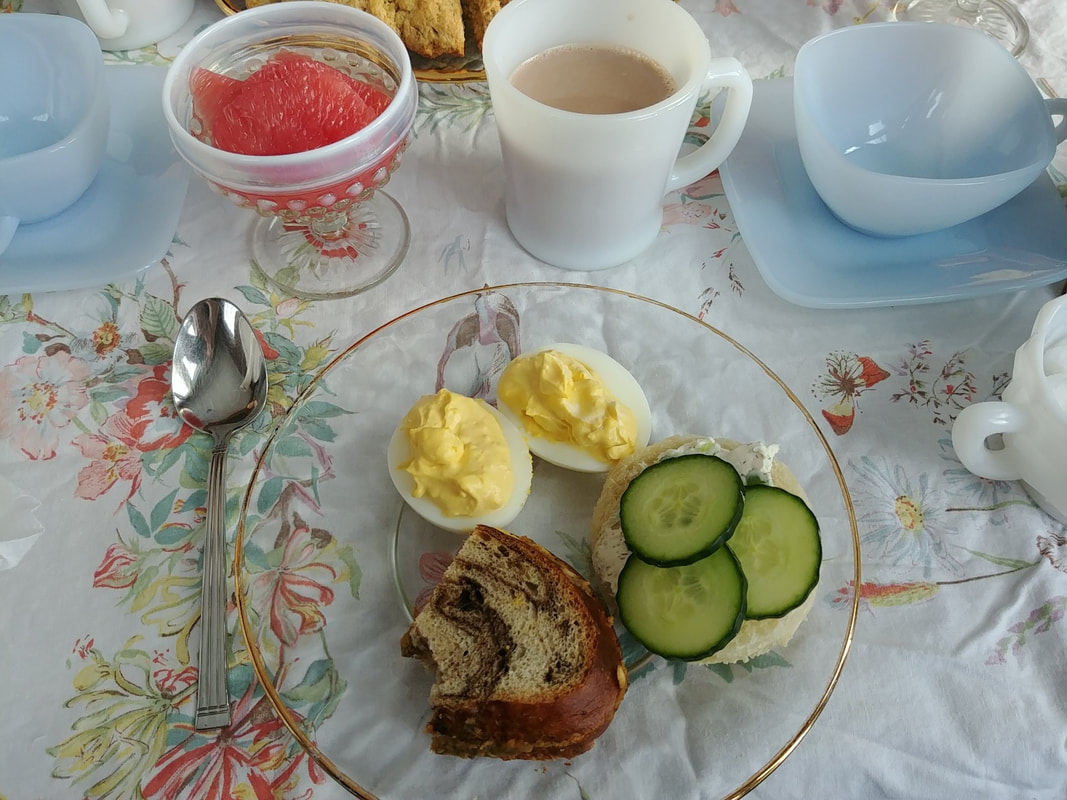
Lentilwurst Sandwiches with Mustard on Pumpernickel Cucumber Sandwiches With Herbed Cream Cheese on White Ruby Red Grapefruit Sections in Light Syrup Oatmeal Nutmeg Scones Citrus Yogurt Olive Oil Cake Chocolate Chip Cookies Hot Cocoa Assorted Tea with Cream and Sugar
I seriously considered making Earl Grey madeleines, and maybe cream biscuits with assorted jams, but with only three of us, this was plenty. We remarked on the funny thing about tea parties is that everything is fairly small, so it doesn't seem like much food, but it certainly fills you up quickly!
The menu was fairly easy. Our friend brought the cookies, the grapefruit was pre-sectioned from the refrigerated produce section of the grocery store. The most involved recipe was the citrus yogurt olive oil cake, which was okay, but not as nice as I had hoped, so I'm not going to include the recipe here. I made this tea party vegetarian in part because our friend is vegetarian, but also because vegetarian food just seems a bit lighter and more appropriate for a tea party. You can satisfy even the heartiest appetite with lentilwurst sandwiches - the mushroom/lentil mixture really does smell and even taste like sausage, thanks to the mix of herbs and spices. I first made lentilwurst back for our White Christmas themed party, and I've made it several times since. Cucumber Sandwiches
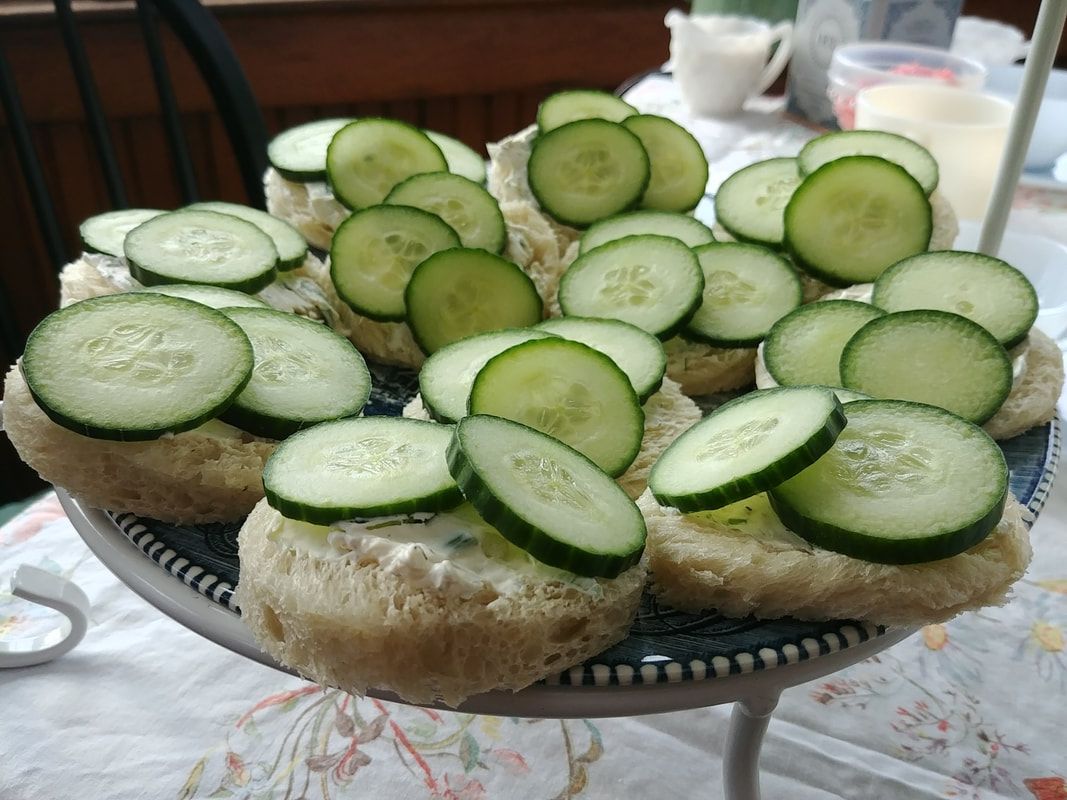
What is a tea party without cucumber sandwiches? I went extra-fancy here and cut rounds out of the centers of soft white sandwich bread (the bakery kind, not the pre-sliced kind). Frankly, it didn't make a lot of rounds, so I left these open-faced. I'm saving the outer scraps for bread pudding later this week. The rest of the recipe is simple. You'll need:
1 package neufchatel cream cheese 2 scallions dried dill weed a tablespoon or two of milk, cream, or buttermilk 1 English (or burpless/seedless) cucumber white bread rounds Soften the cream cheese at room temperature. Thinly slice the scallions, white and green parts, and add to the cream cheese with the dill weed and liquid. With a fork, mash the lot together until well mixed. Spread onto the rounds of bread and top with thin slices of cucumber. If you want to be extra fancy, you could garnish with fresh dill or chives. The bread will dry out as you let it sit out, so try to do these sandwiches at the last minute, or cover and refrigerate them. Deviled Eggs Recipe
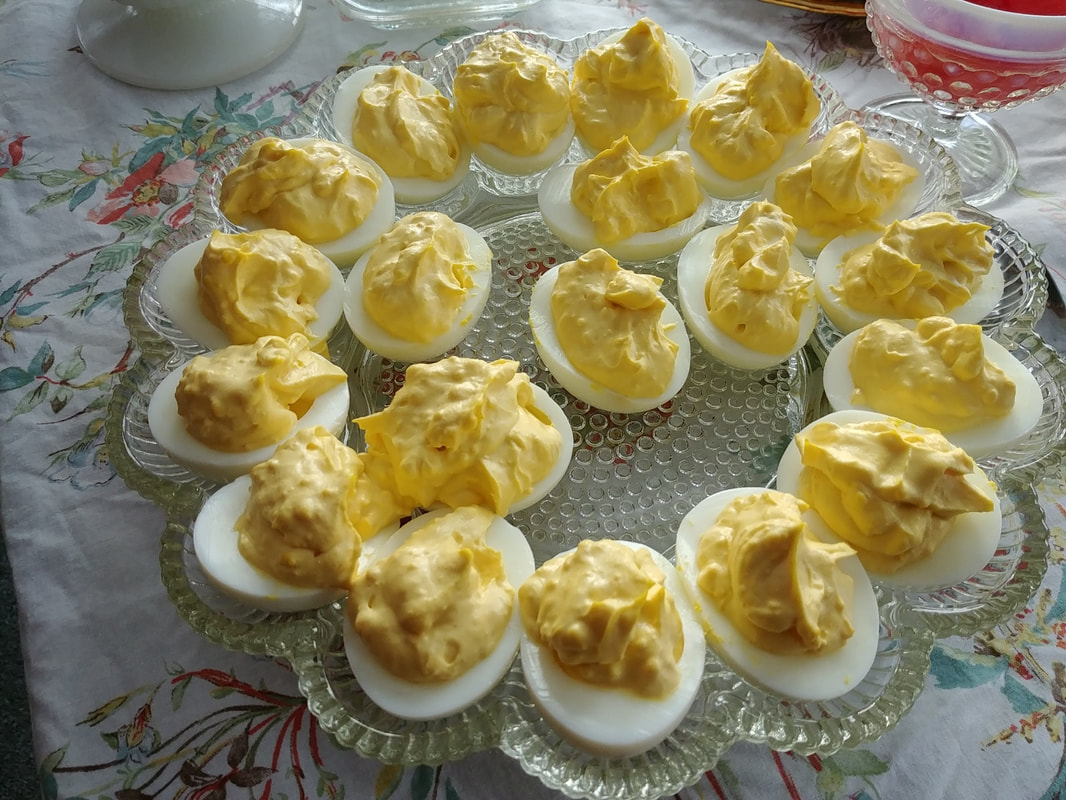
Deviled eggs are one of my favorites, but I find most deviled eggs that other people make to be rubbery and bland. There are three tricks to deviled eggs - don't overcook the eggs, boil the eggs the same day you plan to serve them, and make the yolk filling smooth, creamy, and generous.
12 large eggs 1/4 cup mayonnaise 1/4 cup sour cream 2 tablespoons Dijon mustard In a large pot, cover your eggs with cold water by several inches. Bring pot of cold water to a boil over high heat and let boil for 1-2 minutes. Then turn off heat, set a timer for 15 minutes, and let eggs continue to cook as the water slowly cools down. When the 15 minutes are up, remove the eggs to a bowl of ice water to stop cooking and cool down. Peel the eggs (crack them under water for easiest peeling), halve them, and remove the yolks. With a fork, mash the yolks finely until there are no chunks left and the yolk mixture is powdery. Then add 2 tablespoons Dijon mustard, and 1/4 cup each mayo and sour cream. Mix well. If the mixture seems dry, add another spoonful of mayo and sour cream, until the yolk mixture is fluffy, but not runny. Fill the eggs generously, in the hollow left by the yolk and pile some more on top. I just use a spoon and dollop, but you can fill a pastry bag or a plastic sandwich bag with the end cut off if you want something a little more polished-looking. If desired, garnish with paprika, black pepper, and/or chopped chives, but I like mine plain. Keep cool until ready to serve, and watch them fly off the tray. Oatmeal Nutmeg Scones
Scones are another essential part of a tea party. These are my absolute favorite recipe, straight from the eminent Dorie Greenspan. I didn't make too many changes, except halfway through the recipe I realized I only had room temperature butter. Thankfully, my husband reminded me of the several pounds of butter in our chest freezer, so instead of cutting in cold butter like the recipe calls for, I grated frozen butter and mixed that in, which worked well. These scones have a nutty, toasty, nutmeg-y flavor and using fresh-grated nutmeg really makes a difference, although you shouldn't use quite as much as pre-ground nutmeg
1 egg 1/2 cup cold buttermilk 1 2/3 cup all-purpose flour (I used white whole wheat) 1 1/3 cup old fashioned rolled oats 1/3 cup sugar 1 tablespoon baking powder 1/2 teaspoon baking soda 1/2 teaspoon salt 1/4 teaspoon nutmeg 10 tablespoons cold, unsalted butter (1 stick, plus 2 tablespoons) Preheat the oven to 400 F. In a small bowl, whisk together the egg and oatmeal. In a larger bowl, whisk all dry ingredients together, than cut in butter (or used grated frozen butter). Add egg mixture and toss with a fork until mostly combined. Knead a few times until the remaining flour is absorbed, then pat into a round and cut into wedges. Bake 20-22 minutes or until golden. Cool for a few minutes before serving. Serve warm with plenty of salted butter. Perfect Tea
The one lovely thing about using an electric kettle for tea is you can have the kettle right at the table, which is what we did. Cooking at table with electric appliances was common in the 1930s and '40s, especially at breakfast. It was fun to be able to recreate that fashion today! Plus, being able to reheat the water right at the table certainly made a difference in refills.
In all, this teensy little party was super fun, and I'm definitely having a tea party again! Something about getting out the fancy dishes, fresh flowers, a candle or two, an assortment of tempting little treats, and plenty of hot tea makes everything better. Plus I have plenty of other recipes to share. So many, in fact, I'm considering writing a little tea party cookbook. Would you be interested if I did?
Have you ever had a tea party? Do you have favorite tea cups and dishes? Tell us in the comments!
The Food Historian blog is supported by patrons on Patreon! Patrons help keep blog posts like this one free and available to the public. Join us for awesome members-only content like free digitized cookbooks from my personal collection, e-newsletter, and even snail mail from time to time!
|
AuthorSarah Wassberg Johnson has an MA in Public History from the University at Albany and studies early 20th century food history. Archives
July 2024
Categories
All
|




 RSS Feed