
"Mr. Fezziwig's Ball," Frontspiece to "A Christmas Carol" by Charles Dickens, 1843.
Thanks to everyone who joined us for Episode 24 of the Food History Happy Hour! In this episode we made eggnog and talked about all things Christmas, including Medieval beverages, the origins of fruitcake, plum pudding, and mincemeat. Full list of historic Christmas beverages below, and here's a little more history on the Eggnog Riot of 1826 at West Point! We also talked briefly about Charles Dickens (hence the Fezziwig image!) and the 2017 movie "The Man Who Invented Christmas," which I recommend!
(Apologies for the fuzzy audio - not sure what happened!)
A LOT of historic recipes for eggnog call for party-sized portions. But there are lots of single-serve versions in vintage bartender's guides through the ages. I thought we would use this one, Practical Bar Management, by Eddie Clark, published in 1954, which, co-incidentally, is also the same year the movie White Christmas came out. If you'd like to catch up with the menu I put together to go along with White Christmas, you can see all the blog posts and recipes here.
Eggnog (1954)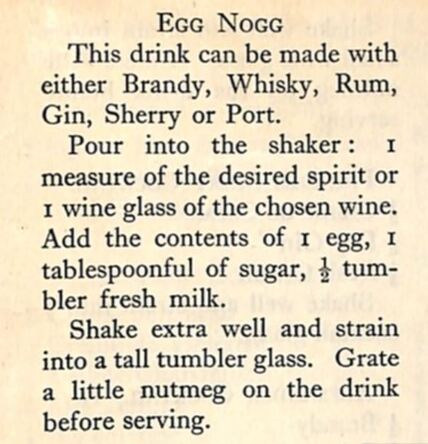
"Eggnogg" recipe from "Practical Bar Management" by Eddie Clarke, 1954.
As you can tell, this recipe isn't exactly exact! Not even the spelling. Here's the original text:
"This drink can be made with either Brandy, Whisky, Rum, Gin, Sherry, or Port. "Pour into the shaker: 1 measure of the desired spirit or 1 wine glass of the chosen wine. Add the contents of 1 egg, 1 tablespoonful of sugar, 1/2 tumbler fresh milk. "Shake extra well and strain into a tall tumbler glass. Grate a little nutmeg on the drink before serving." Here's my adaptation, which I shook over ice to make it cold, which I think watered things down a smidge. Still very good. 1 jigger spiced rum 1 pony bourbon 1 large egg, well-washed 1/2 cup whole milk 1 tablespoon sugar Shake very well until cold and frothy. Grate some fresh nutmeg on top and serve cold. I am not generally a fan of prepared eggnog you can buy in stores. It's usually thickened with carageenan, VERY sweet, and very strongly flavored. This homemade version was much nicer - not as thick (although you could use half and half or light cream instead of milk for a richer product and skip the ice), not nearly as sweet, and although the alcohol was very forward (you could cut back a bit if you want), it was quite nice - creamy with a frothy head and didn't taste much like eggs at all, surprisingly. I'm a fan! Holiday Beverage Glossary
A LOT of different holiday beverages came up in the comments, so I thought I'd list a few with approximate ages and places of origin.
So what do you think? Did I miss any historic holiday beverages? At our house, we always serve an 18th century punch called Second Horse Punch. Which, like most Christmas classics, needs to be made in advance! Do you have any special or traditional holiday beverages? Share in the comments!
Food History Happy Hour and the Food Historian blog are supported by patrons on Patreon! Join us for awesome members-only content like free digitized cookbooks from my personal collection, e-newsletter, and even snail mail from time to time!
0 Comments
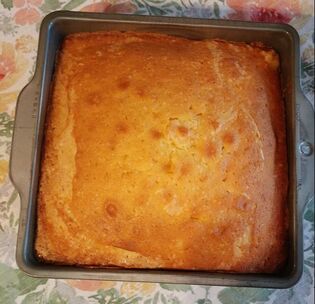
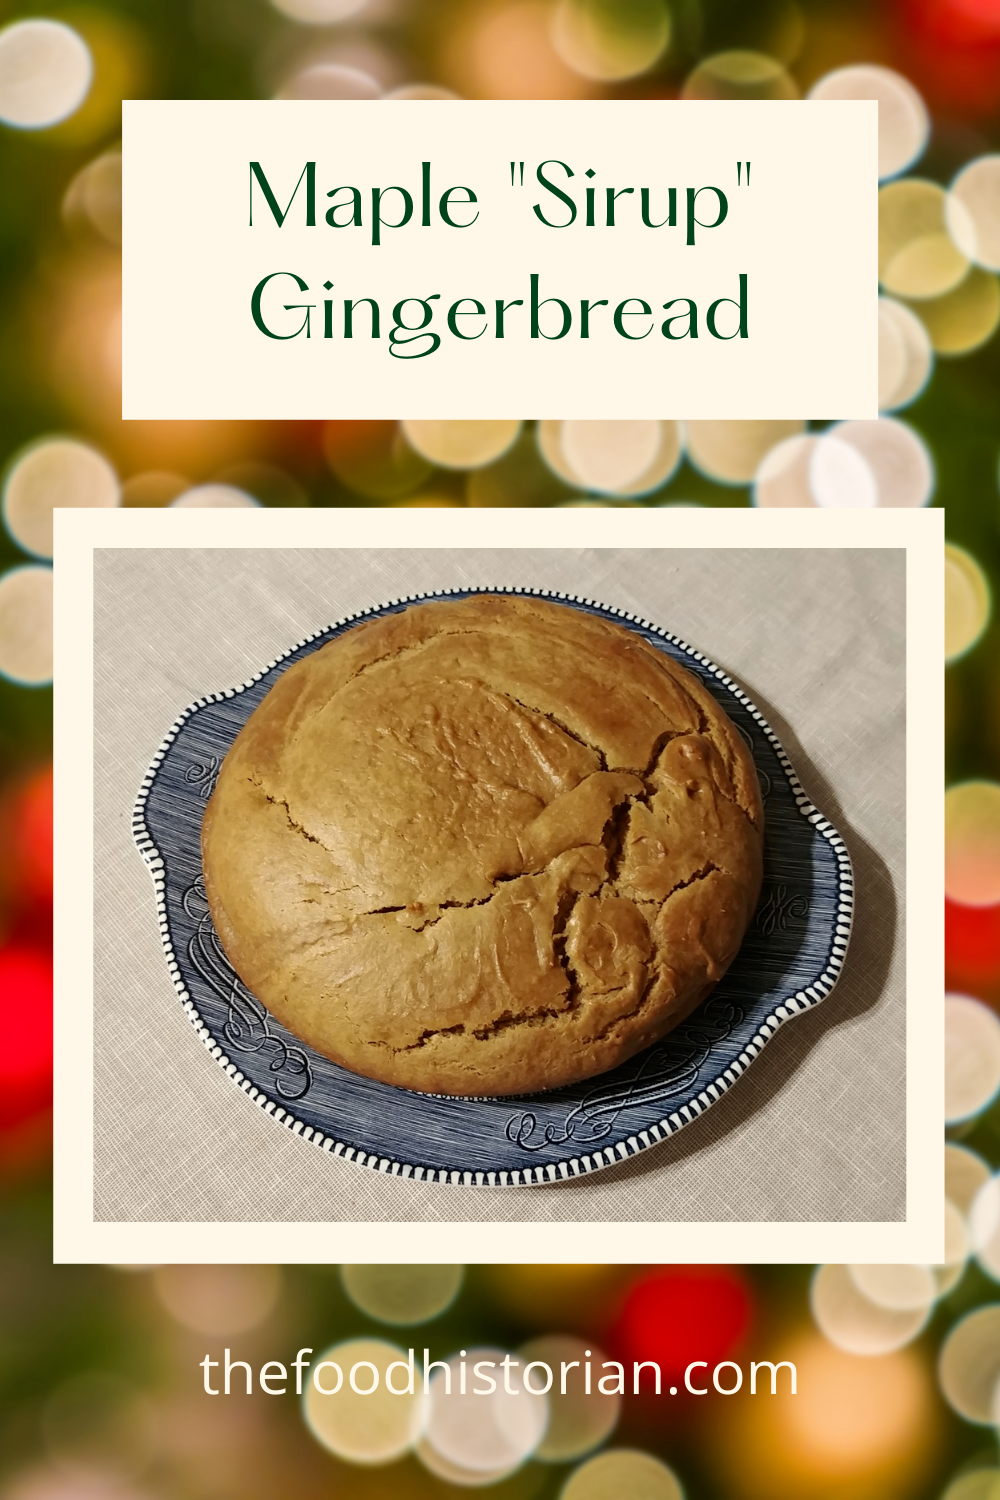 I really debated what dessert would go best with White Christmas. Aside from the malted milkshake, and the General's birthday cake, none are mentioned in the movie. I thought about going the fruitcake route, but I didn't exactly have time for it to soak. And then, when flipping through The United States Regional Cook Book (1947), I ran across a recipe I'd found and wanted to try earlier in the year - "Maple Sirup Gingerbread." Gingerbread is a traditional Christmas food dating back to the Medieval period, and the use of maple syrup (or, in 1940s spelling, "sirup") made the recipe appropriately Vermont-y. During World War II, maple syrup was touted as a sugar alternative and throughout history it has generally been less expensive than refined white sugar. Not so today, when a quart of maple syrup ranges in price from $15-$25, depending on where you are (which means a cup averages about $5). If you'd rather not "waste" a whole cup of maple syrup on a cake, feel free to use a different gingerbread recipe (may I recommend New York Gingerbread?). 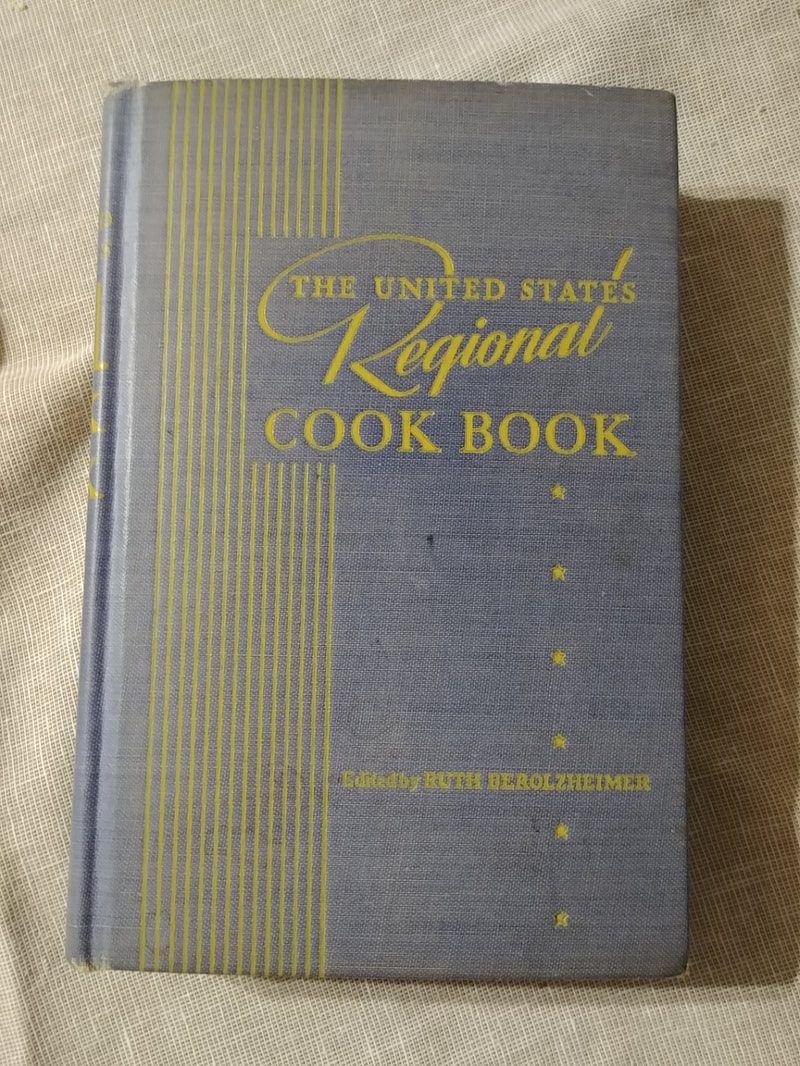 Cover of "The United States Regional Cook Book," (1947) edited by Ruth Berolzheimer. 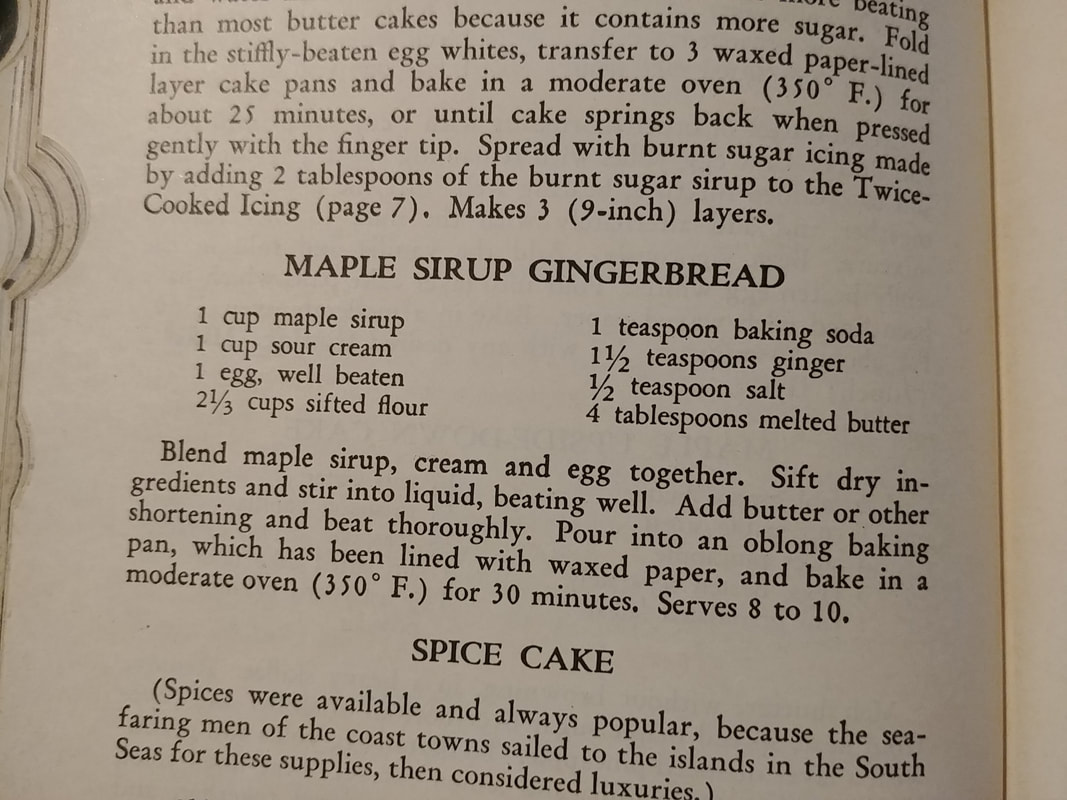 Original recipe for "Maple Sirup Gingerbread" from "The United States Regional Cook Book" (1947). Maple Sirup Gingerbread (1947)It occurred to me after I started making this that the "sour cream" in the recipe was probably SOURED liquid cream, instead of the thick, dairy sour cream we're used to these days. But I went with it anyway. If you want to try something closer to the original, split the difference and use a half cup of heavy cream and a half cup of sour cream. Aside from that, I made no changes to this recipe, except to make an executive decision about "oblong baking pans" and just do a round one instead. I also don't recommend lining the pan with waxed paper, unless you want the wax to melt into your cake and onto your pans. Parchment is fine, but unnecessary. Just grease the pan well. 1 cup maple syrup 1 cup sour cream 1 egg, well beaten (you don't actually have to beat the egg in advance) 2 1/3 cups sifted flour (ditto sifting) 1 teaspoon baking soda 1 1/2 teaspoons ginger 1/2 teaspoon salt 4 tablespoons melted butter (1/2 a stick) Blend maple syrup, sour cream, and egg together until smooth. Add dry ingredients and whisk into the liquid ingredients, making sure to stir well. Add butter and beat thoroughly. Pour into greased ROUND cake pan and bake at 350 F for 30-40 minutes, or until the center of the cake springs back to the touch. Loosen the edges and tip out the pan to cool on a rack. Serve warm or cold with plenty of whipped cream. 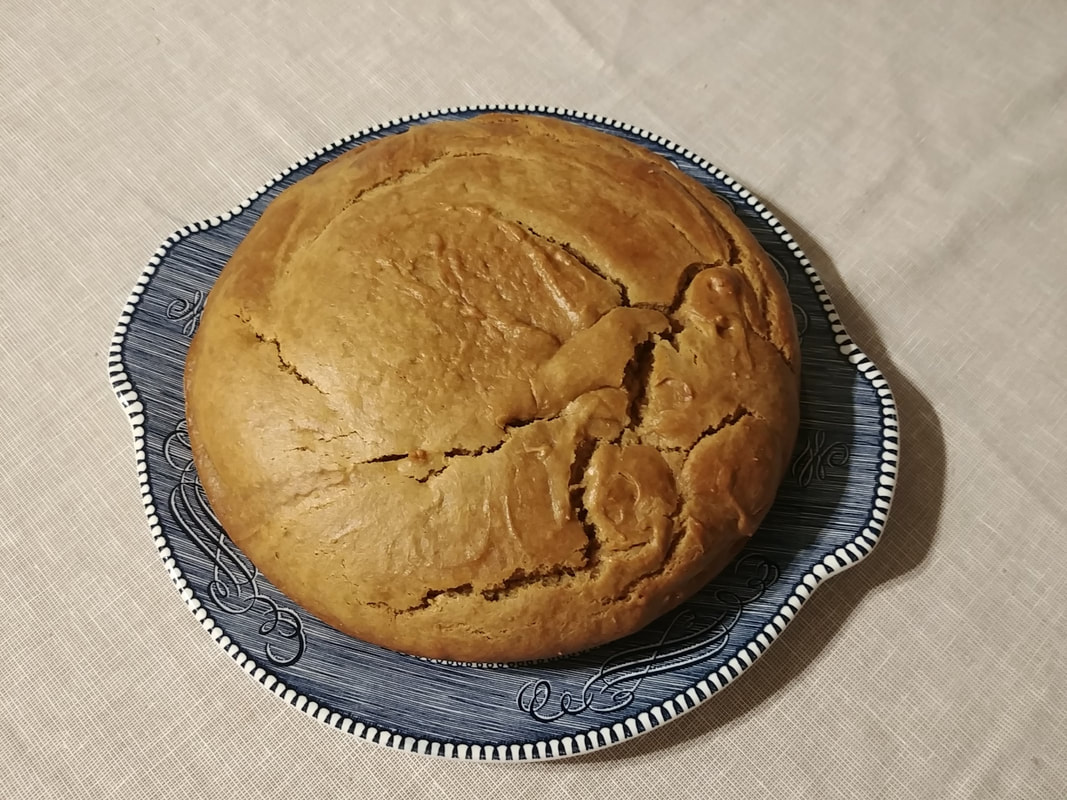 The finished Maple Sirup Gingerbread, with rustic-looking cracks, on my special 1950s Currier & Ives cake plate. 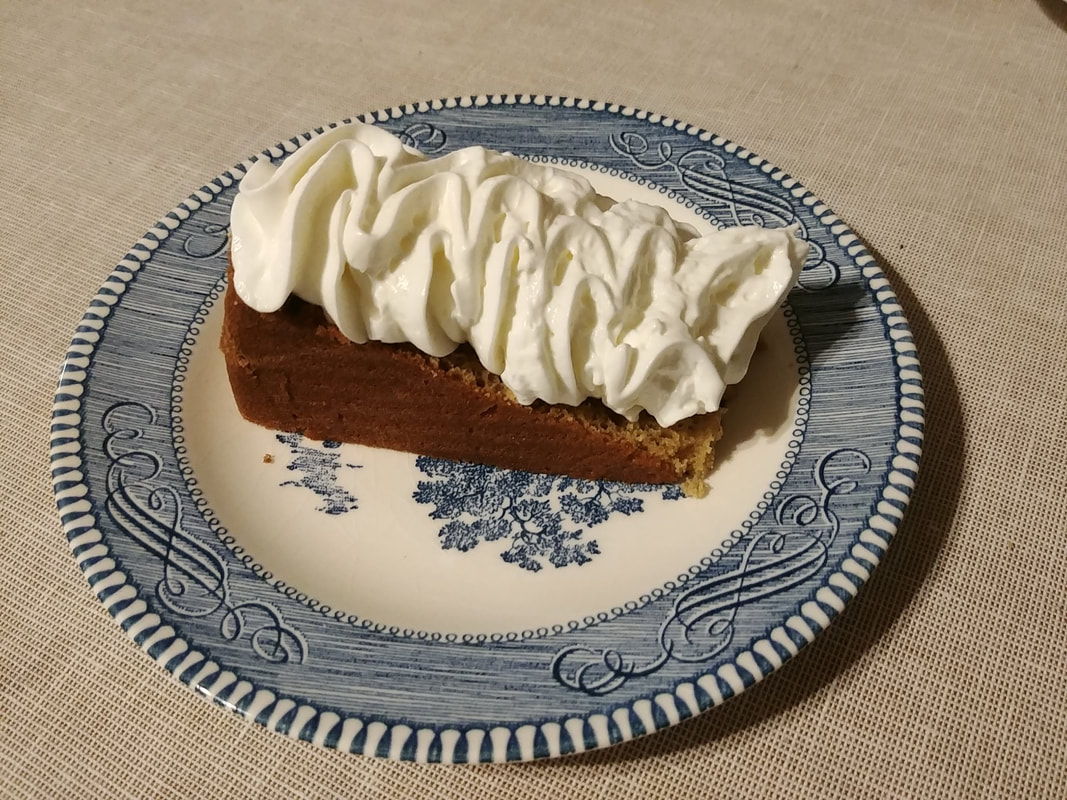 A thin slice of gingerbread with an appropriate amount of whipped cream. On a Currier & Ives bread/dessert plate. A word to the wise, you'll note that this recipe ONLY contains ginger, no other spices. But it contains quite a bit of ground ginger, which means the ginger flavor is very forward and in my opinion masks the flavor of the maple syrup, though my husband swore he could taste it. You might want to dial back the ginger a bit if you make it. Either way, it's very good - dense and moist with lots of good gingery flavor and feeling appropriately Christmassy. If you're trying to be healthier, I recommend subbing half of the all-purpose flour with a whole grain one. Spelt or rye would both be nice. So what do you think? Does Maple Sirup Gingerbread go with White Christmas (1954)? Let me know in the comments! And be sure to follow the White Christmas tag or visit the original menu post for the rest of the White Christmas Dinner and a Movie menu. Want to see more Dinner and a Movie posts? Make a request or drop your suggestions in the comments! The Food Historian blog is supported by patrons on Patreon! Join us for awesome members-only content like free digitized cookbooks from my personal collection, e-newsletter, and even snail mail from time to time! 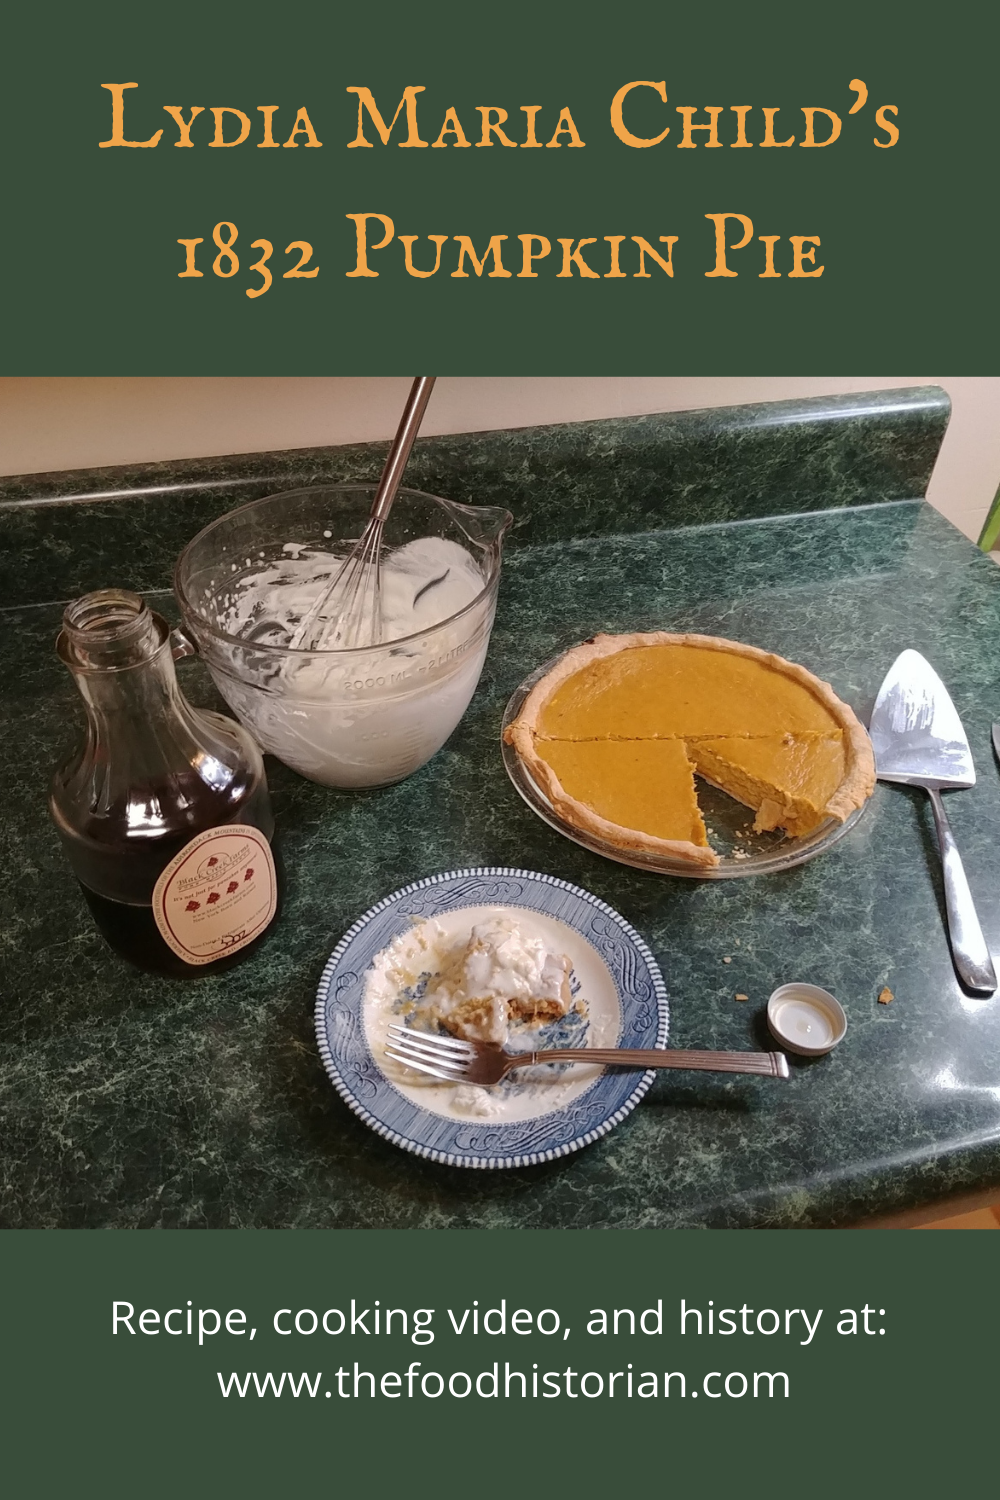 Last week I did the first of a series of several talks with cooking demonstrations for the Poughkeepsie Library. The first was all about pumpkin pie and I made Lydia Maria Child's original pumpkin pie recipe from her 1832 cookbook The American Frugal Housewife, and then followed it with a discussion of the history of pumpkin, pumpkin pie, and pumpkin pie spice. The library recorded the talk, so you can check it out below! Lydia Maria Child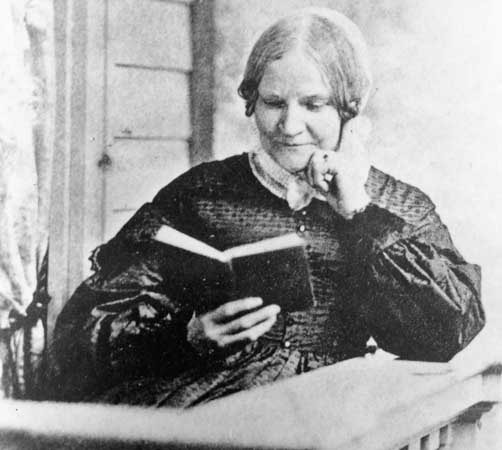 Photograph of Lydia Maria Child reading a book, c. 1865. Lydia Maria Child was born in Medford, Massachusetts in 1802. When she moved to Maine as a young woman to study to be a teacher, her older brother Convers, who had attended Harvard Seminary, assisted with her literary education. Upon reading and article about the rich resources New England history could provide novelists, she launched an unplanned writing career with her first novel, Hobomok, published in 1824. The book was set in 17th century New England and concerned the lives of a Native man, Hobomok, and the White woman he married and had a child with. Initially rejected by critics for its theme of miscegenation, it was later lauded by Boston literary circles. While teaching, Lydia Maria turned her attention to writing again, founding Juvenile Miscellany in 1826 - the first American monthly periodical designed specifically for children. Under Child's editorship, it became a popular and groundbreaking publication, emphasizing Protestant morality without the boring proselytizing common in children's literature at the time. In 1828 she married David Lee Child, a Boston lawyer and journalist (her maiden name was Francis) and stopped teaching, but not writing. In 1829 she published The Frugal Housewife: Dedicated to those who are not ashamed of economy, a cookbook directed at assisting the lower classes. It was published in several editions until 1832, when she changed the name to The American Frugal Housewife, to differentiate it from another cookbook of the same title published in Britain. Child published several other books on motherhood and household management, but her abolition work and radical politics largely derailed her literary career. She and her husband David Child began to identify as abolitionists in 1831. In 1833, she published An Appeal in Favor of that Class of Americans Called Africans, which called, among other things, for total abolition of slavery without compensation to enslavers. It was the first anti-slavery book (not pamphlet) published in the United States. Throughout the 1830s and '40s she became very active in the abolition and anti-slavery movements, publishing anti-slavery fiction, anti-slavery political tracts, and organizing fundraisers and events. Her anti-slavery stance and other radical politics enraged many readers in the American South, and subscriptions to Juvenile Miscellany declined so much that in 1834 she stepped down as editor. Sarah Josepha Hale edited the magazine until its closure in 1836. Child went on to publish tracts supporting Native American rights as well, including An Appeal for the Indians in 1868. Lydia Maria Child died in 1880 at the age of 78. Because of her political beliefs, she did not see the financial success of many of her author peers. But The American Frugal Housewife remains one of her most enduring legacies, along with her most famous poem, "A New England Boy's Song About Thanksgiving Day," which she published as part of her book Flowers for Children, Vol. 2 in 1844. You might know it better as "Over the River and Through the Woods." "A New England Boy's Song About Thanksgiving"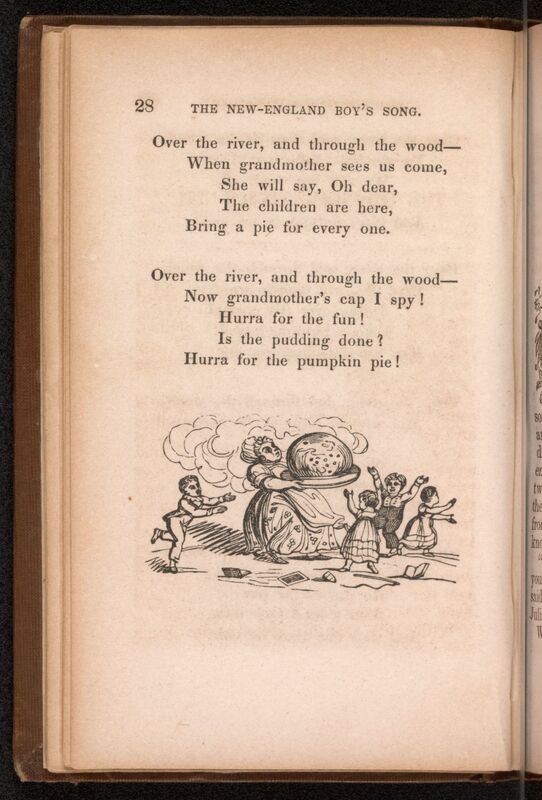 The final page from "The New England Boy's Song for Thanksgiving Day," featuring a delightful illustration of "grandmother" carrying not a pumpkin pie, but an enormous steamed pudding with hard sauce. "Flowers for Children, Volume II" (1844). Library of Congress. Over the river, and through the wood, To grandfather's house we go; The horse knows the way, To carry the sleigh, Through the white and drifted snow. Over the river, and through the wood, To grandfather's house away! We would not stop For doll or top, For 't is Thanksgiving day. Over the river, and through the wood, Oh, how the wind does blow! It stings the toes, And bites the nose, As over the ground we go. Over the river, and through the wood, With a clear blue winter sky, The dogs do bark, And children hark, As we go jingling by. Over the river, and through the wood, To have a first-rate play -- Hear the bells ring Ting a ling ding, Hurra for Thanksgiving day! Over the river, and through the wood -- No matter for winds that blow; Or if we get The sleigh upset, Into a bank of snow. Over the river, and through the wood, To see little John and Ann; We will kiss them all, And play snow-ball, And stay as long as we can. Over the river, and through the wood, Trot fast, my dapple grey! Spring over the ground, Like a hunting hound, For 't is Thanksgiving day! Over the river, and through the wood, And straight through the barn-yard gate; We seem to go Extremely slow, It is so hard to wait. Over the river, and through the wood, Old Jowler hears our bells; He shakes his pow, With a loud bow wow, And thus the news he tells. Over the river, and through the wood -- When grandmother sees us come, She will say, Oh dear, The children are here, Bring a pie for every one. Over the river, and through the wood -- Now grandmother's cap I spy! Hurra for the fun! Is the pudding done? Hurra for the pumpkin pie! "Pumpkin And Squash Pie" (the filling)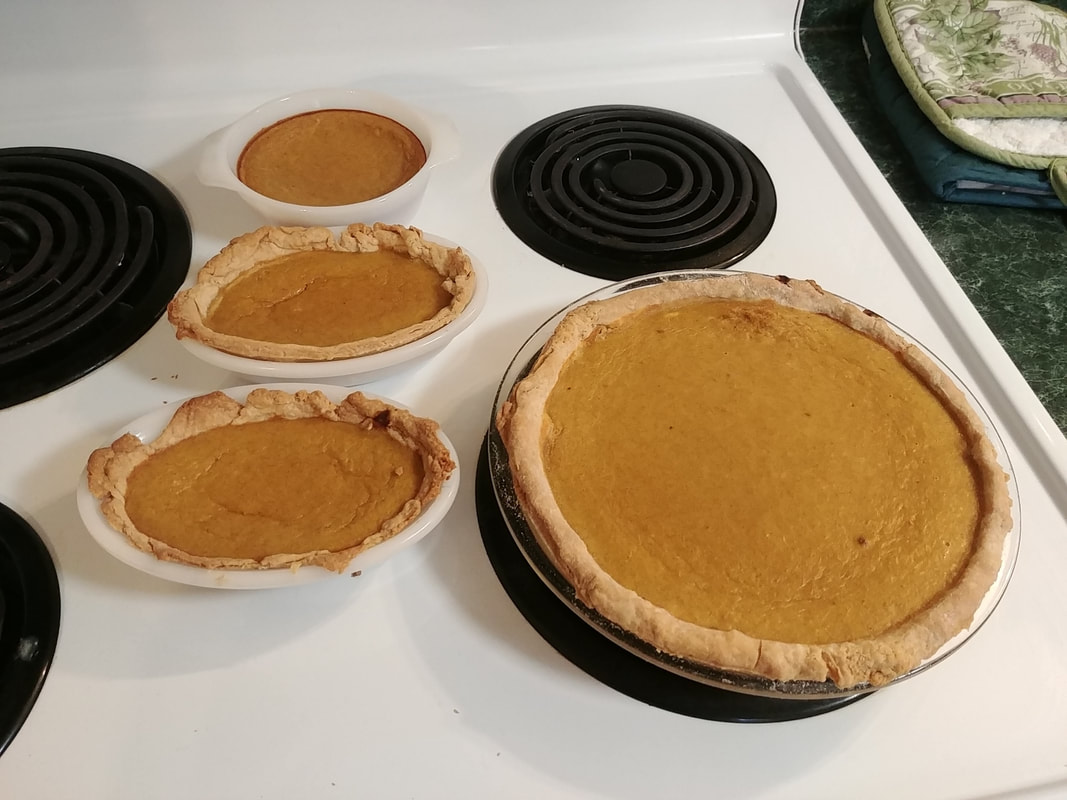 The finished pies I baked for the cooking demonstration! Here is Lydia Maria Child's original text: "For common family pumpkin pies, three eggs do very well to a quart of milk. Stew your pumpkin, and strain it through a sieve, or colander. Take out the seeds, and pare the pumpkin, or squash, before you stew it; but do not scrape the inside; the part nearest the seed is the sweetest part of the squash. Stir in the stewed pumpkin, till it is as thick as you can stir it round rapidly and easily. If you want to make your pie richer, make it thinner, and add another egg. One egg to a quart of milk makes very decent pies. Sweeten it to your taste, with molasses or sugar; some pumpkins require more sweetening than others. Two tea-spoonfuls of salt; two great spoonfuls of sifted cinnamon; one great spoonful of ginger. Ginger will answer very well alone for spice, if you use enough of it. The outside of a lemon grated is nice. The more eggs, the better the pie; some put an egg to a gill of milk. They should bake from forty to fifty minutes, and even ten minutes longer, if very deep." And here's my translation: 1 sugar pie pumpkin 2 cups whole milk 4 eggs 2 tablespoons cinnamon 1 tablespoon ground ginger 1/2 teaspoon salt 1/4-1/2 cup maple syrup Cut pumpkin in half, scoop out seeds, and roast, cut-side down, for 45 minutes at 350 F. When soft and easily pierced with a knife, remove from oven and scoop out flesh from rind. Mash thoroughly with a fork to remove stringiness. Let cool, then add spices and salt and mix thoroughly, then add all liquid ingredients. Pour into chilled pie shells (recipe below) and bake at 450 F for 15 minutes, then reduce heat to 350 F and bake for an additional 30 minutes. When the center is solid (a slight wobble is allowed), the pie is set and baked. Serve warm or cold with additional maple syrup (if desired) and whipped cream (recipe below). If you have extra filling, add to ungreased glass baking dishes or custard cups for equally good "crustless pumpkin pie." "Pie Crust" Half eaten pumpkin pie with extra maple syrup (I went very light on the maple syrup in the recipe) and hand-whipped cream. The original: "To make pie crust for common use, a quarter of a pound of butter is enough for half a pound of flour. Take out about a quarter part of the flour you intend to use, and lay it aside. Into the remainder of the flour rub butter thoroughly with your hands, until it is so short that a handful of it, clasped tight, will remain in a ball, without any tendency to fall to pieces. Then wet it with cold water, roll it out on a board, rob over the surface with flour, stick little lumps of butter all over it, sprinkle some flour over the butter, and roll the dough all up; flour the paste, and flour the rolling-pin; roll it lightly and quickly; flour it again; stick in bits of butter; do it up; flour the rolling-pin, and roll it quickly and lightly; and so on, till you have used up your butter. Always roll from you. Pie crust should be made as cold as possible, and set it in a cool place; but be careful that it does not freeze. Do not use more flour than you can help in sprinkling and rolling. The paste should not be rolled out more than three times; if rolled too much, it will not be flaky." Well that was a bit of a doozy of a recipe! Essentially, she's making an all-butter pie crust by combining shortbread and puff pastry techniques. And it turns out pretty well! If you're looking for a good all-butter pie crust recipe, this is a fairly reliable one, if you handle it gently. Here's my translation: 1 stick (1/4 pound) very cold unsalted butter 1 1/4 cup all-purpose flour 1/4-1/2 cup reserved flour for rolling ice water With cold hands, cut the stick of butter lengthwise in thirds, then rotate one quart of the way and cut in thirds again. Then cut crosswise until you have nice little cubes. Use at least half of the butter to rub into the 1 1/4 cup flour in a large bowl. Add more butter if you need to. From a bowl of ice water, using a tablespoon, add the water, 1-2 tablespoons at a time, and toss mixture with a fork. You'll need 6-8 tablespoons, depending on your flour and butter ratios. When you can make a ball with your hands and it sticks together nicely, but not too wet, you're good. Form the mass into a ball and roll out on a well floured surface, taking care to roll gently so as not to break the dough or roll unevenly. Once you have rolled out a round, spread whole cubes of butter across half the circle, fold in half, and roll that flat. Then repeat 2 more times (making sure to reserve enough butter for each rolling). When complete, roll out for crust. You'll have at least one single crust, with some left over for smaller pies. Place in pans, trim and crimp edges, and chill until ready to fill. Bake with pumpkin filling as directed above, or add your favorite fruit filling. My crust turned out delightfully crisp, but a little flat in flavor. A pinch of sugar and/or salt would probably be a nice addition. Hand Whipped Cream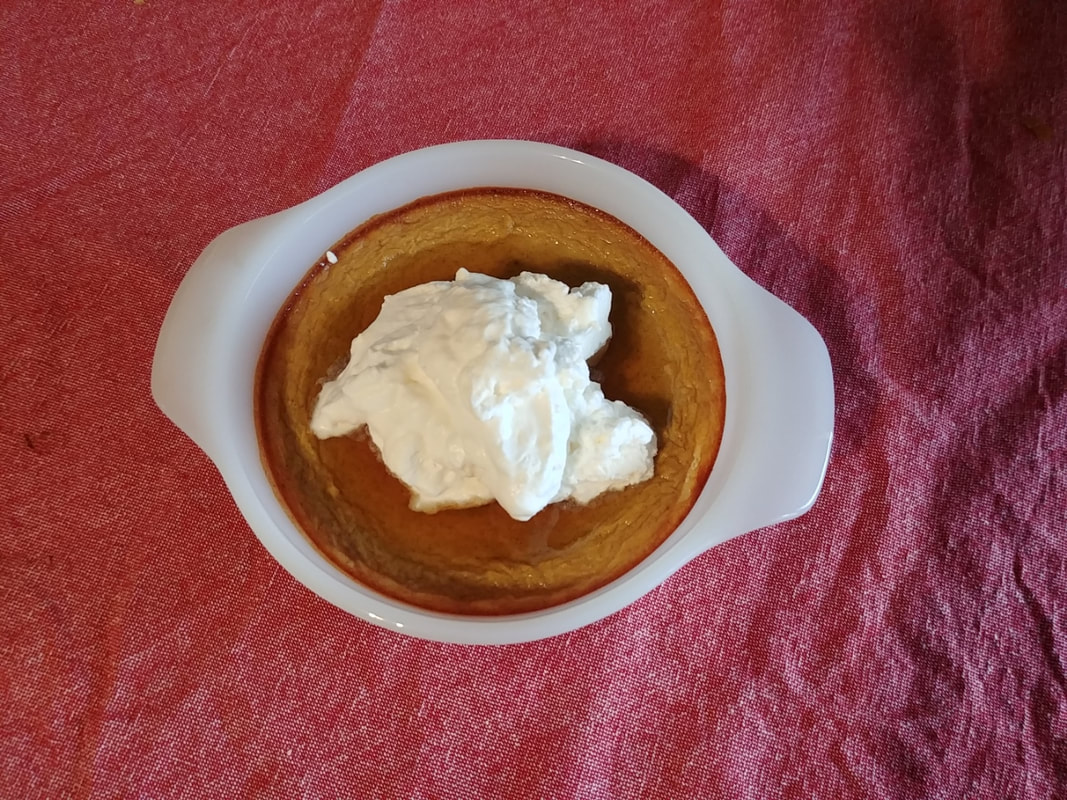 Morning breakfast of champions - crustless pumpkin pie with leftover whipped cream (refrigerated overnight and kept its volume!). This one isn't in The American Frugal Housewife, but it goes deliciously with pumpkin pie! The higher quality/fat content your cream, the easier it is to whip by hand. 1/2 cup heavy cream 1 tablespoon sugar or maple syrup 1 teaspoon homemade vanilla (recipe below) In a very deep bowl (preferably glass, which stays nice and cold), add the chilled cream, sugar, and vanilla. Tilt bowl and beat cream with a wire balloon whisk in a circular motion until you add enough air to the cream that it holds its shape. Do not overbeat, or you'll end up with sweet vanilla butter. Chill until ready to serve. Homemade VanillaHomemade vanilla lasts nearly forever, so it's a worthy investment, but vanilla beans are quite expensive these days, so make at your own expense. Still probably cheaper than buying the tiny bottles of the real stuff. You can make it with vodka, but I find the gold rum is much nicer and mellower. Also makes a great Christmas present. A dozen or so whole vanilla beans Gold rum (get the not-quite-the-cheapest brand) Cut the vanilla beans in half and add them to a quart jar. Fill jar with gold rum. Let sit in a dark place for a week or so before using. Keep adding rum as you deplete the vanilla. You want to keep the beans submerged at all times. Add beans every few years to keep the flavor up. Happy Thanksgiving! And that, my dears, is that. If you made it this far through the blog post, congratulations! I hope you enjoyed the video, some history about Lydia Maria Child, her famous poem, and the recipes. Keep your eyes peeled for more cooking-demonstration-and-talk programs coming up in December, January, and February. I hope you have a wonderful Thanksgiving! As always, The Food Historian blog is supported by patrons on Patreon! Join us for awesome members-only content like free digitized cookbooks from my personal collection, e-newsletter, and even snail mail from time to time! 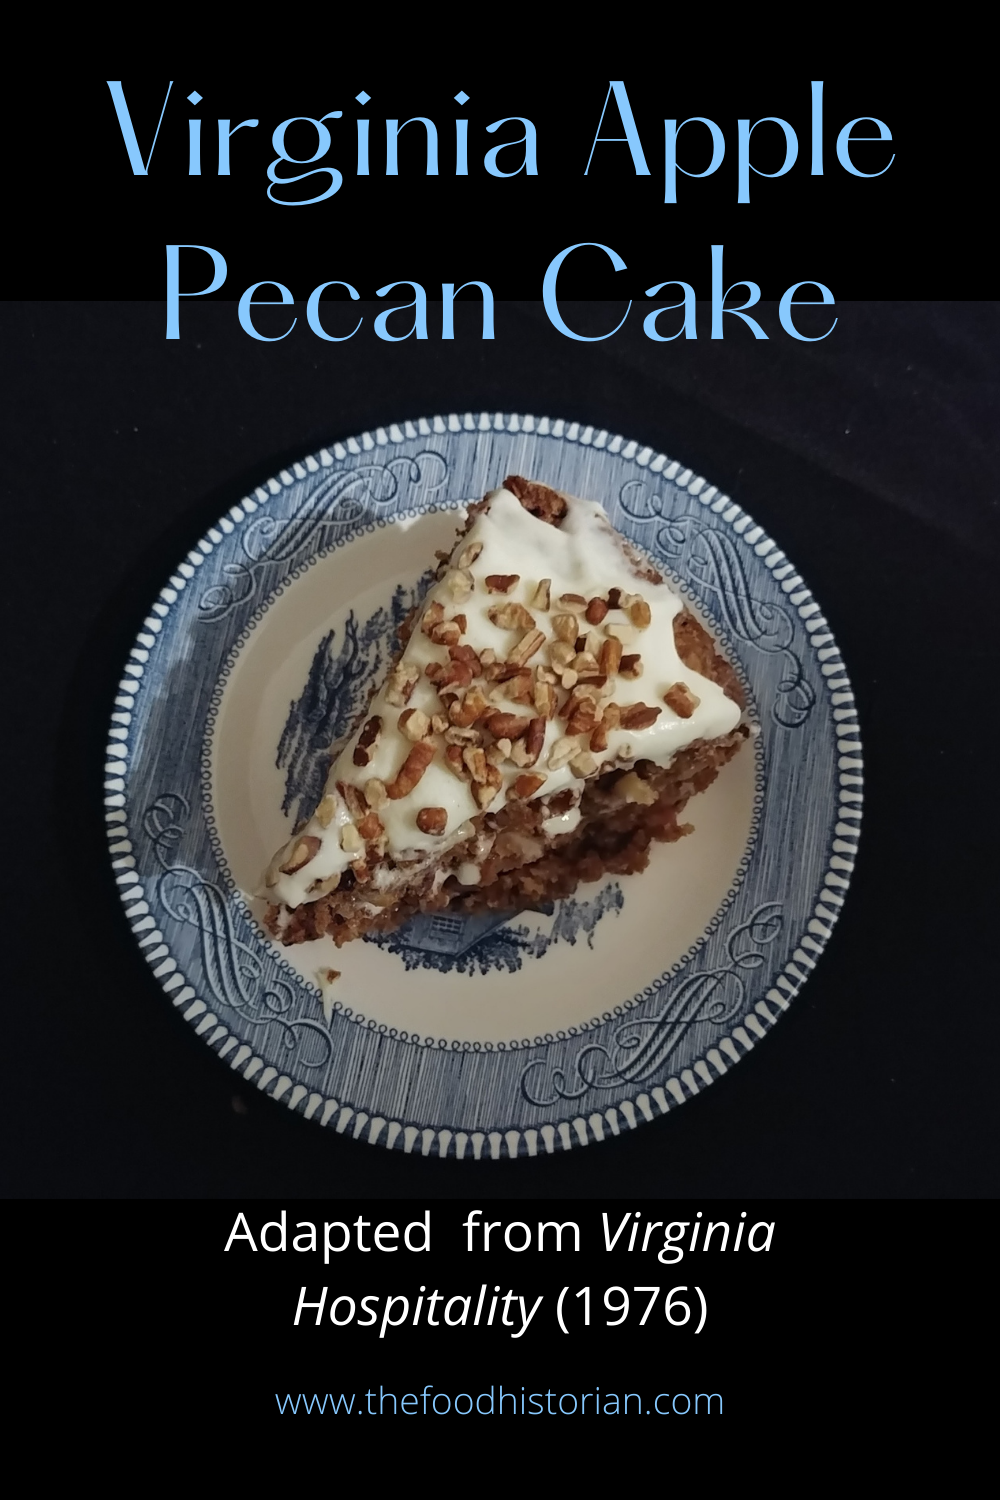 Here we are, five days later, and we finally have an election result. I made this cake on election day because I didn't have yeast for "real" election cake (more on that below), I had a bunch of homegrown Liberty apples to use up, and felt like making a layer cake with my new cake pans (somehow I lost one of my old pair of cake pans?). I had made this Virginian Apple Cake before, but it didn't turn out too great. So I tried again and did some tweaking and this time it turned out WONDERFULLY. It's now officially Virginia Apple Pecan Cake, in my book. Virginia Apple Pecan Cake This recipe is from the community cookbook, Virginia Hospitality, first published in 1976 for the Bicentennial, but my copy is the ninth printing, from 1984. It's a fascinating little recipe - the only liquid comes from the eggs and softened butter and the apples themselves. The batter is VERY thick, but bakes up beautifully - a light and somewhat fragile texture - essentially just apples and nuts held loosely together by a light spiced batter. Here's the original recipe: 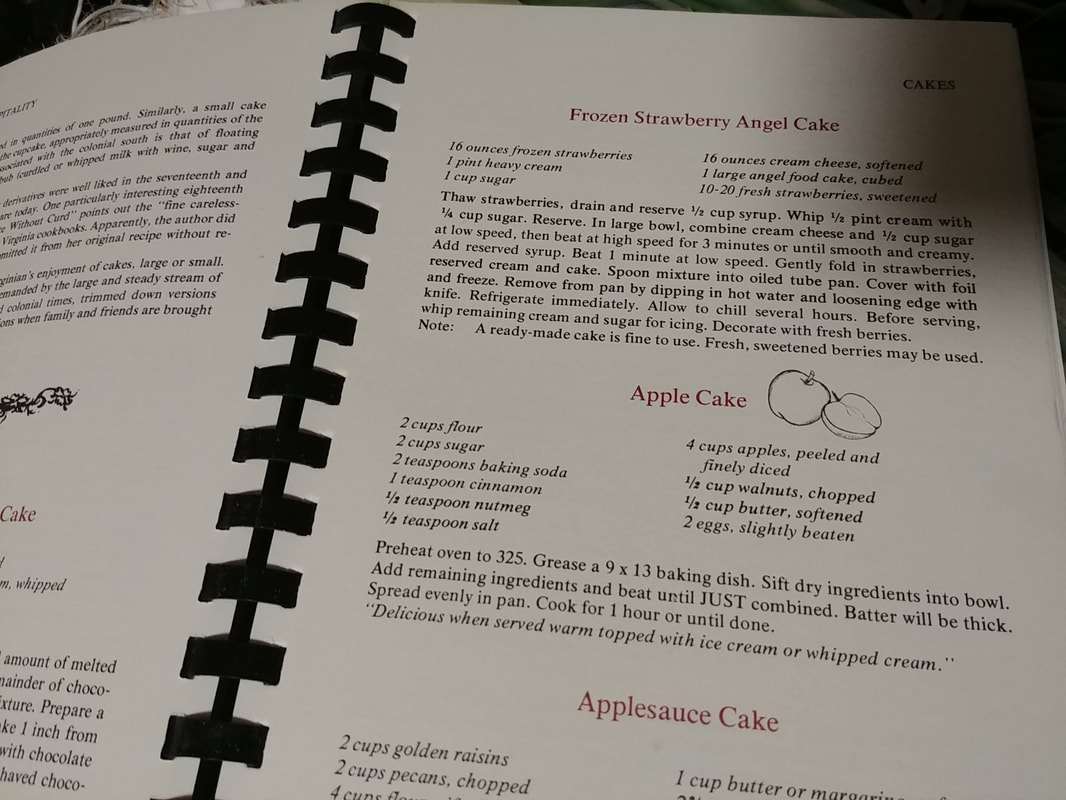 The original recipe reads: 2 cups flour 2 cups sugar 2 teaspoons baking soda 1 teaspoon cinnamon 1/2 teaspoon nutmeg 1/2 teaspoon salt 4 cups apples, peeled & finely diced 1/2 cup walnuts, chopped 1/2 cup butter, softened 2 eggs, slightly beaten Preheat oven to 325. Grease a 9 x 13 baking pan. Sift dry ingredients into a bowl. Add remaining ingredients and beat until JUST combined. Batter will be thick. Spread evenly in pan. Cook for 1 hour or until done. "Delicious when served warm topped with ice cream or whipped cream." It certainly is perfectly lovely as a plain sheet cake, but I wanted something a little different, so I made some changes not only to the style but the recipe itself. 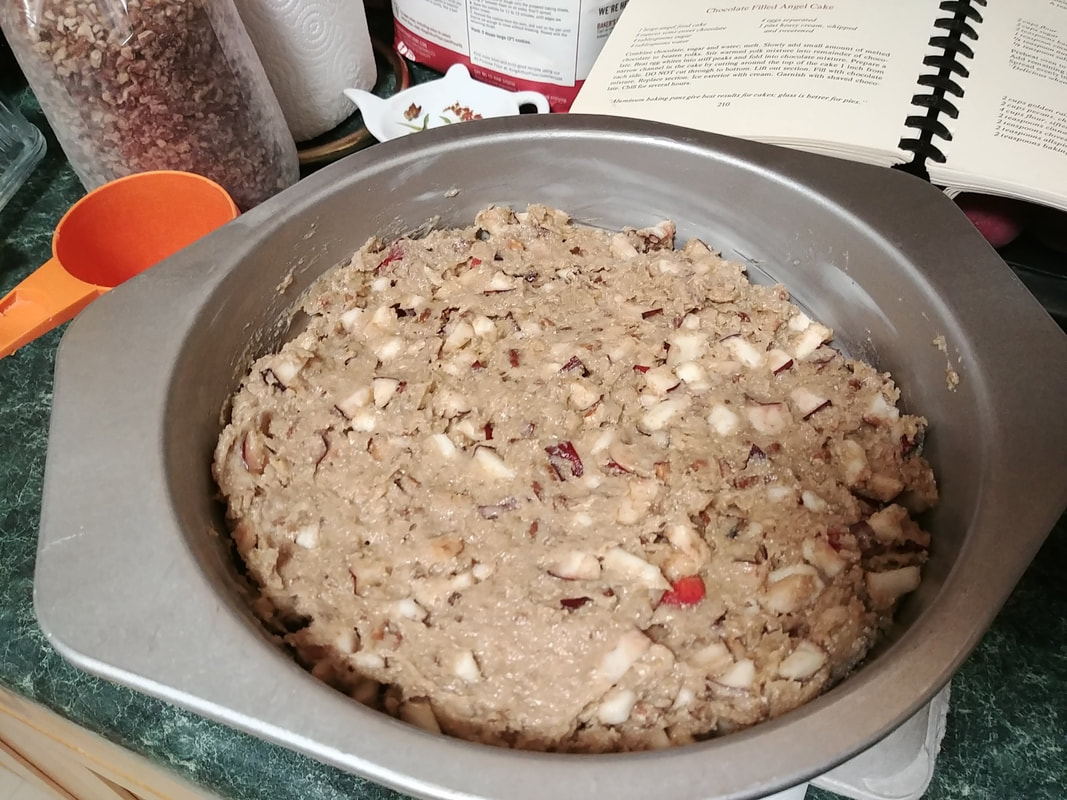 The very thick batter, replete with chopped apples and pecans, in a my well-greased, brand new cake pans! Note the bag of pre-chopped pecan pieces. Cheaper and less work than chopping whole pecans. Here's my recipe: 2 cups flour (I used 1 cup all-purpose, 1 cup whole grain rye) 1 1/2 cups sugar 2 teaspoons baking soda 1 teaspoon cinnamon 1/2 teaspoon freshly grated nutmeg (or thereabouts) 1/2 teaspoon salt at least 4 cups apples, finely diced 1 cup chopped pecans 1/2 cup butter, softened 2 eggs, slightly beaten Preheat oven to 325 F and grease two 9 inch round cake pans. Add all dry ingredients to a large bowl and whisk to combine. Add chopped pecans and whisk to combine. Take 4-6 freshly washed Liberty apples (they will be small) - slice into thin slices and then cut crosswise to make fine dice. You can leave the skin on. Fill at least 4 cups of apples and add to dry ingredients, then cut up the rest of the apple you were slicing and add to the bowl. In a small separate bowl, melt the stick of butter slightly in the microwave (10-20 seconds) and add to the big bowl. Add 2 eggs and with a wooden spoon combine all, stirring and folding until no loose flour is left. Divide into two pans and bake 45-60 minutes or until the cake springs back in the center to the touch. Cool on a rack. 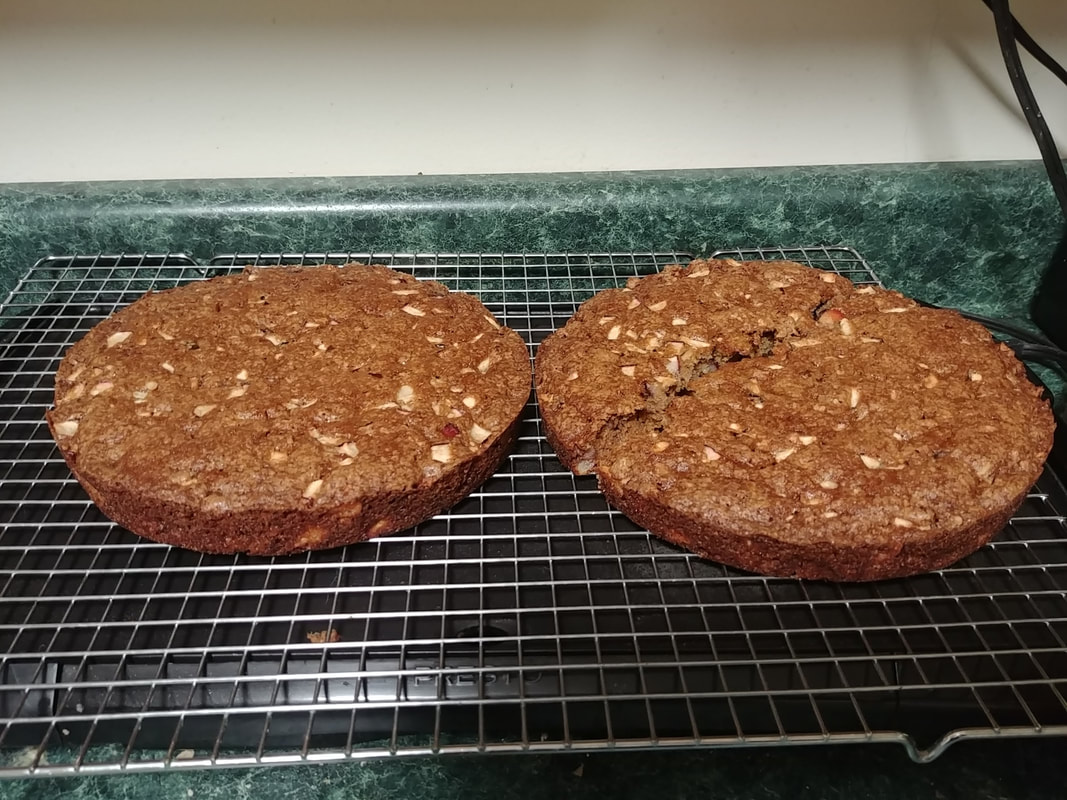 The baked cakes cooling on a rack (set on top of my electric griddle, lol). Try not to break yours like I did, but if you do, make that the bottom layer. :D The house smelled DIVINE at this point. Salted Caramel (or Maple) Buttercream Frosting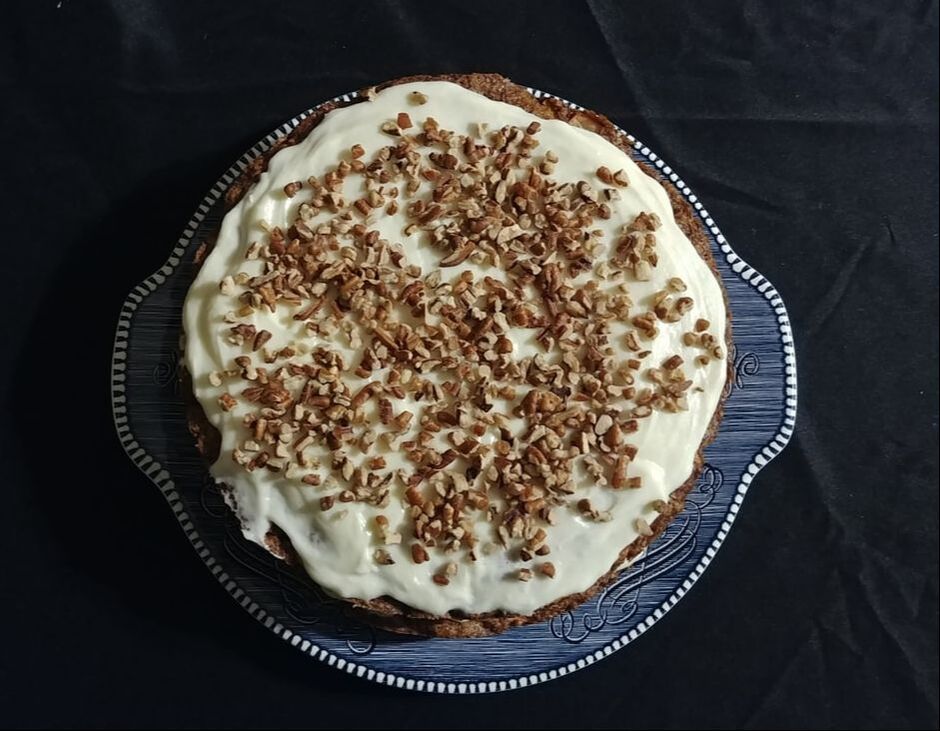 I happened to have some Monin Salted Caramel Syrup laying around the house, but if I make this again I'll probably use maple syrup and some salt. The salty-sweet frosting makes a nice (but rich) contrast to the not-as-sweet cake. 1 stick salted butter, softened 2 tablespoons to 1/4 cup syrup powdered sugar salt With a fork, beat the syrup into the softened butter. Add enough powdered sugar to make a thick frosting. Taste and add salt a few grains at a time, tasting between each addition. When the cakes are cool, frost one layer, then top with the other, and frost the top. This won't be enough to frost the whole cake, just the layers. Sprinkle more chopped pecans on top for decoration. 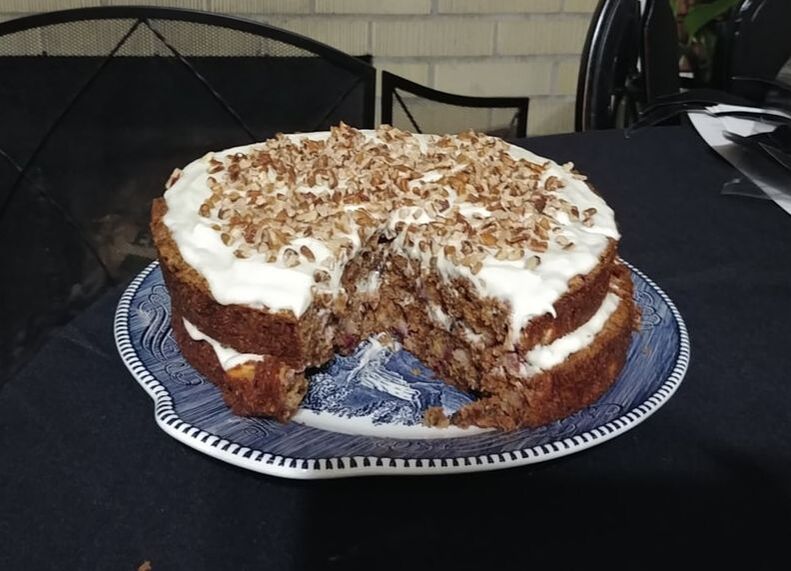 My crooked layers. 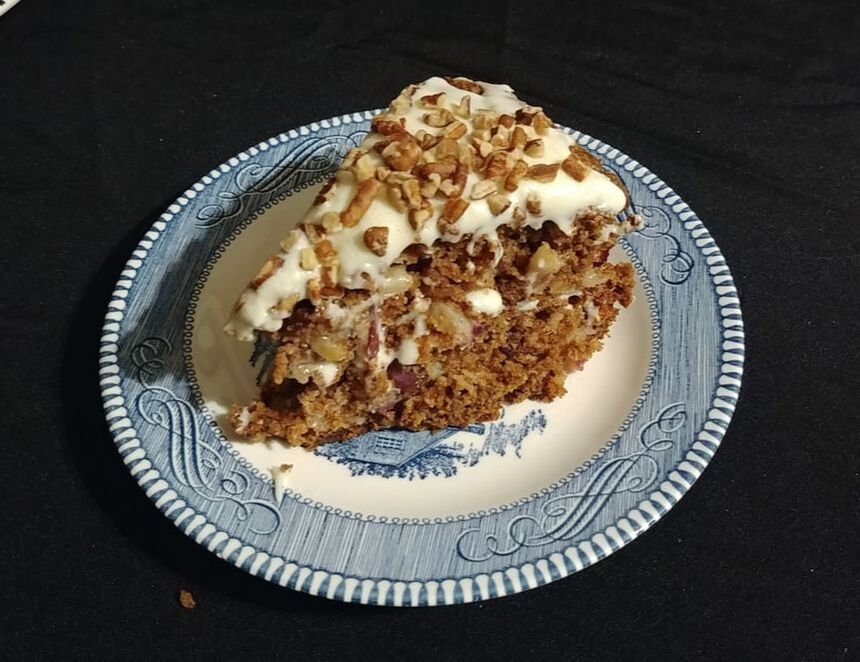 The cake is fairly light, considering it's essentially a type of fruit cake, but the frosting makes it very rich. I recommend cutting a smaller slice, unless you are eating this as a meal unto itself. A Brief History of Election CakeElection Cake is a democratic tradition that dates back to the earliest days of our Republic, even before we were officially our own country. Puritans in New England celebrated it in the 17th century, but was important throughout the 18th and 19th centuries. Election Day was once held in the spring, but in 1845 Election Day was codified to be held on the first Tuesday after the first Monday in November. Back when only propertied free white men were allowed to vote, election cake was nonetheless part of community celebrations around election day. and the similar Muster Day, a celebration from the Muster Act of 1792, which called every able-bodied man aged 18 to 45 to muster for the local militia. Generally held in September and largely in effect until after the Civil War, Muster Day often required the bribe of alcohol, and communities would often have county-fair type celebrations as well. Like Muster Day, Election Day was a community affair, and that necessitated some publicly accessible food. Election Cake is in the tradition of Medieval English great cakes - expensive and enormous confections of fine flour, sugar, expensive imported dried fruits, spices, and nuts and soaked with wine or alcohol. The New England tradition was nearly identical, only the ingredients were much less expensive by that point. Like many old-fashioned cakes, Election cake is not leavened with baking soda or baking powder - it's leavened with yeast, generally homemade yeast like potato yeast. And because it is meant to serve a crowd, the proportions are enormous. The flour and sugar are measured in pounds, as many as a dozen. The generally accepted first published recipe of Hartford Election Cake comes from Amelia Simmons' American Cookery, first published in 1796 in Hartford, CT (another run was printed in Albany, NY also in 1796). Which makes me wonder if Hartford Election Cake wasn't an homage to the state in which it was published. Election Cake began to wane in popularity as the 19th century wore on, in part thanks to developments in cake baking technology, including the development of chemical leaveners like baking soda and baking powder. But in 1889, Ellen Wadsworth Johnson published a cookbook entitled, Hartford Election Cake and Other Recipes. Notable for its inclusion of ELEVEN separate recipes for Election Cake, the cookbook is nonetheless full of more conventional recipes. The title may have something to do with the fact that it was published in Hartford, Connecticut, despite the fact that it was written as a benefit for a church in New Hampshire. In her introduction, Ellen Wadsworth Johnson notes that most of the recipes come from "manuscript sources," indicating that even in 1889 it may have been a historical document. Maybe next year I'll have the time and energy to tackle a real election cake recipe, but for the meantime, Virginia Apple Pecan Cake will have to make a good substitute, and one you can eat any time of year. Did you make an election cake this year? Election Cake Resources
The Food Historian blog is supported by patrons on Patreon! Join us for awesome members-only content like free digitized cookbooks from my personal collection, e-newsletter, and even snail mail from time to time!
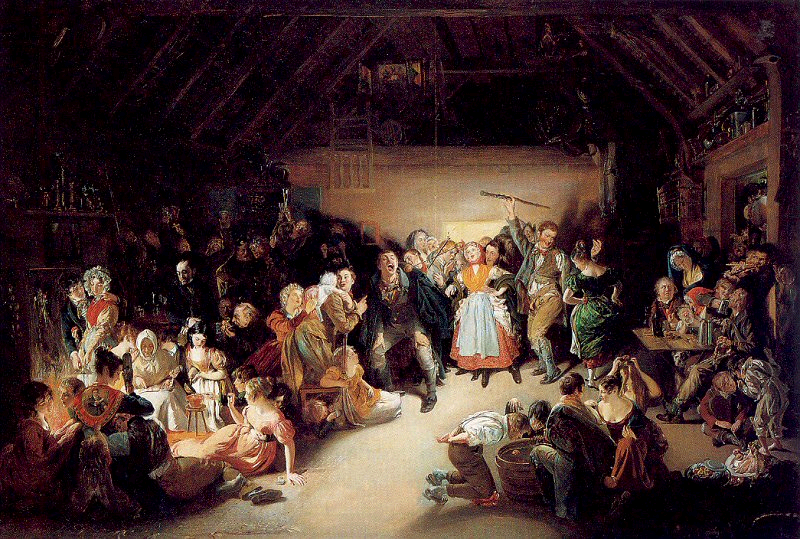
Snap-Apple Night, painted by Irish artist Daniel Maclise in 1833.
Thanks to everyone who joined us for Episode 22 of the Food History Happy Hour! This was a very special Halloween themed episode! We made the early 19th century Stone Fence cocktail, and talked about all sorts of historic Halloween traditions and foods, including the Celtic and Catholic origins of Halloween, Halloween games and divination, including Snap Apple (as illustrated above), donuts, party foods including gingerbread, grapes and grape juice, apples, pumpkins, color themed parties, decorations, including Dennison's Bogie Books, the history of trick-or-treating, and more!
Stone Fence Cocktail (19th Century - 1946)
There's all kinds of versions of this - I was first introduced to the Stone Fence in the Roving Bartender (1946), and of course it's in Jerry Thomas' "How to Make Mixed Drinks" (1862) also has a version, which is largely how it gets popularized in bars across the country. But mixing hard cider with brown liquor dates to much earlier, and the type of brown liquor depends on the region. Both of these recipes call for Whiskey/Bourbon, but I decided to go with spiced rum. Other versions also call for Angostura bitters or cinnamon, which is unnecessary if you use spiced rum, like I did.
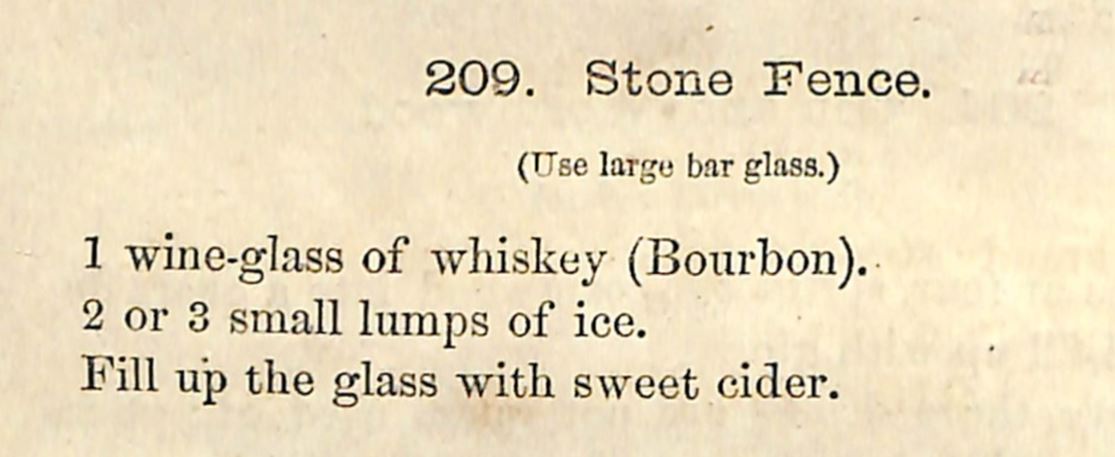
Recipe for the Stone Fence, from "How to Mix Drinks" by Jerry Thomas, 1862.
You'll note that the Jerry Thomas recipe actually calls for the use of sweet cider, which is unusual. Here's the original recipe:
(209) Stone Fence. (use a large bar glass) 1 wine glass of whickey (bourbon). 2 or 3 small lumps of ice. Fill up the glass with sweet cider. 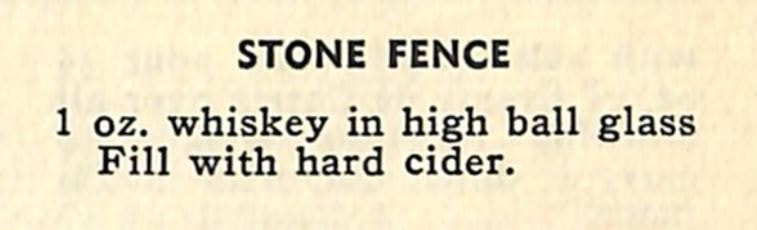
Stone Fence recipe from "The Roving Bartender" by Bill Kelly (1946).
I like the Bill Kelly recipe from the Roving Bartender a bit better. Here's the original:
Stone Fence. 1 oz. whiskey in a high ball glass Fill with hard cider. And of course, there's my own version! 1 oz. spiced rum Fill with hard cider (I used Strongbow Artisanal Blend) I did not use ice, because I was lazy, but if you don't make sure your hard cider is chilled for the best version. You could also turn this into a sort of flip by heating the hard cider (don't boil unless you want to lose the fizz and the alcohol content) and adding the spiced rum at the last minute. 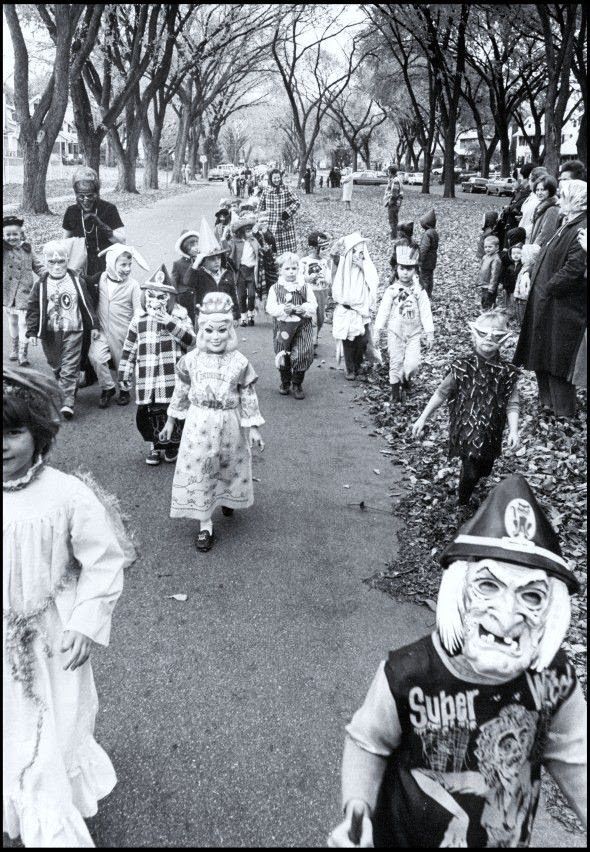
A great 1950s image of trick or treaters in a very suburban area. Note the mix of store-bought masks and homemade costumes.
Episode Links
I love Halloween and had a bunch of fun putting this together.
That's all for tonight! I hope everyone has a very Happy Halloween tomorrow and we'll see you in November for the next episode of Food History Happy Hour! 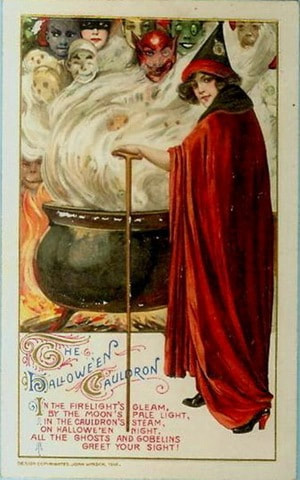
Food History Happy Hour is supported by patrons on Patreon! Join us for awesome members-only content like free digitized cookbooks from my personal collection, e-newsletter, and even snail mail (like the Halloween packet) from time to time!
You may have seen this meme floating around the interwebs lately. You know the familiar, often hard, taffy wrapped in black and orange waxed paper. 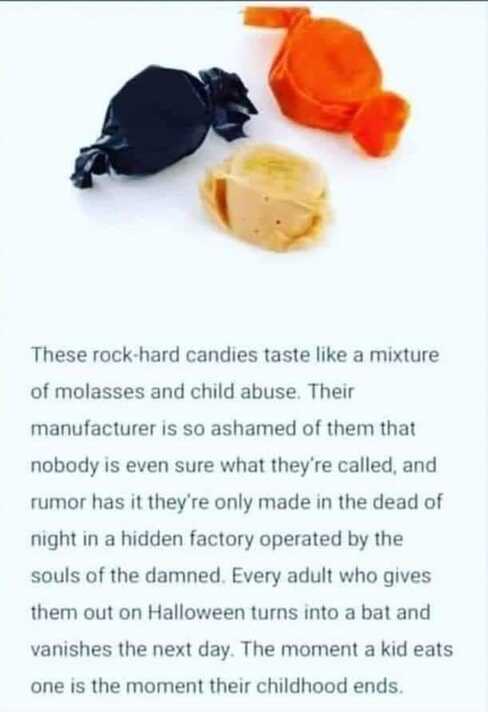 The meme reads "These rock-hard candies taste like a mixture of molasses and child abuse. Their manufacturer is so ashamed of them that nobody is even sure what they're called, and rumor has it they're only made in the dead of night in a hidden factory operated by the souls of the damned. Every adult who gives them out turns into a bat and vanishes the next day. The moment a kid eats one is the moment their childhood ends." Well, I hate to burst the meme-maker's bubble, but these candies DO have a name - Mary Jane Peanut Butter Kisses - and a rather long and storied history. The oft-maligned candies are a molasses taffy stuffed with a bit of peanut butter. And there are two versions, actually - the original Mary Janes, which were rectangular; and the Mary Janes Peanut Butter Kisses - the more familiar, roundish shape that resembles salt water taffy. Originally invented in 1914 by the Charles. N. Miller Candy Company, Mary Janes were supposedly named after his aunt, but the mascot was - and still is - a precocious little girl. 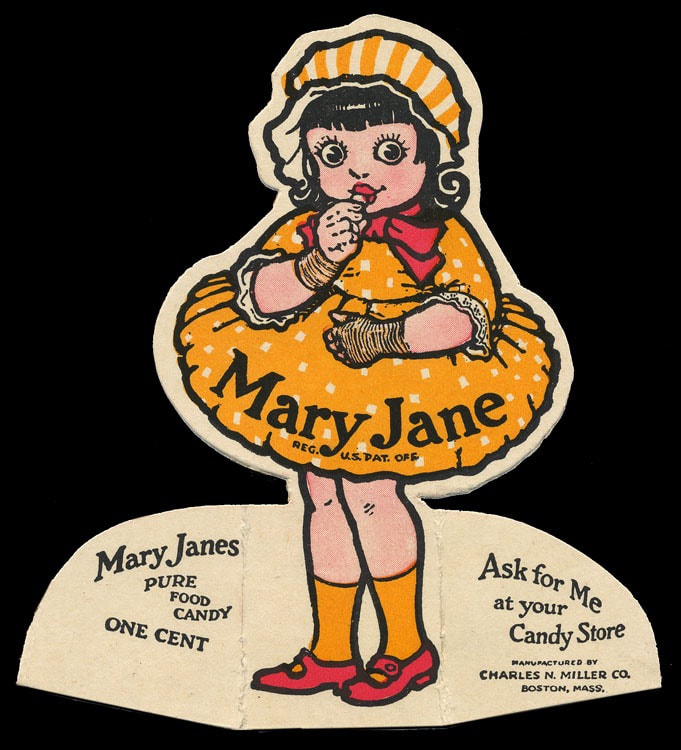 Charles H. Miller opened a confectionary shop in Boston, MA in 1884. His son, Charles N. Miller, was the one who invented Mary Janes - a molasses taffy made just at the soft ball stage, with peanut butter folded in the center. Molasses taffy dates back to the mid-19th century. Molasses is boiled until thickened, then when partially cool, it is pulled to incorporate air into the cooked sugar mixture and give it lightness and chew. Mary Janes are softer than many types of taffy, in part because the cooking process is halted earlier. Peanut butter was also being popularized at the turn of the 20th century, and many Halloween candies from that era incorporate peanut butter into the mix. At some point, the small rectangular candies wrapped in an iconic yellow and red printed paper were succeeded by the "kisses" - the rough rounds wrapped in black or orange waxed paper. It's unclear whether the black and orange wrappers were to part of a marketing scheme to associate the candies with Halloween, or if they became associated with Halloween because of the wrappers. Either way, they are a staple old-time candy that still finds its way into candy jars and trick-or-treat bags from time to time.  Original style Mary Janes. Some of their endurance is likely because they are so inexpensive. Even in the period, they were inexpensive, and one of the advertising slogans the Charles H. Miller Company came up with was, "spend your change on Mary Janes." They're still sold in "penny candy" stores today. Wrapped in waxed paper, both the original Mary Janes and the Peanut Butter Kisses do tend to dry out and harden after a time, which is probably what makes them the bane of childhood. Mary Janes were in danger of disappearing from store shelves on several occasions. In 1989, Miller's was sold to Stark's Candy Company, which in turn was acquired by Necco (New England Candy Company) in 1990. Throughout the mid-2000s, Necco underwent a series of sales to various investment firms until it finally declared bankruptcy in 2018. It was purchased by the Spangler Candy Company (famous for Dum-Dums, candy canes, and Circus Peanuts) and the rights to produce Mary Janes was licensed to the Atkinson's Candy Company in 2019. Located in Texas, Atkinson's is most famous for "Chick-o-Stick" candy, and makes a variety of other, old-fashioned, peanut-butter-based and taffy candies including Peanut Butter Bars (a type of peanut brittle layered with peanut butter which I adore) and Slo Poke. The history of Mary Janes reads like a miniature summary of candy company history in general - old, family companies are "gobbled" up by larger ones. But some of the originals, including Spangler, which was founded in 1904, and Atkinson's, which was founded in 1932, seem to hang on. Nostalgia likely plays a leading role in their continued success, as does the inexpensive nature of their offerings. You'll notice that neither company has much in the way of chocolate (which is more perishable and difficult to work than pure sugar) as part of their offerings. Hard candies, caramels, and chewy taffy-based treats are the name of the game. As for whether or not Mary Janes constitute child abuse? Perhaps if all you've ever had were hard, stale ones, you might agree. But now that Atkinson's is producing them again, I encourage you to buy yourself a fresh bag and give them a try. And if you really can't stomach them and end up with a bag you're loathe to throw away, you can always turn them into a peanut buttery caramel sauce. What do you think? Do you have a favorite candy that other people hate? Tell us in the comments! The Food Historian blog is supported by patrons on Patreon! Join us for awesome members-only content like free digitized cookbooks from my personal collection, e-newsletter, and even snail mail from time to time! 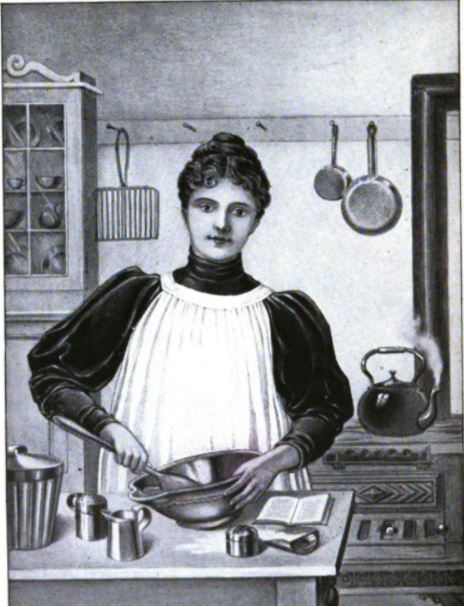 Image of a woman cooking, from the frontspiece of "Hood's Practical Cook's Book" (1897).  Hood's Practical Cook's Book from 1897 is one of my favorite 19th century cookbooks in my collection. It's really quite small and could easily fit in an apron pocket. My copy has the original dust jacket, which is nice. Published by C.I. Hood & Co., a Victorian patent medicine company, the cookbook is interspersed with advertisements for Hood's products, especially their famous sarsaparilla extract. I made the very successful Buttermilk Cake from this cookbook previously, and I'd been wanting to make Dutch Apple Cake for a while. Touted as a "tea cake," it was essentially a biscuit with sliced apples stuck in the dough. We've been trying to cut back on sweets, and this recipe has absolutely no sugar in it - neither for the biscuit nor on the apples, so it seemed like a perfect dessert. I also made it for our 3 year wedding anniversary. Normally we go away someplace fun, but obviously not this year, so I made my favorite roasted vegetable French lentil bowls and we had this for dessert. 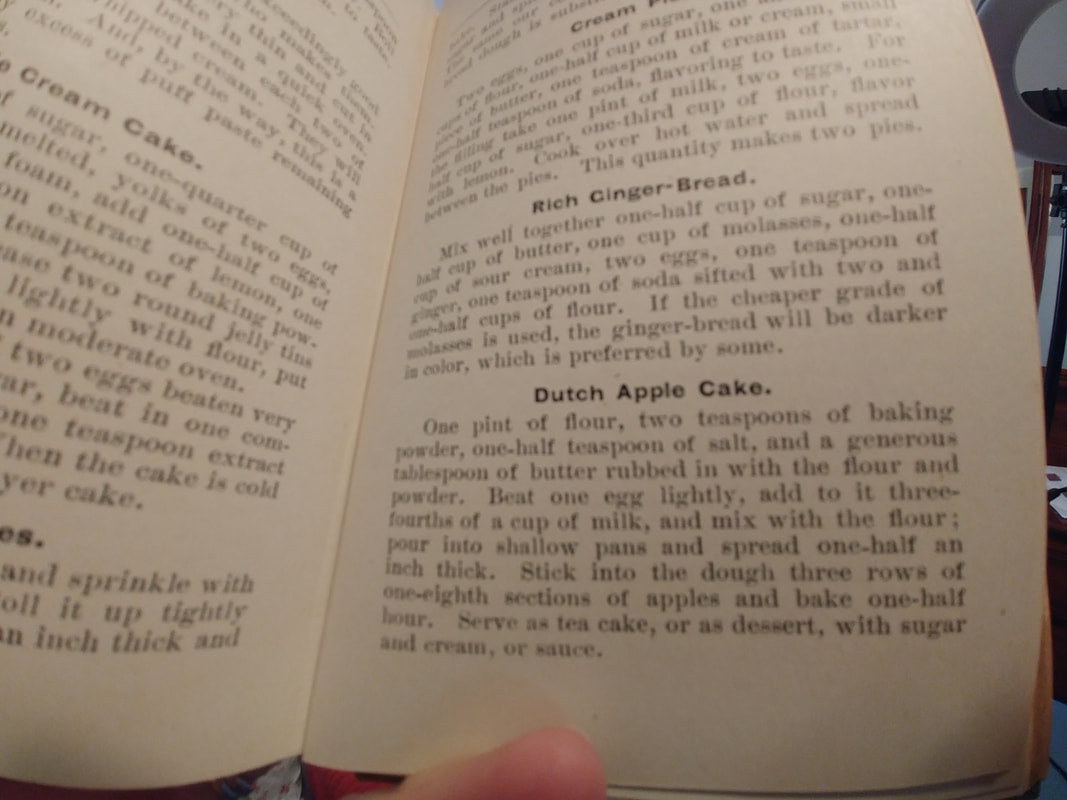 The quick snap of the recipe I took with my phone, and cooked the recipe from. I never take historic cookbooks into the kitchen! Don't want to get them dirty. Dutch Apple Cake Recipe (1897)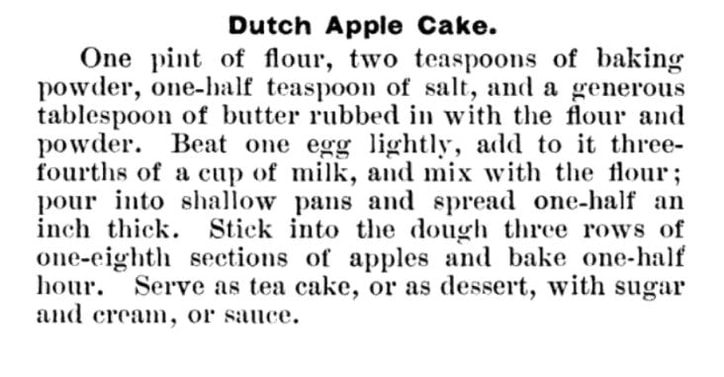 The original recipe reads: "One pint of flour, two teaspoons of baking powder, one-half teaspoon of salt, and a generous tablespoon of butter rubbed in with the flour and powder. Beat one egg lightly, add it to three-fourths of a cup of milk, and mix with the flour; pour into shallow pans and spread one-half an inch thick. Stick into the touch three rows of one-eighth sections of apples and bake one-half hour. Serve as a tea cake, or as dessert, with sugar and cream, or sauce." Here's how I translated the recipe: 2 cups flour 2 teaspoons baking powder 1/2 teaspoon salt 1 1/2 tablespoons butter 1 large egg 3/4 cup whole milk 3 smallish apples (I used Gingergold - a sweet, slightly mealy, early apple) Combine flour, baking powder, and salt and whisk to combine. Cut butter into small cubes and smush with fingers, mixing into the flour, but leaving largely intact. Whisk the egg into the milk, and pour into the flour mixture. Toss with a fork until a dough forms, kneading/folding lightly to get the rest of the flour and spread the butter, then pat into a greased quarter sheet pan. Quarter apples, core, and cut each quarter in half (to make the eighth!). I did not peel mine, and pressed into the dough as best I could on their sides. I had a few slices left over. Bake at 350 F for about 30-40 minutes until the biscuit is lightly browned and the apples are tender. Serve with sweetened whipped cream (and liquid cream, and maybe some maple syrup). 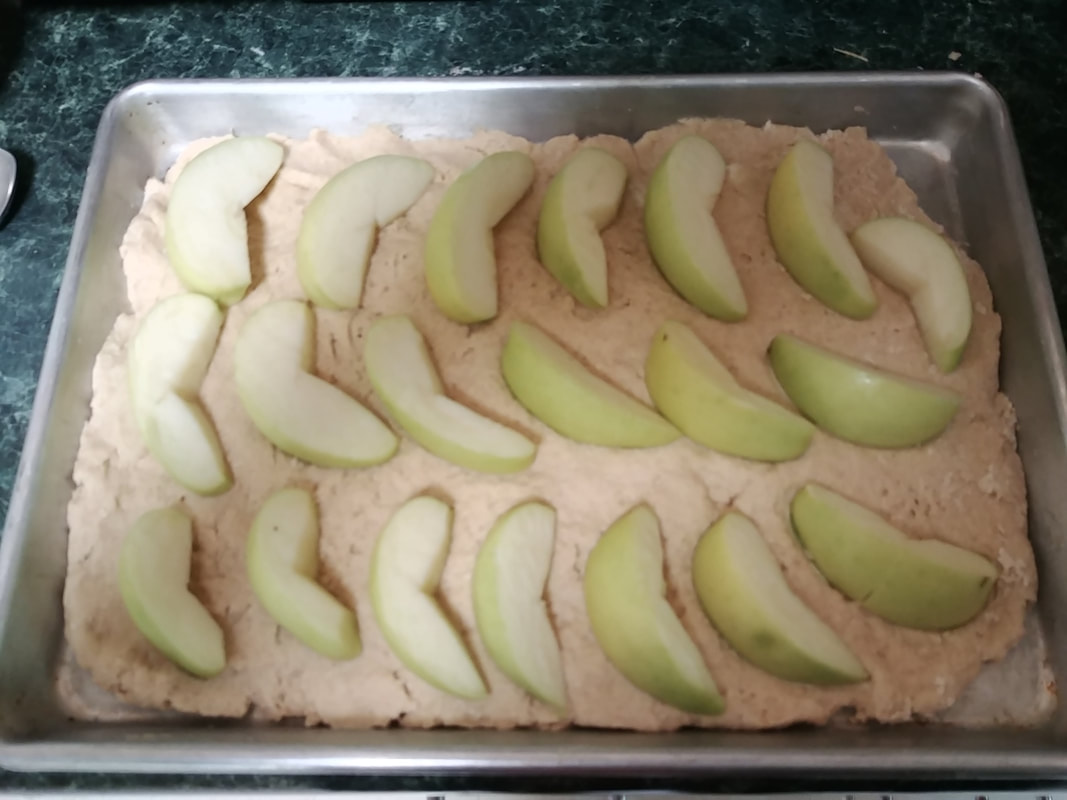 Before baking - sorry for the fuzziness, I took this in a hurry with my phone. 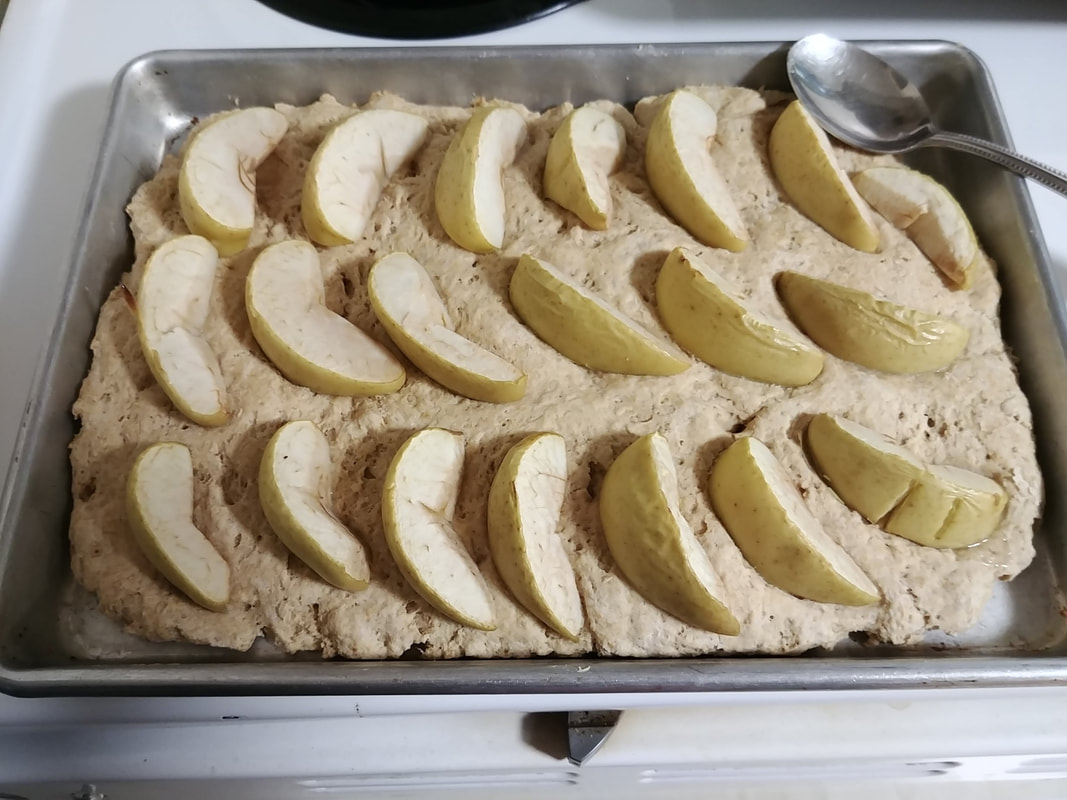 After baking - not noticeably different, just slightly browner! If you read the recipe, it seems pretty straightforwardly biscuit-y. But when you get to the middle, it says, "pour into shallow pans and spread one-half an inch thick." Sadly, my dough did NOT pour, and in fact, I had to knead it a bit to get the flour mixed in. If I had been paying closer attention, I would have added a little more milk, but I didn't! So I followed the recipe exactly. The biscuits were also a BIT flat tasting and dry - I would add a teaspoon or so of sugar and more milk (at least a cup), which I think would make something a little more batter-ish, which would presumably rise around the apples a little more. I would also space the apples closer together as they provide the only sweetness. In summation, certainly not a terrible recipe, but not great either. Basically a plain biscuit with baked apples on top. Sadly, this one gets labeled a fail! But I am going to try it again - I might also add some sweet spices like cinnamon or cloves to the biscuit dough and see if that makes a difference. And maybe chop the apples into smaller chunks - not as pretty, but easier to eat. Have you ever tried a recipe and had it fail in some way? Share your trials and tribulations in the comments! The Food Historian blog is supported by patrons on Patreon! Join us for awesome members-only content like free digitized cookbooks from my personal collection, e-newsletter, and even snail mail from time to time!
Thanks to everyone who joined in this weeks' Food History Happy Hour! In this episode we made the Guadalcanal Cocktail and discussed rhubarb, abolitionist boycott of sugar and the slave trade, rhubarb recipes and all the animals who are eating my rhubarb, breakfast cereals, in particular GrapeNuts and the real story GrapeNuts ice cream (and its predecessor GrapeNuts pudding), graham flour and graham pudding, Kellogg v. Post cereals (as seen on The Food That Built America), including the history of Granula, the accident of corn flakes, C.W. Post and the California Fig Nut Company, sugary breakfast cereals in the 1950s and on, shredded wheat, the Victorian interest in grain-based products with milk on top, Wheatina, frog eye salad, Cool Whip, rural v. urban breakfast trends, food deserts, housing policy and suburbs, TV and dinners, the addictiveness of sugar, the food pyramid, the history of lunch, including nuncheon, and the introduction of fellow food historian Niel De Marino, who specializes in 18th century foodways and runs The Georgian Kitchen, Russian/Georgian food and cookbooks, Black Panthers, and the reaction to the film "Birth of a Nation."
With a cameo by Sweetie Pie, of course! And I believe this was our longest and most lively Food History Happy Hour yet! Guadalcanal Cocktail
1 jigger bourbon (Old Crow is most accurate)
2-3 ice cubes unsweetened grapefruit juice In an old fashioned glass, pour jigger of bourbon over ice. Fill with grapefruit juice and stir. The REAL Story of Grape Nuts Ice Cream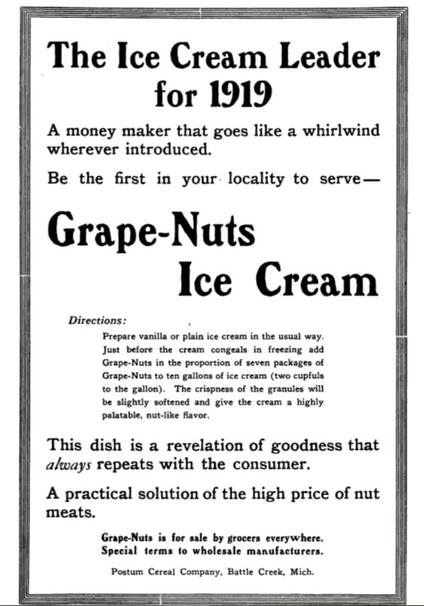
GrapeNuts Ice Cream advertisement from the "Ice Cream Trade Journal," 1919.
Well as you may know I get a lot of media requests, so one on the origin of Grape Nuts ice cream was fun to research, even if the request was VERY last-minute. Sadly, my commentary on the history did not make the cut of the rather frivolous radio spot (annoying, considering how much work I put into it, all free of charge), but it DID result in some fun research on Grape Nuts ice cream, which was, sadly, NOT invented by Hannah Young in Wolfville, Nova Scotia in 1919, as many people, including her grandson Paul, have claimed. Or at least, Hannah may have come up with the combination independently (although I doubt that could ever be verified), and likely had a hand in popularizing it in Nova Scotia, but I've found references that predate Young by at least 10 years.

Grape Nuts Ice Cream, "American Housekeeper Advertiser," 1909.
This reference, from the American Housekeeper Advertiser dates to 1909 and is the earliest published reference I could find.
Of course, in 1916, the Post company published, "Good Things to Eat From Wellville." 
The Post company cookbook - "Good Things To Eat From Wellville," published in 1916.
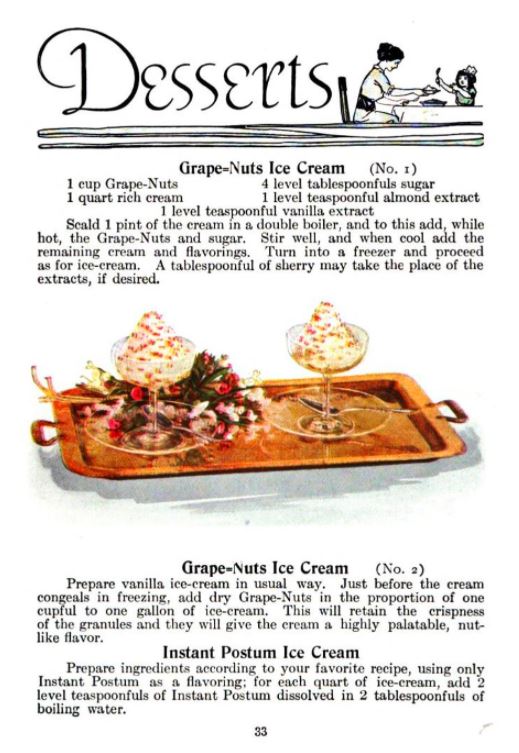
The TWO GrapeNuts Ice Cream recipes in "Good Things to Eat From Wellville" (1916).
The first recipe listed in "Good Things to Eat" is very similar to the one from the American Housekeeper Advertiser, but the second is simply vanilla ice cream with Grape Nuts folded in. Also notice with "coffee" flavored Postum ice cream! The cookbook also includes Post Toasties ice cream and several other confection recipes using the cereals. And of course, all these recipes predate the 1919 Hannah Young story.
At any rate - it was a fun research project and I'm glad I was able to add to the historiography of Grape Nuts Ice Cream.
Here's a flurry of other links related to tonight's talk!
If you liked this post and would like to support more Food History Happy Hour livestreams, please consider becoming a member or joining us on Patreon. Members and patrons get special perks like access to members-only content.
Thanks to everyone who joined me last night for Food History Happy Hour live on Facebook. I had a blast and everyone asked such great questions!
In this week's episode, we covered a LOT of ground and discussed how applejack is made, shrub, eugenics, Americanization of immigrants, comparisons between modern issues with dairy farming, dumping milk, and plowing under fields of vegetables and what happened during WWI and the Great Depression, types of dairy cows and how dairy farming works (including a discussion of veal), Victory gardens, agricultural policy history, historic baking, and flips (including Tom & Jerry). WHEW! The hour flew by and I had so much fun. You can watch the whole thing below.
And of course, I made a vintage cocktail! This week's cocktail is the Applejack Rabbit and it comes from the 1946 cocktail book, The Roving Bartender by Bill Kelly.
We talked a little bit about cocktail glasses and serving sizes because of course this week I did NOT use a Collin's glass, but rather a small martini glass. In his introduction to The Rover Bartender, Kelly writes, "As the drinks are shorter now, the glasses for mixed drinks should be shorter and the drink recipes in this book are especially for cocktail glasses of not over 2 1/2 ozs. If a larger glass is used, the proportions will have to rise. You may serve a pony of cognac in a 20 oz. snifter glass, but if a cocktail glass is not near full it is unsatisfactory to the customer." I can certainly agree! But as someone who prefers a cocktail to be only a few ounces, I can't say I enjoy the generally much larger glasses of modern bars and restaurants. They may be easier to handle and clean, but they're too big! Applejack Rabbit Cocktail (1946)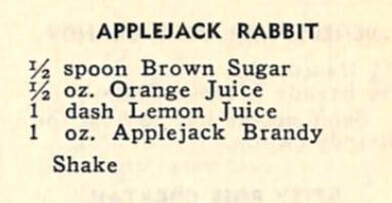
Original recipe from The Roving Bartender, 1946.
The original recipe is as follows:
1/2 spoon brown sugar (I used about half a tablespoon) 1/2 oz. orange juice 1 dash lemon juice 1 oz. applejack brandy Pour over ice in a cocktail shaker and shake for longer than you think you should to make sure the brown sugar is dissolved. Strain into a small cocktail glass, such as martini glass or old-fashioned champagne glass. Sip cold. Virginia Apple Cake Recipe
And, since we talked about historic baking, I thought I would share the recipe for apple cake I found recently in my copy of Virginia Hospitality (1976, my copy is the 1984 reprint). This particular Junior League cookbook is quite good with many of the recipes arranged by region and with decent head notes for many. Alas, this "Apple Cake" has neither headnotes nor region assigned. But it looked intriguingly easy and used up quite a bit of apples.
However, as I discussed in the episode, it really is a strange cake. As such, while I've included a photo of the original recipe, I've written my own version to help walk you through how the recipe should work. 
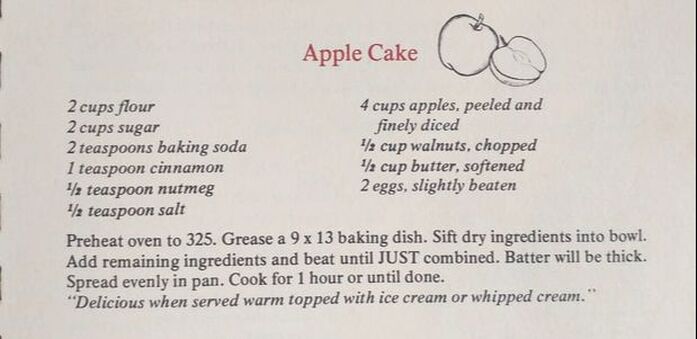
2 cups flour
2 cups sugar 2 teaspoons baking soda 1 teaspoon cinnamon 1/2 teaspoon nutmeg 1/2 teaspoon salt (note - I would add 1 teaspoon next time, the cake tasted a bit "flat") 4 cups apples, peeled and finely diced (about 3 medium apples) 1/2 cup walnuts, chopped 1/2 cup (1 stick) butter, softened 2 eggs slightly beaten Preheat oven to 325 F. Grease a 9"x13" baking dish (I used metal). Whisk dry ingredients in a bowl, then add apples and walnuts and stir to coat. If butter is refrigerated, microwave in 10-15 second intervals until very soft but not totally melted. Add butter and eggs to the dry ingredients and mix/fold with a wooden spoon until no loose flour remains. It will seem like not enough moisture - just keep folding, it will come together. The batter will be very thick. Do not overbeat. Spread evenly in the pan. Bake for 1 hour or until done. (I baked mine for 1 hour and 5 minutes, as the middle still seemed a bit soft). In all, my husband LOVED this recipe, but it was not my favorite. Next time I would definitely add some extra salt as the cake tasted a bit "flat" without it. In retrospect, I also MIGHT have accidentally added 2 teaspoons of cinnamon instead of one? Oops. It was too much cinnamon for me, but as I said, my husband loved it as it reminded him of carrot cake. Baking it for an hour at 325 seemed like way too long, but it did result in nicely caramelized edges (all that sugar). However, all the apples melted into the cake! So next time I would probably cut them a bit bigger. I did almost mince them in some cases. 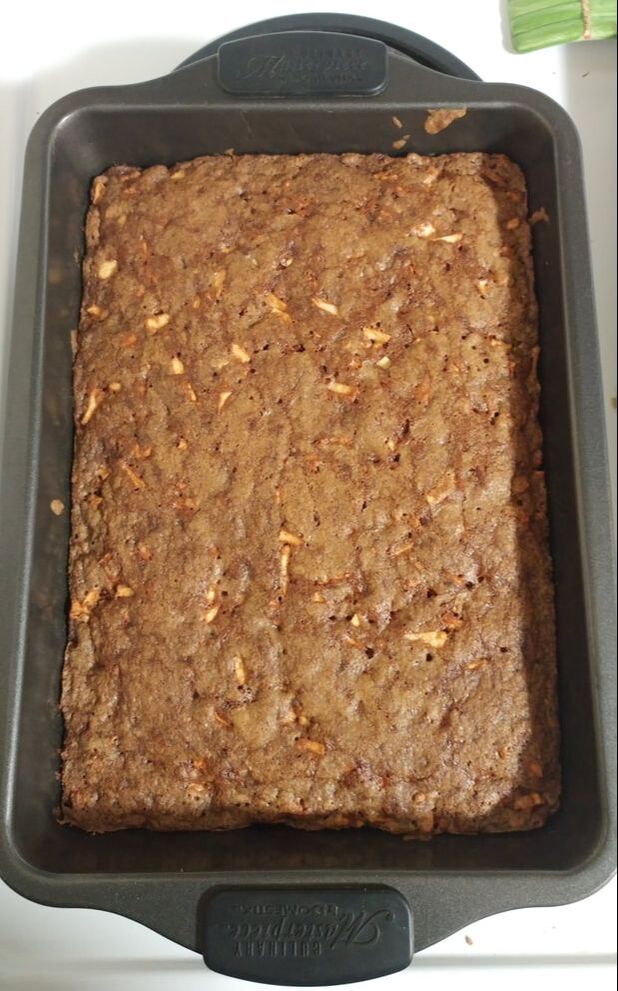
The very brown, caramelized-edge, finished cake!
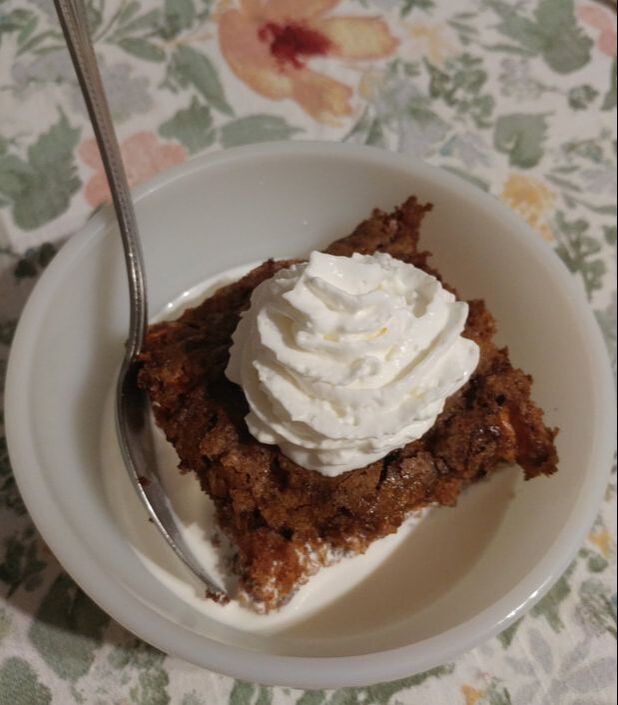
The Instagram-worthy shot. And yes, there is liquid cream in that bowl - the only way to eat cake!
The slightly less Instagram-worthy post-happy hour bedtime snack.
So what did you guys think of this week's episode? Are you going to join me next Friday on Facebook? I hope to see you there! Thanks again to everyone who watched live and remember, if you have any burning food history questions, you can send them to me in advance, message The Food Historian on Facebook, or ask live during the broadcast. See you soon!
If you liked this post and would like to support more Food History Happy Hour livestreams, please consider becoming a member or joining us on Patreon. Members and patrons get special perks like access to members-only content.
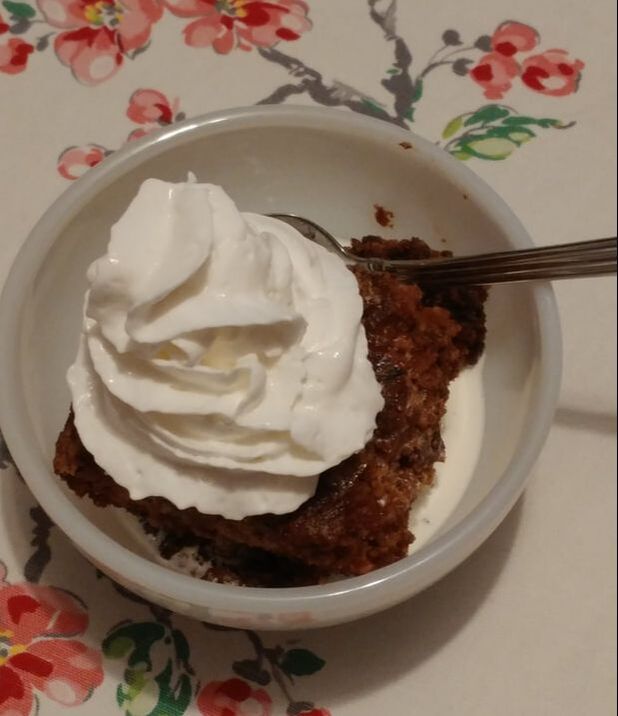
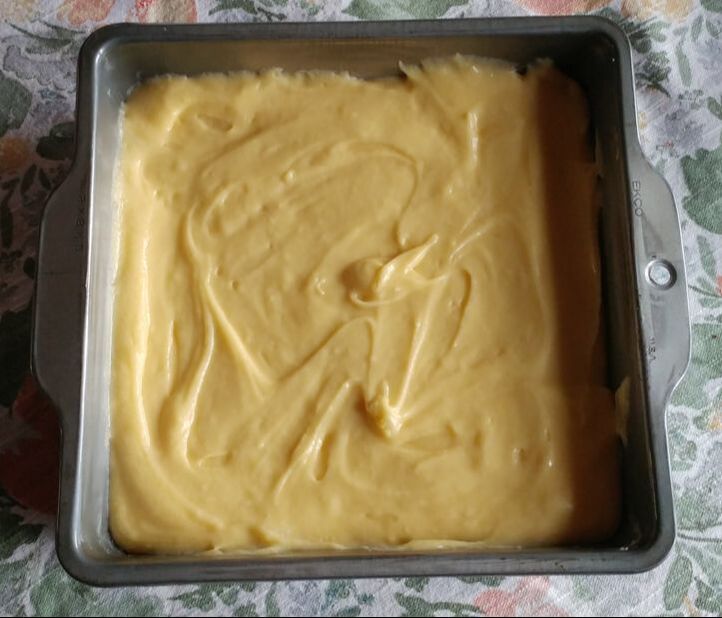
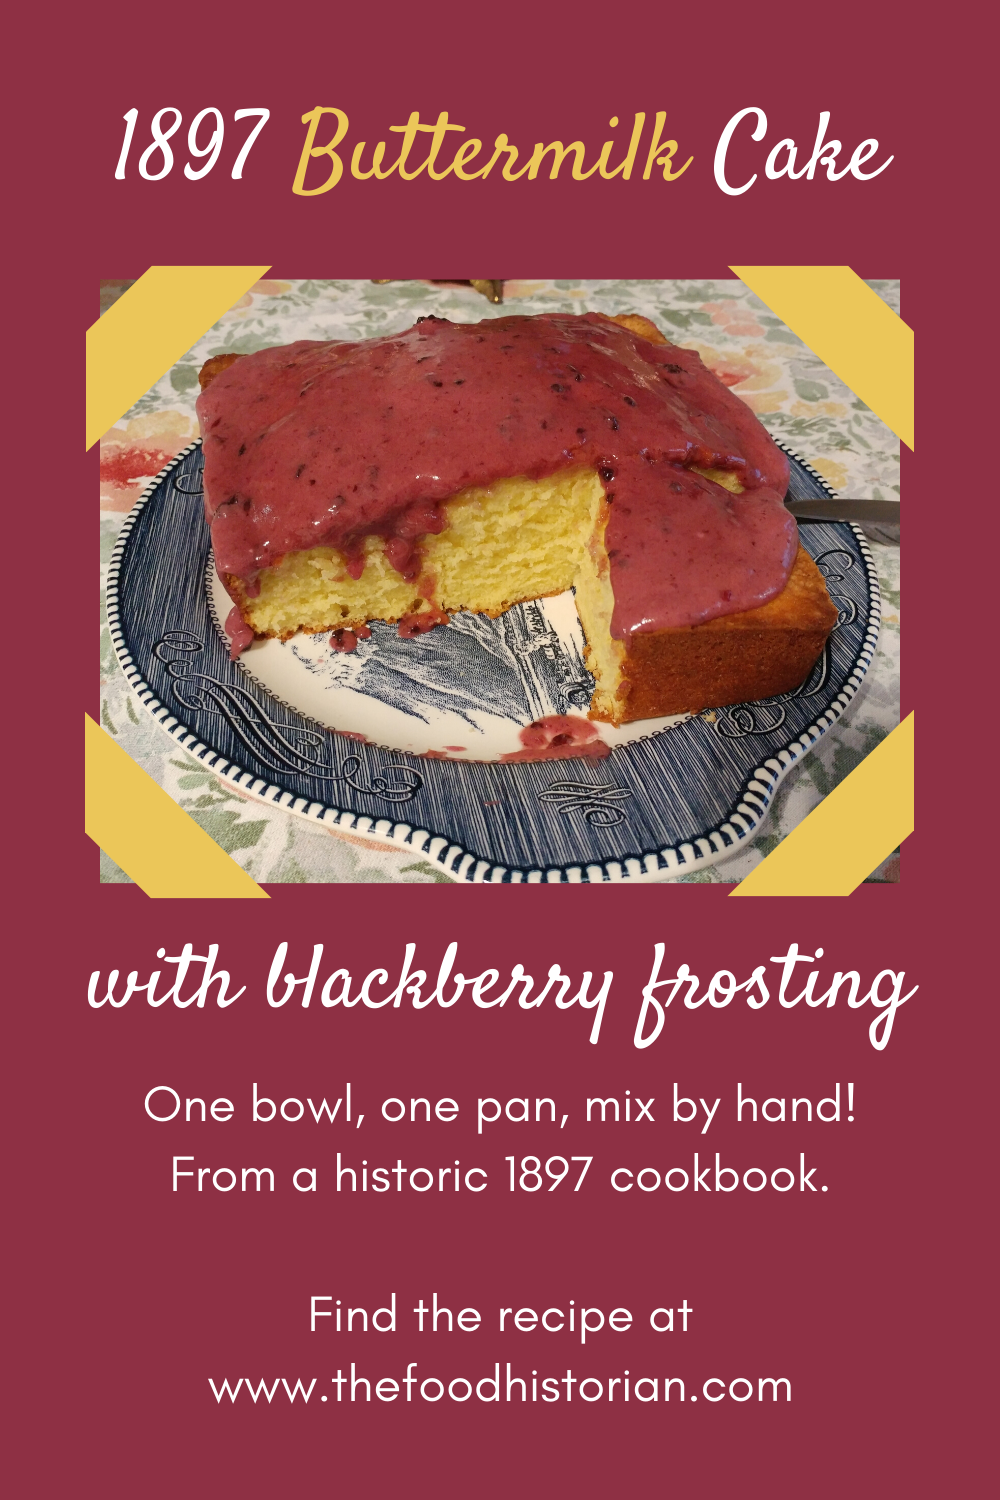 I haven't felt like cooking or baking much lately, except, of course, until I do. I wanted to bake an easy from-scratch cake and thought I would peruse my vast cookbook collection to see what I could find.  Published in 1897 in Lowell, Massachusetts, Hood's Practical Cook's Book: For the Average Household, is delightful. My particular copy is in near-mint condition in part because it was printed on high quality paper. It's also quite small, almost pocket-sized. 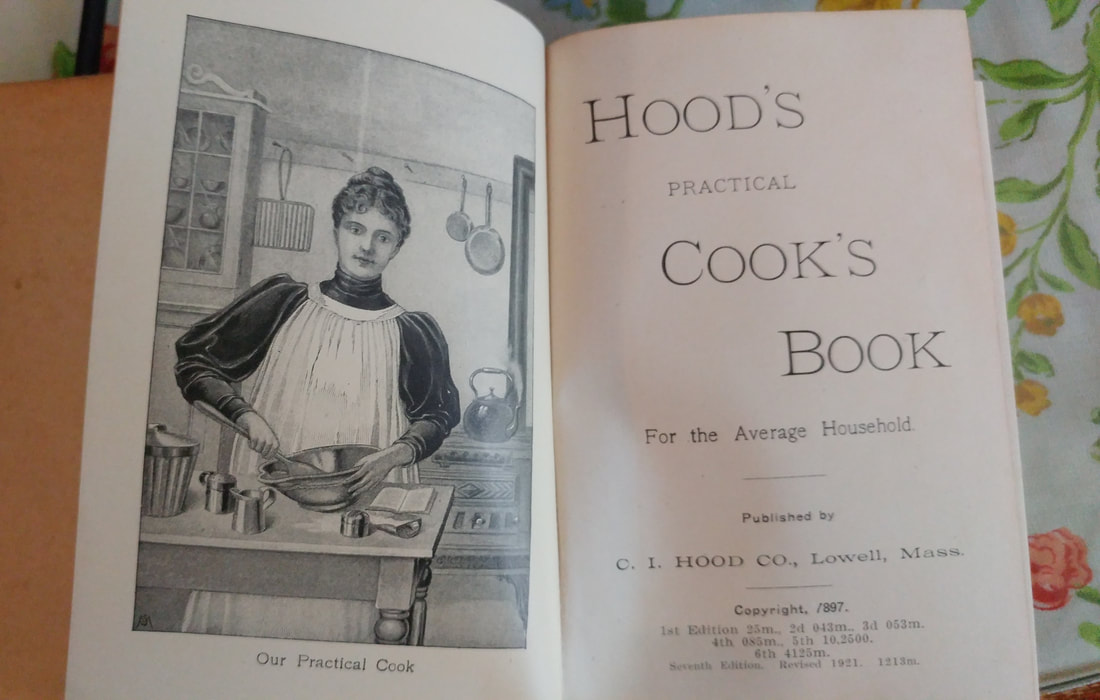 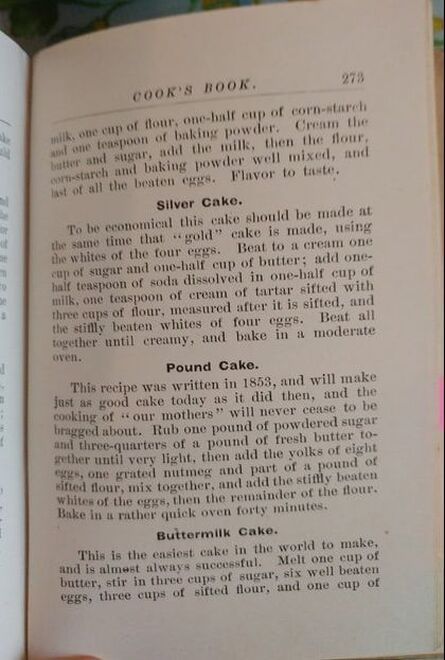 Buttermilk Cake This is the easiest cake in the world to make and is almost always successful. Melt one cup of butter, stir in three cups of sugar, six well beaten eggs, three cups of sifted flour, and one cup of buttermilk. Sour cream is an excellent substitute for the buttermilk, and, if used, a pinch of soda must be added. Half of this quantity makes a fair sized cake for a small family, and is good with or without frosting.  What a delightful little description! And indeed, it IS the "easiest cake in the world to make," in part because it uses melted butter. In modern kitchens, where butter is almost always kept in the fridge, softening it for a typical cake recipe takes forever. BUT - I did make a few teensy tweaks, and of course the original recipe as written doesn't include any instructions for the oven temp, baking time, or type of cake pan to use. So, I figured I'd give my own version, especially since, in a household of two adults, I think we qualify as a "small family," so I cut the recipe in half, as suggested. I also added a "pinch" of soda as I wasn't sure the eggs alone were enough to leaven the cake. And despite the fact that it probably would be great without frosting, I felt like frosting, and blackberry jam seemed like the perfect fit for a simple buttermilk cake.
1897 Buttermilk Cake with Blackberry ButtercreamFor the cake: 1/2 cup butter (1 stick), melted 1 1/2 cups granulated sugar 3 eggs 1 1/2 cups all-purpose flour pinch of salt 1/4 teaspoon baking soda 1/2 cup buttermilk For the frosting: 3 tablespoons butter, softened 1/4 cup blackberry jam powdered sugar Preheat the oven to 350 F. Grease an 8"x8" metal baking pan. Stir sugar into melted butter and add beaten eggs, flour, salt, baking soda, and buttermilk. The batter will be quite thick. Pour into baking pan and level with a spoon or spatula. Bake for approximately 45 minutes (check after 30), or until the cake center is firm and springs back when gently depressed. While the cake is baking, make the frosting. Beat the jam and butter together, then add powdered sugar, 1/4 cup at a time, until the frosting thickens. When the cake is done, remove from pan and cool on a baking rack. Once cool, frost the top. This is a rustic-looking cake and mine got quite a dome, but if you CAN slice it in half, feel free to do so and fill with frosting (double the recipe). 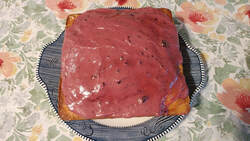 I couldn't wait for my cake to cool completely before frosting, so the frosting got a bit melty, but it was still delicious! The cake wasn't too sweet, despite all the sugar in it, and closely resembled the taste and texture of Lazy Daisy/Hot Milk Cake, but somehow even lazier? Delightful. I will definitely be making this again, but I might experiment with one fewer egg (or two extra large eggs), as the cake did taste a bit eggy and obviously rose quite high. I'm guessing it's because eggs in the late 19th century weren't quite as large as today's standard large eggs. So what is everyone else baking during home confinement? Anything interesting? Share in the comments! 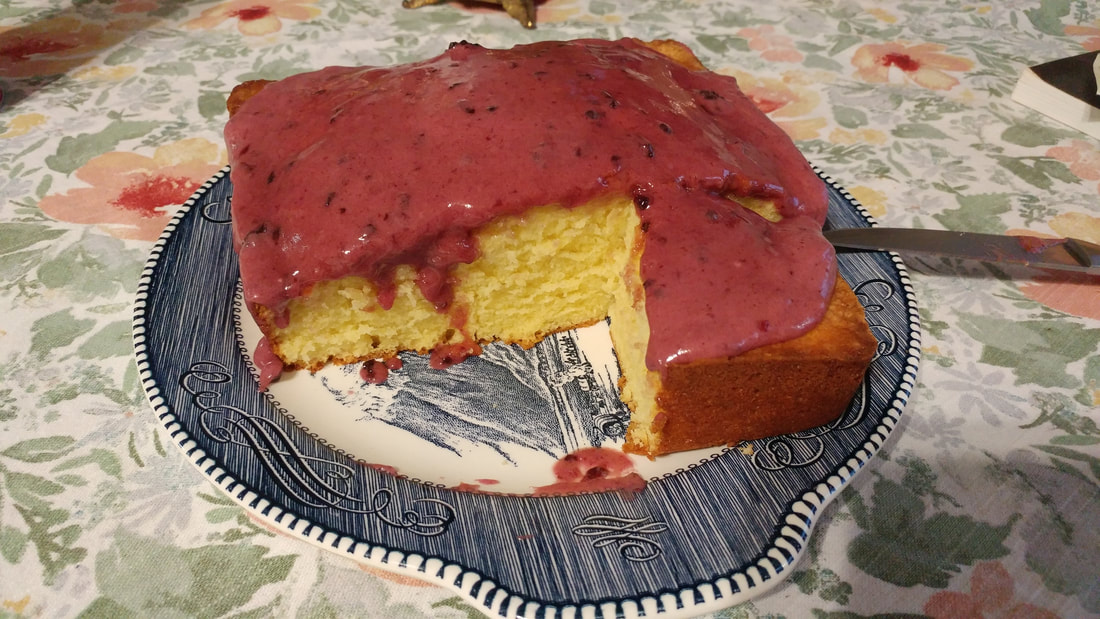 As always, if you liked this post, consider becoming a member or joining us on Patreon. Members and patrons get special perks like access to members-only content.
|
AuthorSarah Wassberg Johnson has an MA in Public History from the University at Albany and studies early 20th century food history. Archives
September 2023
Categories
All
|
 RSS Feed